Admin → Signature Maker
Overview
The Signature Maker is a specialized solution designed and integrated into the Simplified HR platform to enable comprehensive digital or electronic signatures for all your HR documents and workflows. This powerful tool transforms how your organization handles document approvals by providing a seamless, paperless alternative to traditional signature processes.
Benefits of digital signatures:
-
Accelerate document processing: Reduce approval times from days to minutes.
-
Enhance security: Digital signatures provide better authentication than handwritten signatures.
-
Improve compliance: Maintain detailed audit trails for all signed documents.
-
Reduce costs: Eliminate printing, scanning, and physical document storage needs.
-
Enable remote workflows: Allow team members to sign documents from anywhere.
The solution integrates seamlessly with your existing HR workflows, supporting everything from employment contracts and policy acknowledgments to performance reviews and benefits enrollment forms.
Prerequisites
Before you can begin using the Signature Maker functionality, ensure you have the following requirements in place:
-
Admin role access in the Simplified HR platform.
-
Active Simplified HR account with marketplace access privileges.
-
Understanding of your organization's signature requirements and compliance policies.
-
Proper permissions to install and configure new modules for your team.
Important: Only users with admin roles can configure signatures for the team and manage signature settings across the organization. This restriction ensures proper governance and control over signature processes. For comprehensive details about roles, permissions, and access controls, refer to the Roles and Permissions documentation.
Install Signature Maker
The Signature Maker module must be installed from the Simplified HR marketplace before you can access any signature functionality. This marketplace-based approach ensures you always have access to the latest features and security updates.
Important: Refer to the Marketplace documentation for installation instructions.
Access Signature Maker
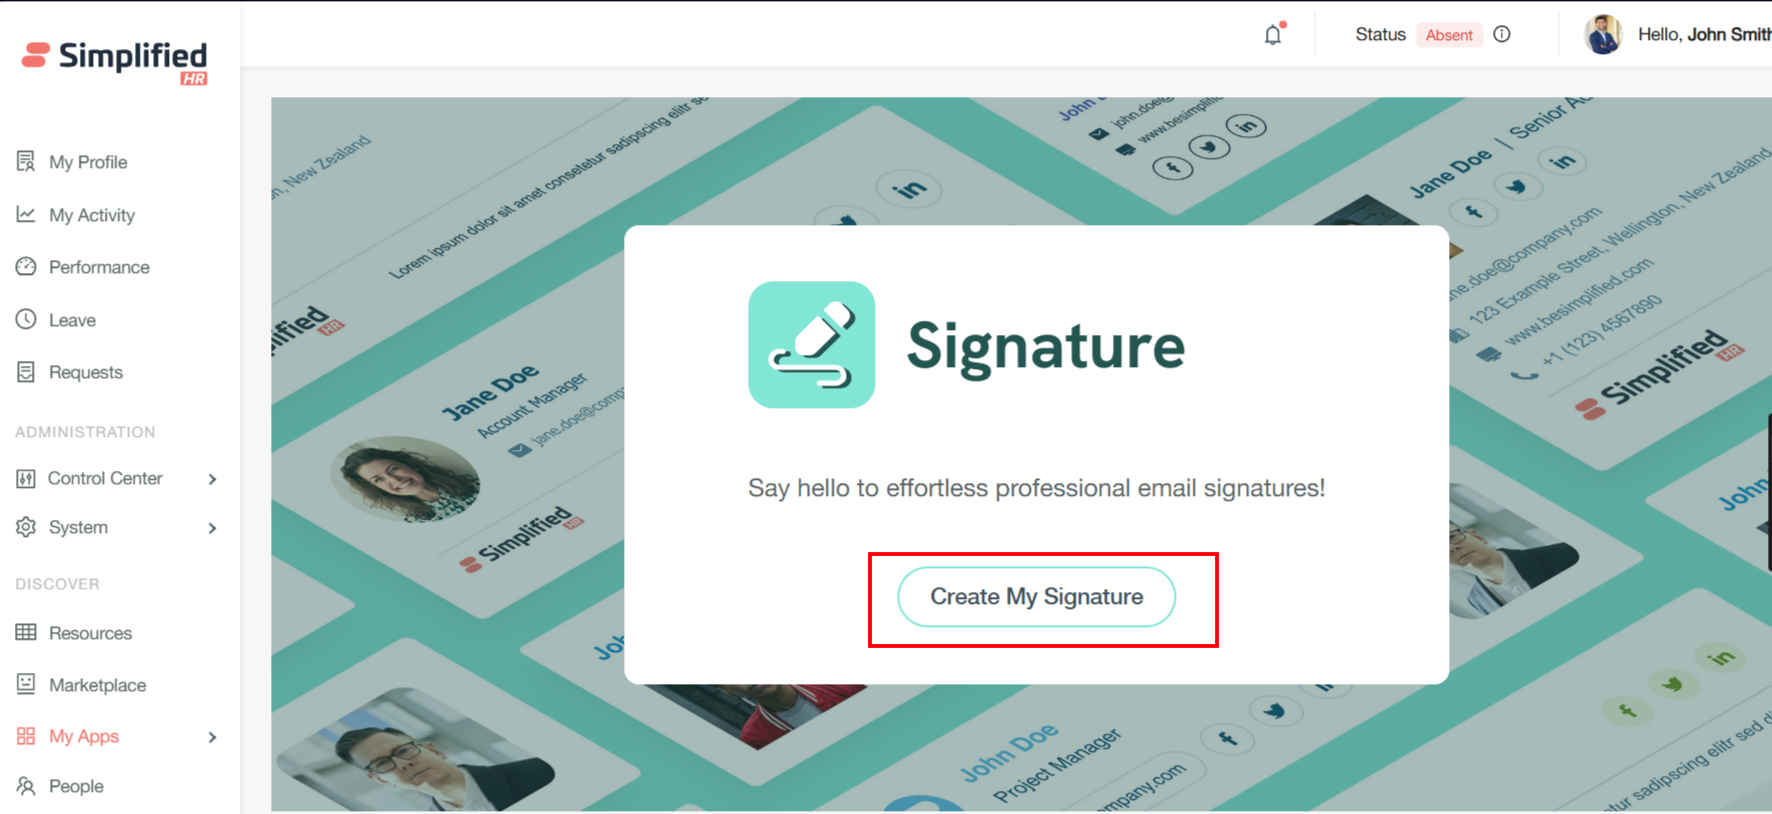
After completing the installation, you can immediately begin creating professional email signatures for your organization. When you first open the Signature Maker module, the system will prompt you to create your first signature directly from the home page.
Create Initial Signature
-
Access the Signature Maker from your main dashboard navigation.
-
Review the welcome screen, which provides an overview of signature creation capabilities.
-
Click "Create My Signature" to launch the signature builder and begin the setup process.
Select Signature Template
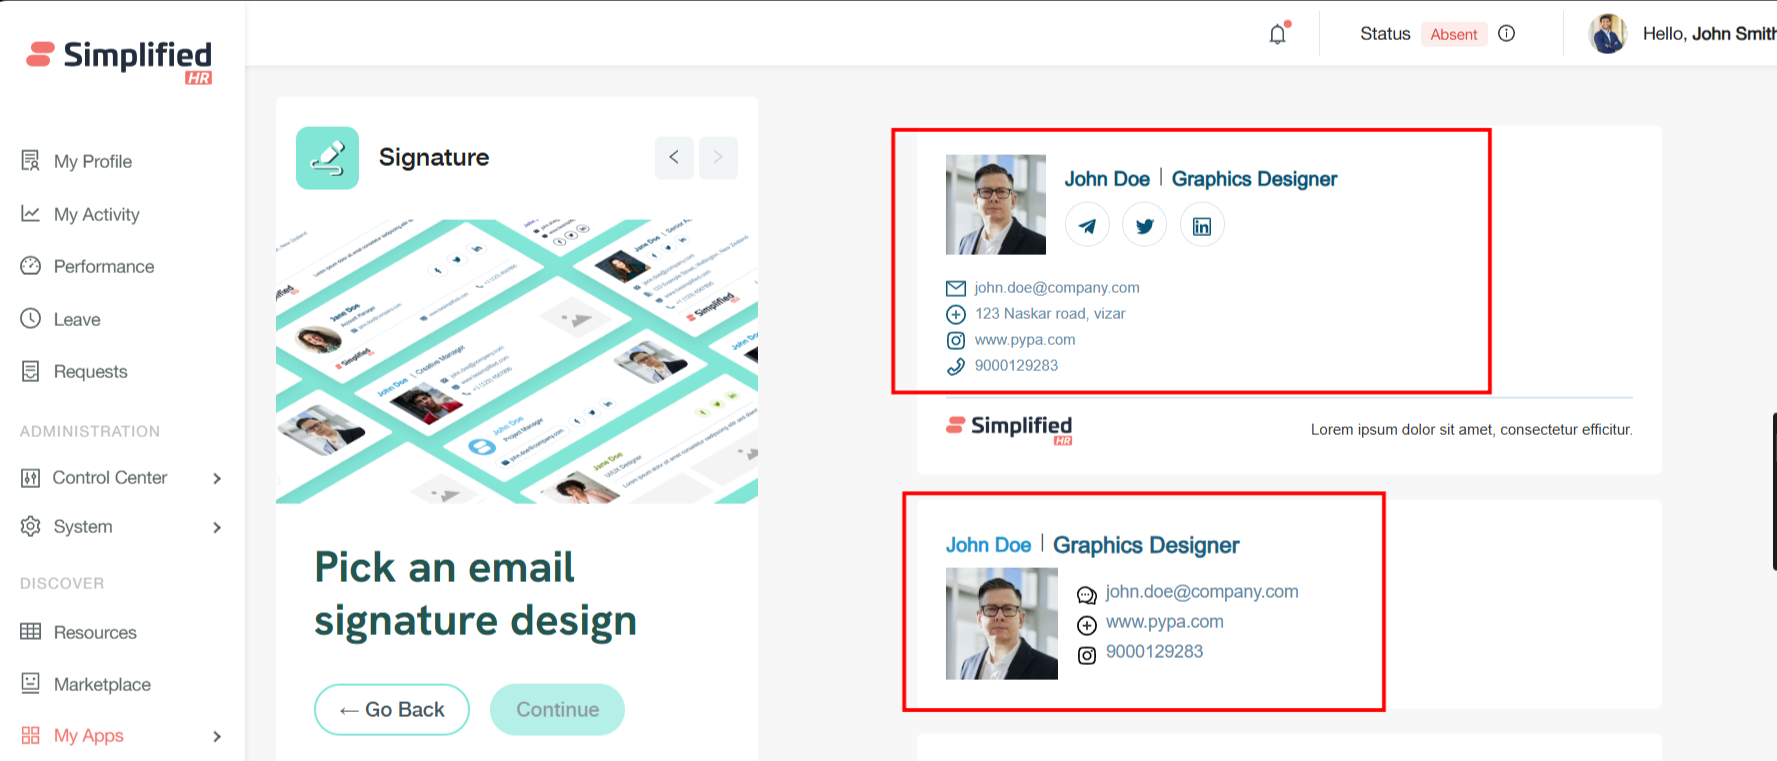
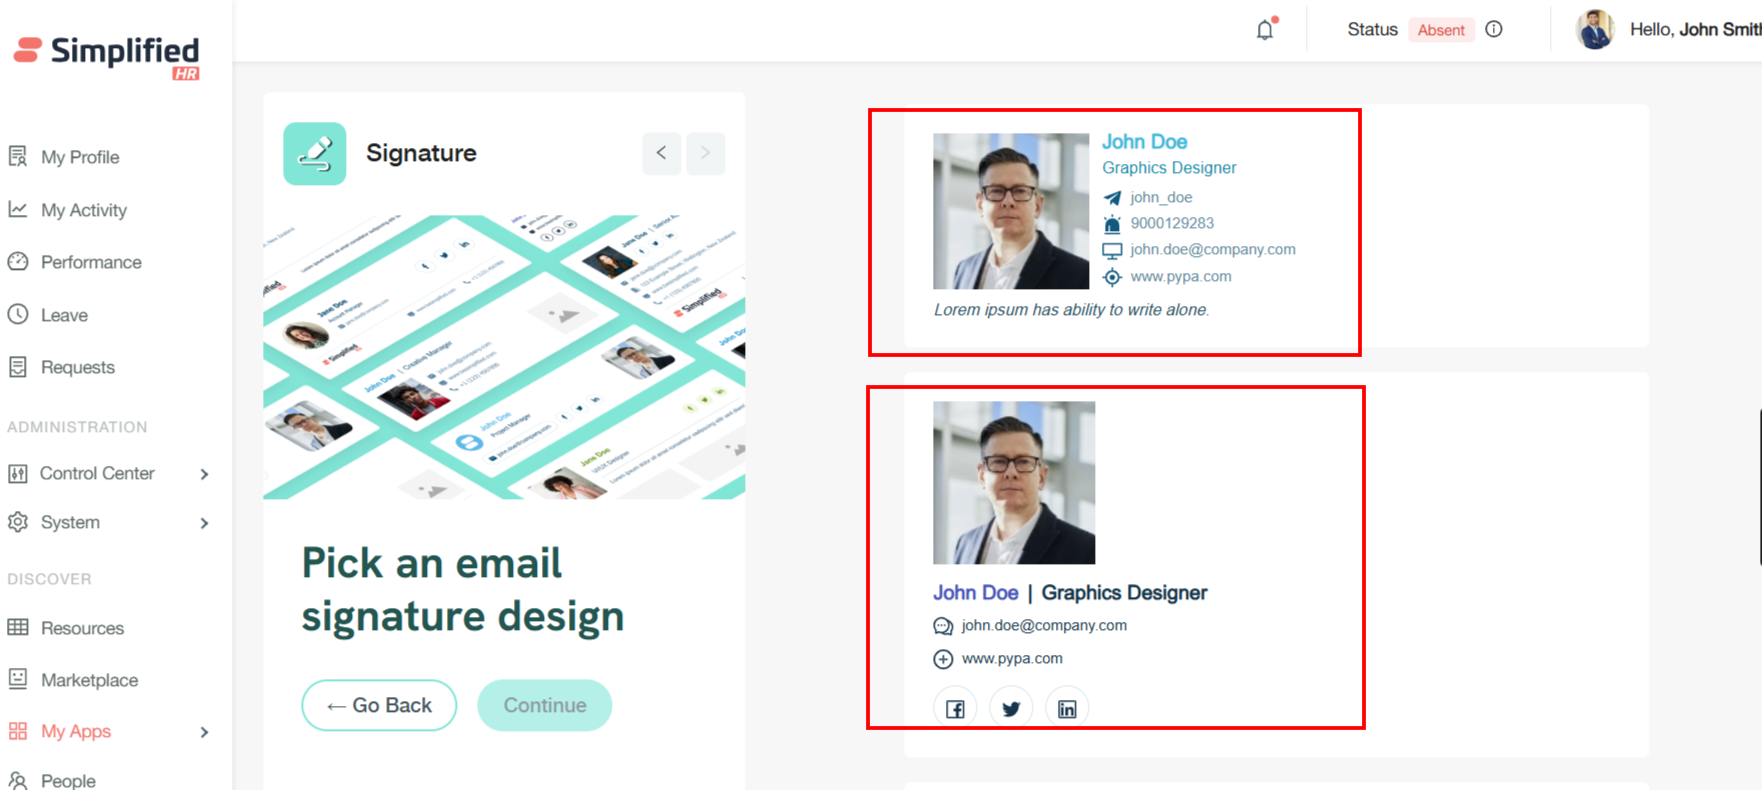
After clicking "Create My Signature," the system displays several professionally designed email signature templates. These templates serve as the foundation for your organization's signature standards and can be customized extensively to meet your specific needs.
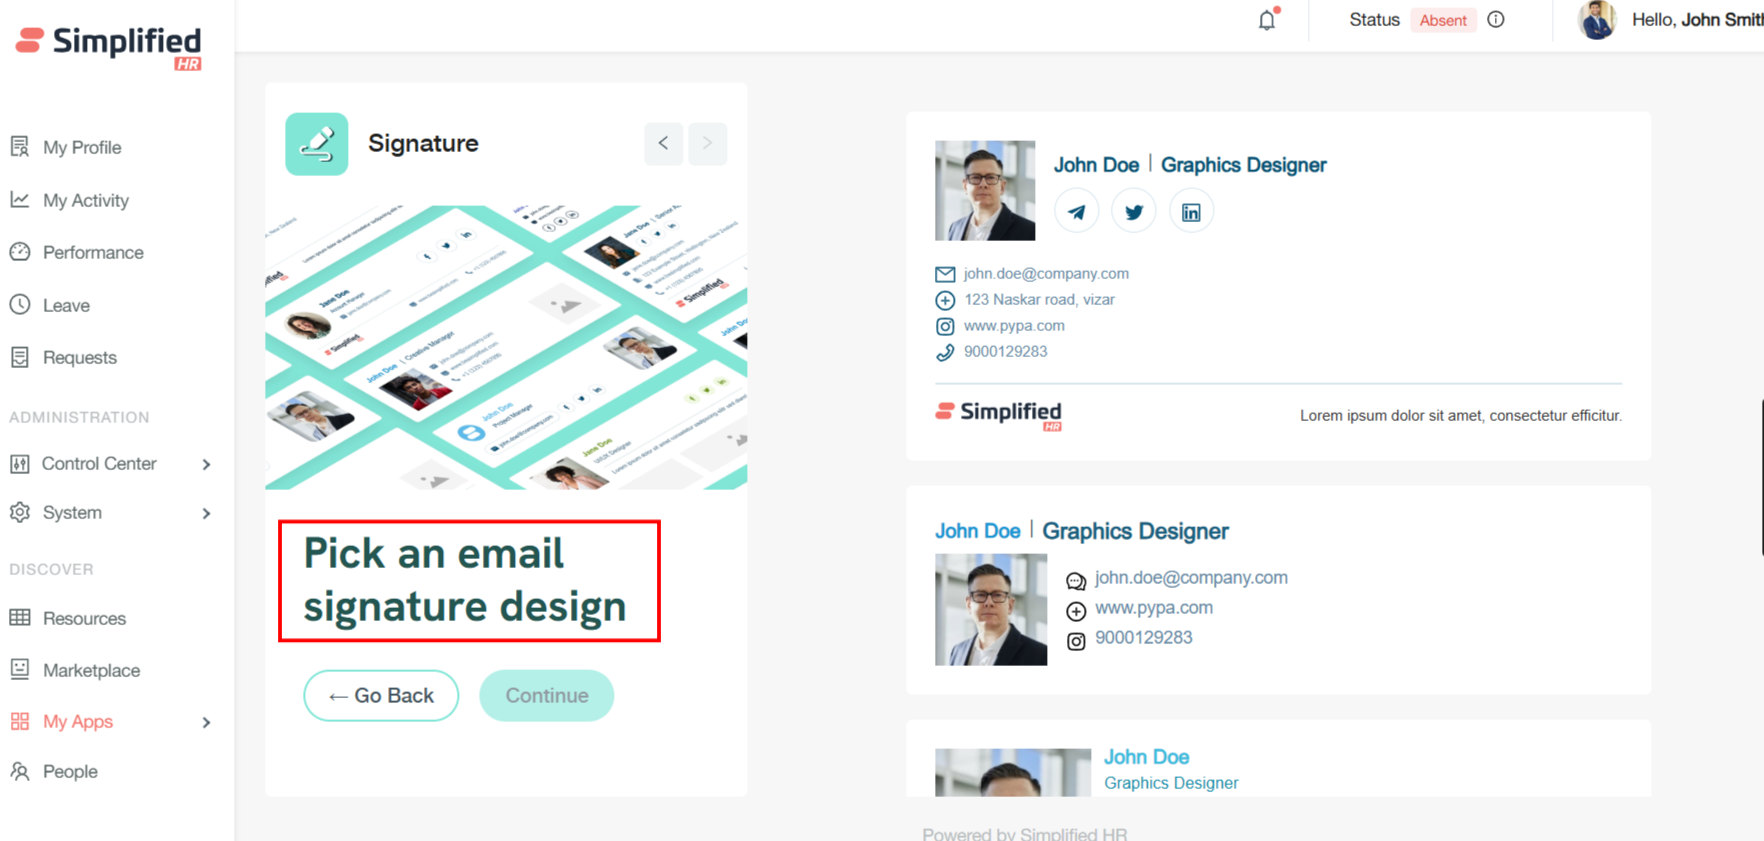
After selecting the template, click Continue to customize the email signature.
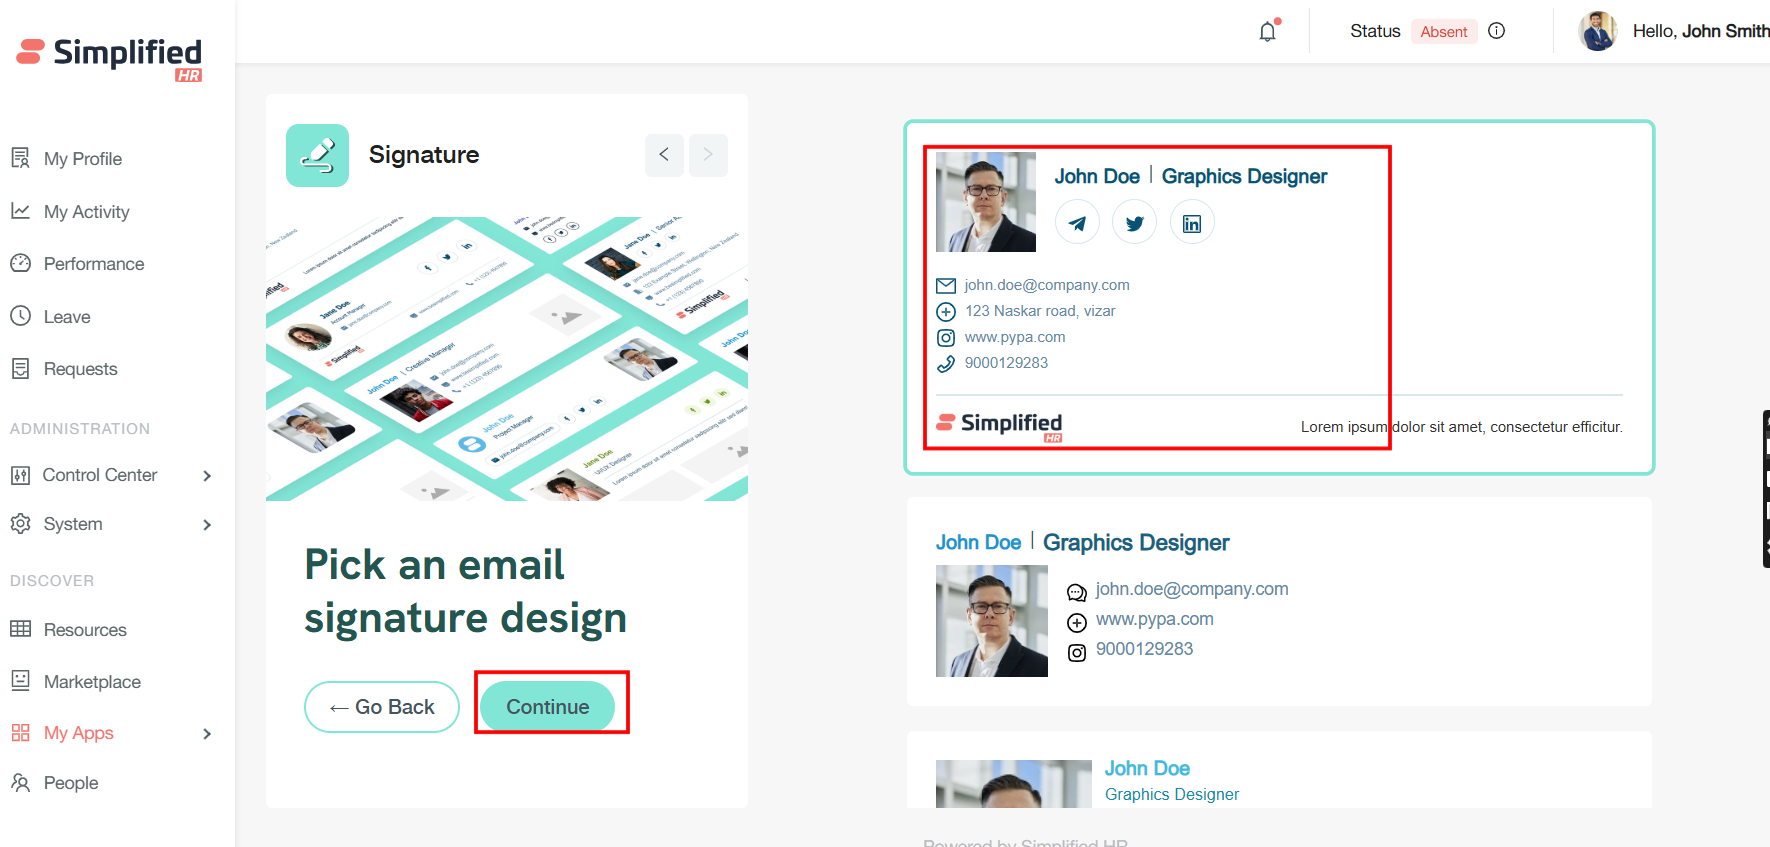
Create Signature Template
Provide the template name and the teams selected who will be using the email signature template.
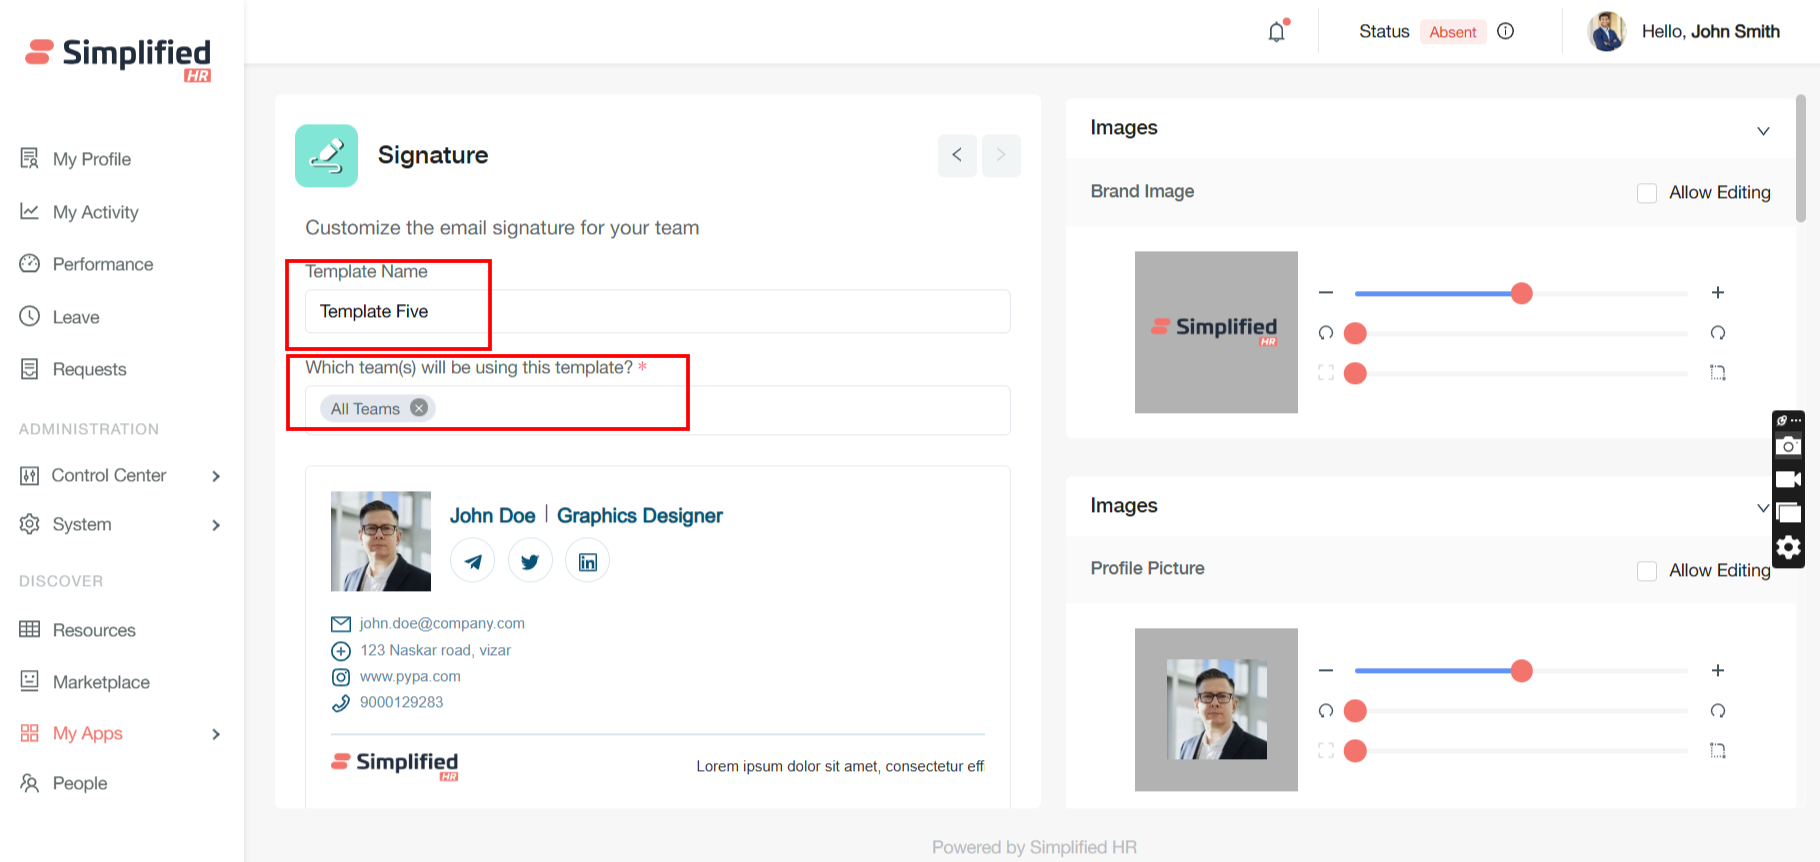
Configure Team-Based Signature Templates
The Signature Maker enables sophisticated team management capabilities, allowing you to create targeted signature templates for different organizational units. You can generate distinct signature templates for different teams within your organization, for example:
-
Sales team signatures: Include specific contact information, social media links, and promotional elements.
-
Management team signatures: Feature executive titles, direct contact methods, and corporate governance information.
-
IT support team signatures: Incorporate technical support channels, help desk information, and service availability.
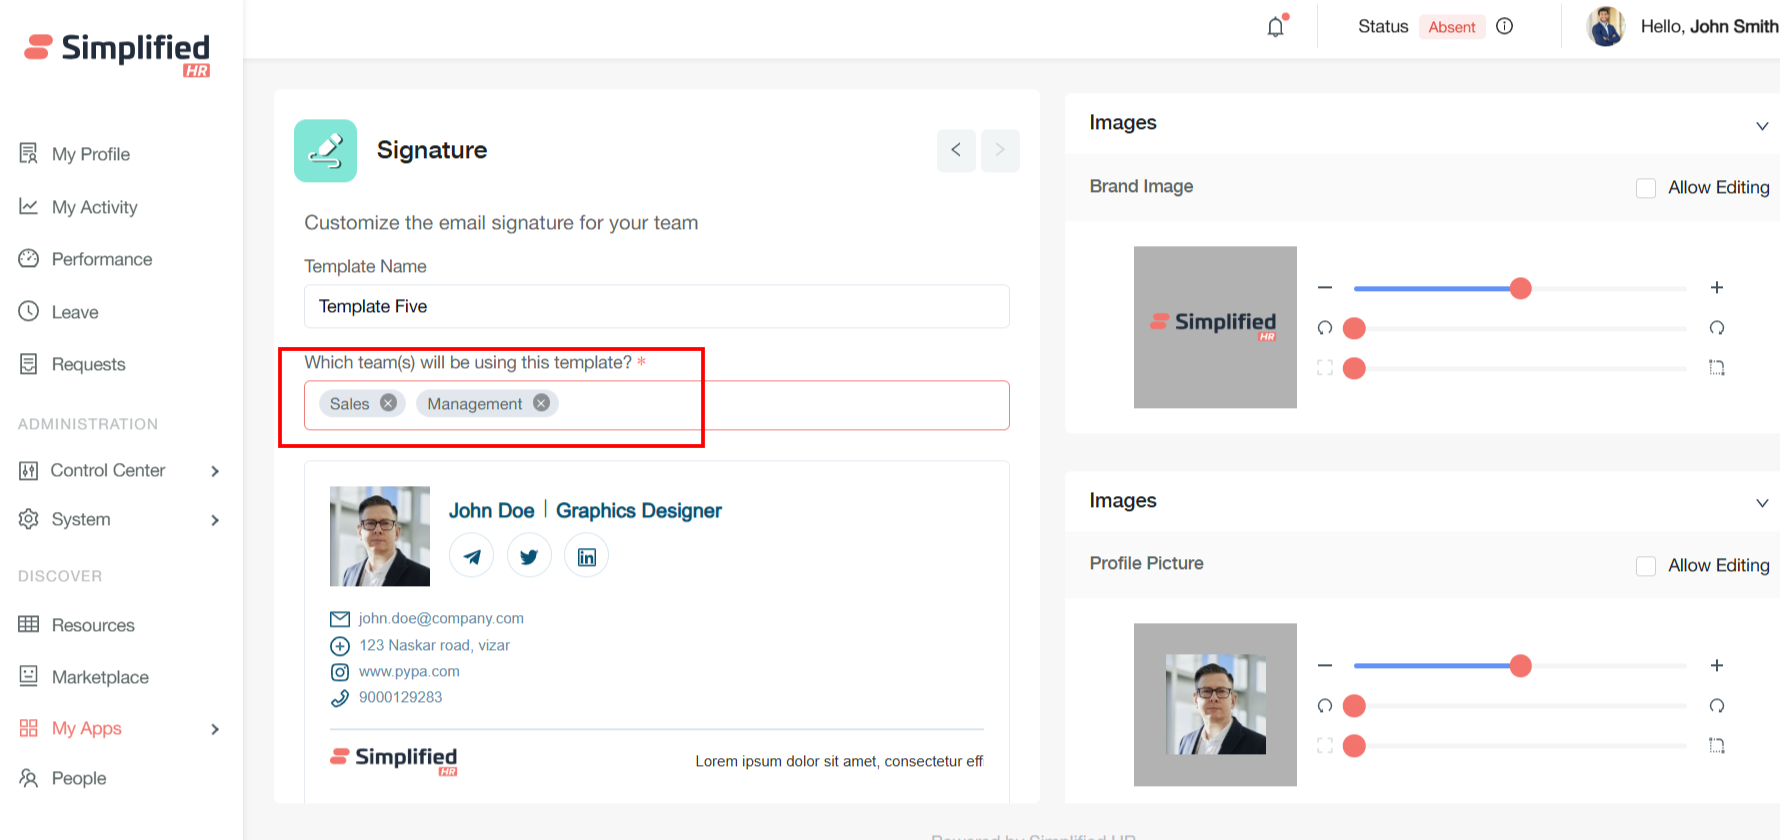
Configure Team Access
The admin who is generating signatures, or whoever is performing this action, should be assigned to the team members. This ensures that when someone generates signatures for a specific team, the system verifies whether all members are properly assigned to that team or not.
Access levels:
-
Team-wise access: Users can view or use signatures only for their assigned team(s).
-
All-team access: If someone has access to all teams, they can view or use signatures for all teams.
Verify Team Assignment
Key points:
-
Assignment verification: Before signature generation, check if the person generating has proper team assignments.
-
Access control: Signatures should be accessible based on team membership.
-
Scope management: Different access levels (single team vs. all teams) should determine signature visibility and usage permissions.
This describes a role-based access control system where signature generation and usage are restricted based on team assignments and administrative privileges.
Manage All-Team Access
If someone has access to all teams, they can view or use signatures for all teams.
Configure Editing Permission
Check the "Allow editing" checkbox to enable team members to modify their individual signatures within the template framework. Configure editing permissions to determine which signature elements users can customize.
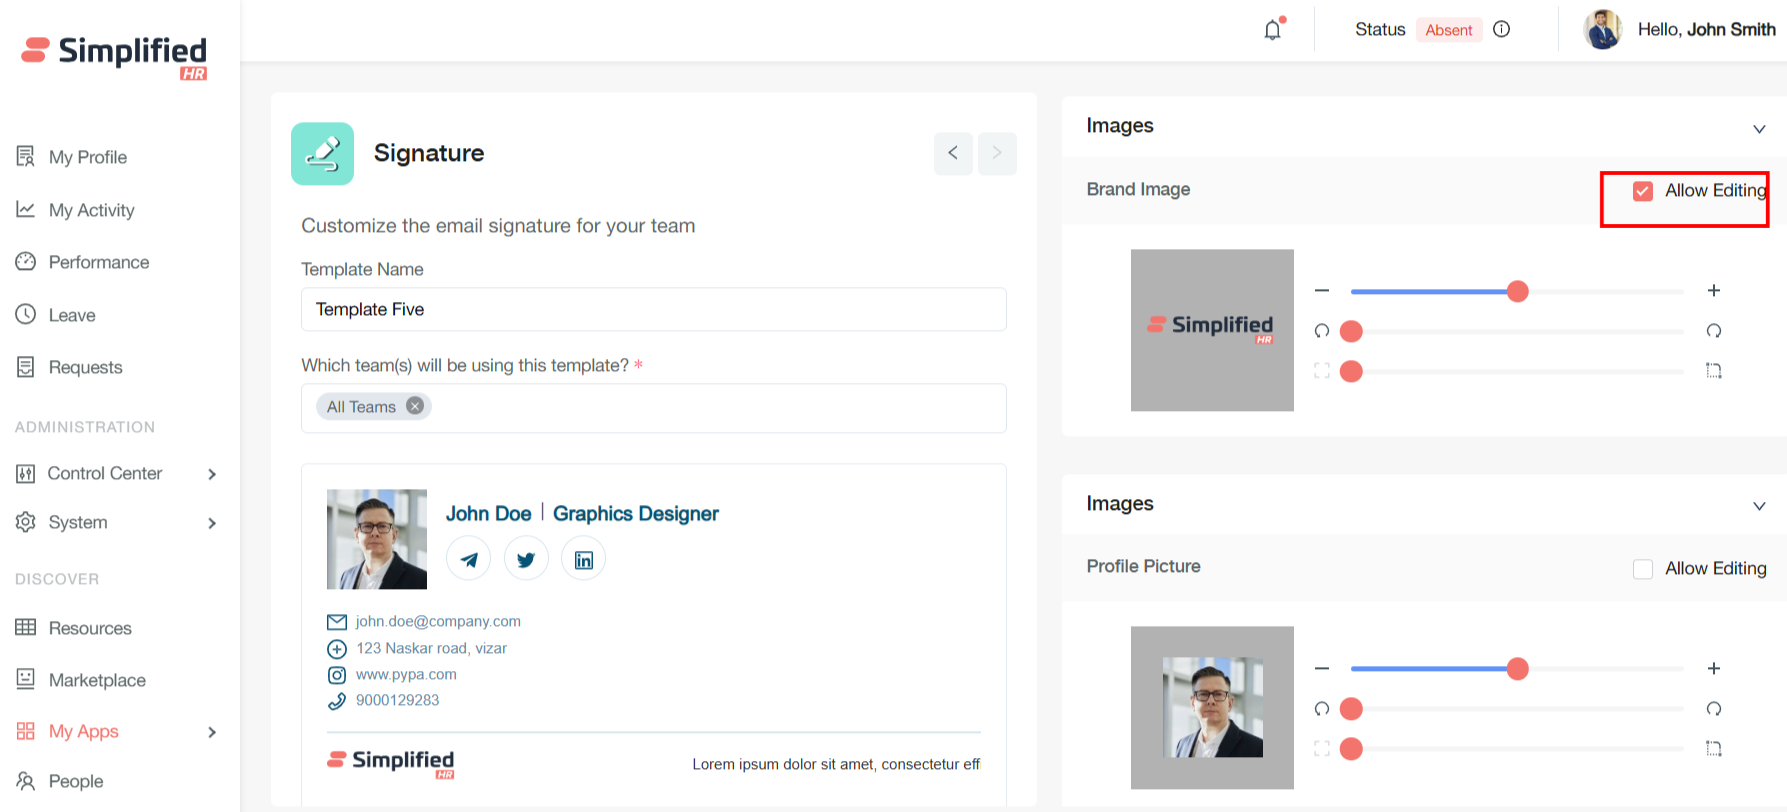
Configure Profile Image
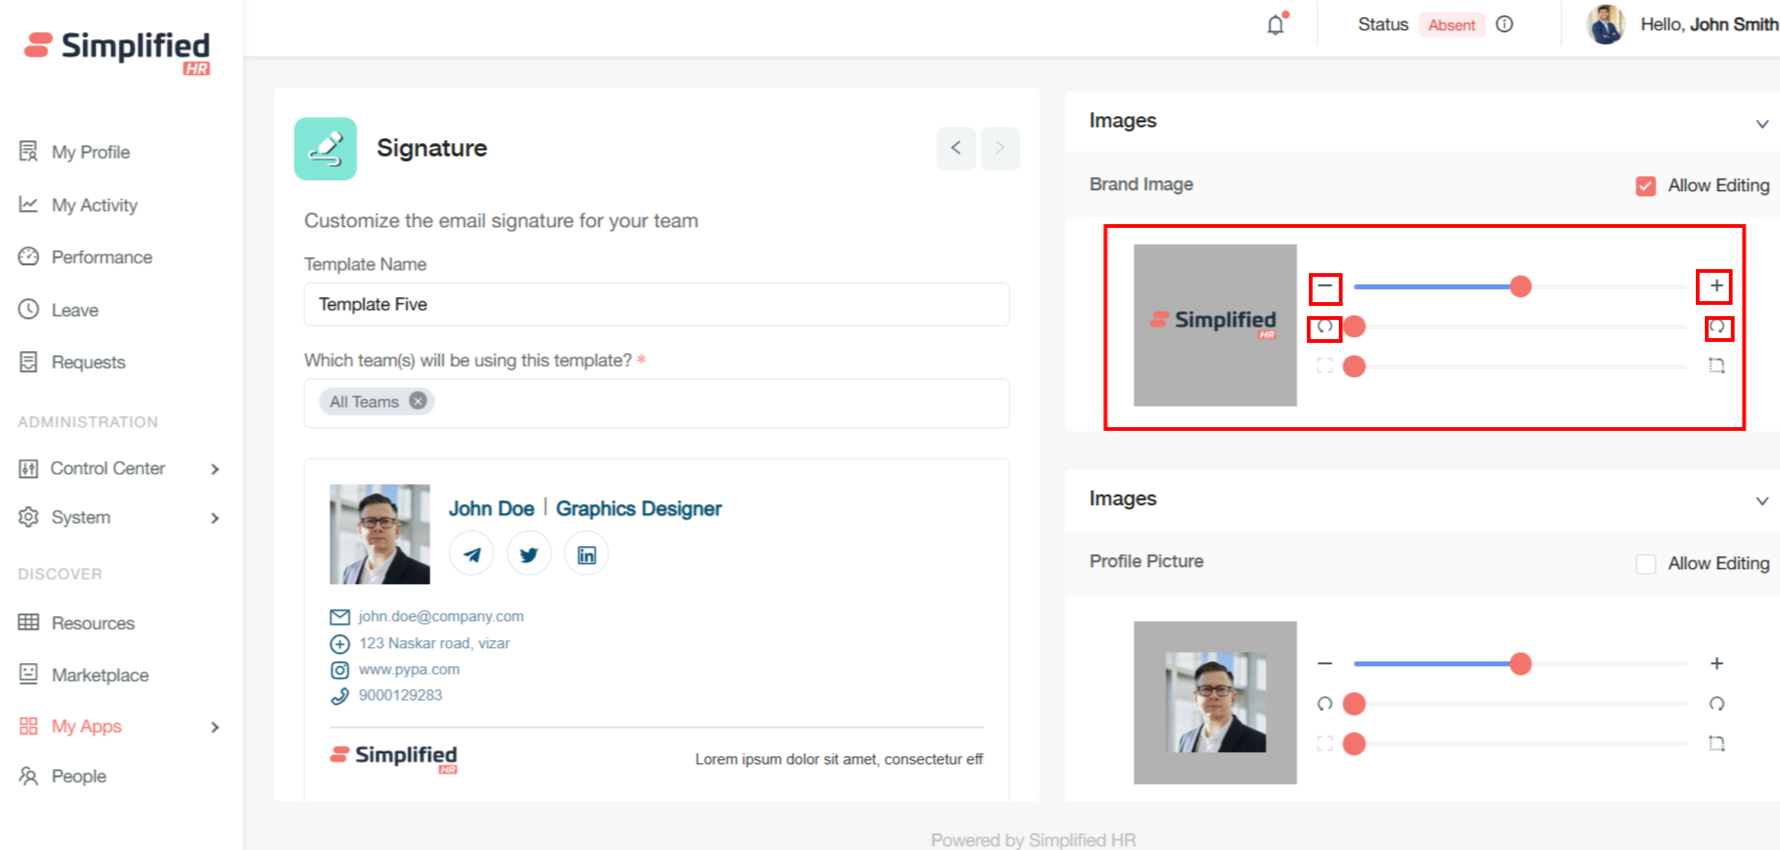
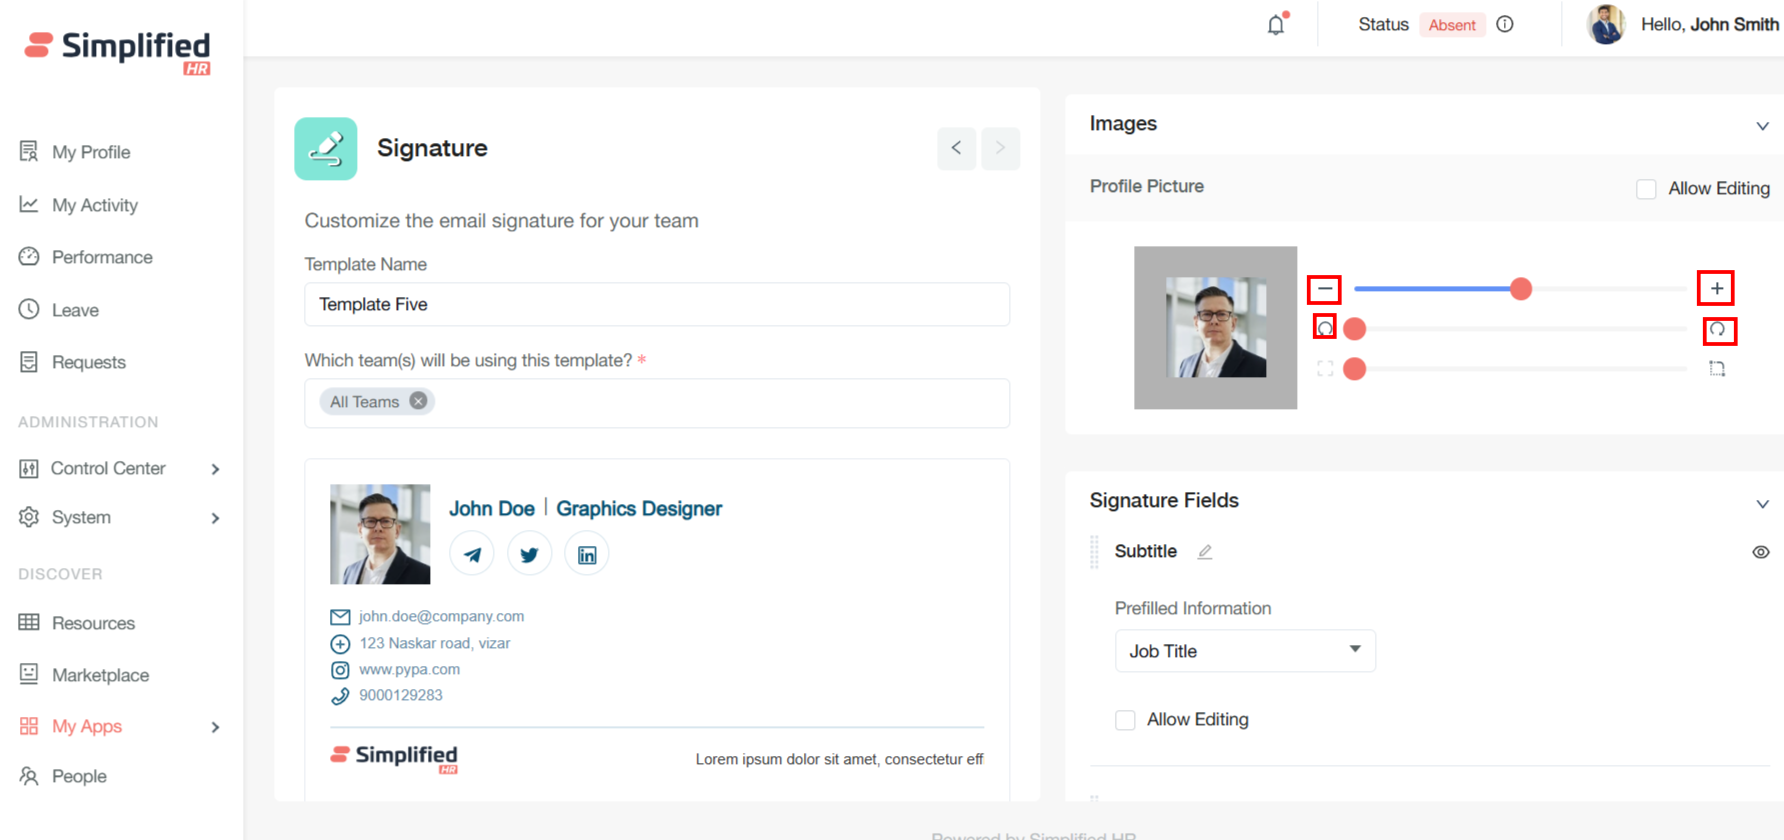
Use the zoom controls (+ and - buttons) to adjust image size for optimal display. You can zoom in, zoom out, and rotate the profile picture by clicking the + / - buttons, and apply rotation using the rotate button to achieve perfect alignment.
Adjust Signature Image
Image adjustments (zoom and rotation) affect the appearance and alignment of the profile image within the signature.
Configure Signature Fields
You can set the signature fields, and as per the field, the signature will be updated in the template.
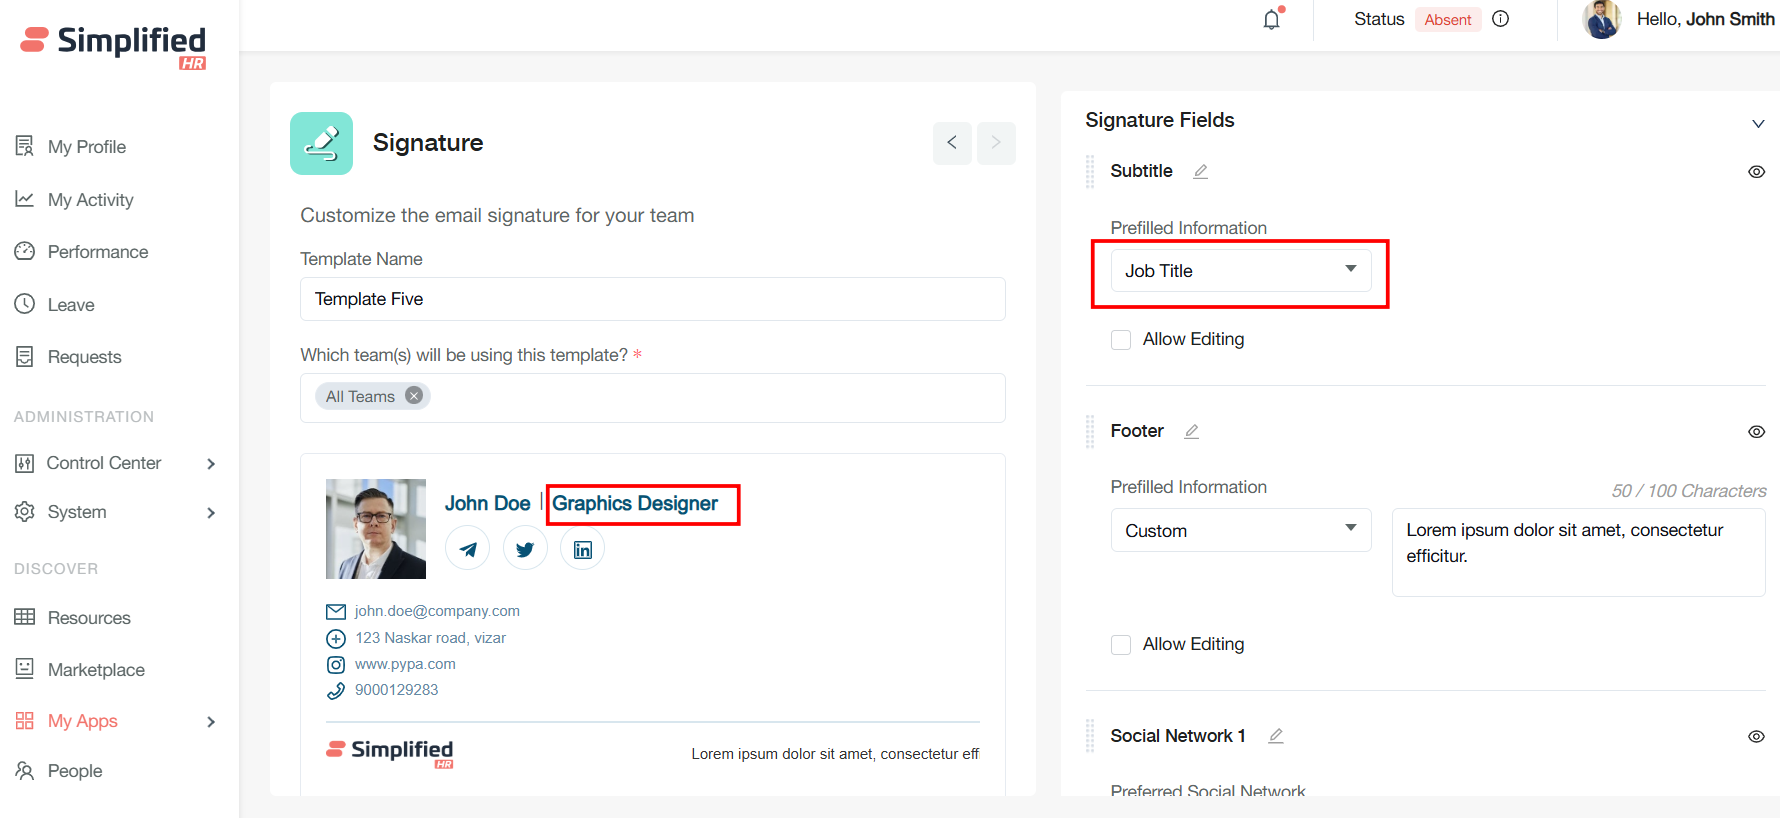
Configure Job Title Field
When you select "Job Title" as a signature field, the system automatically displays each employee's current position.
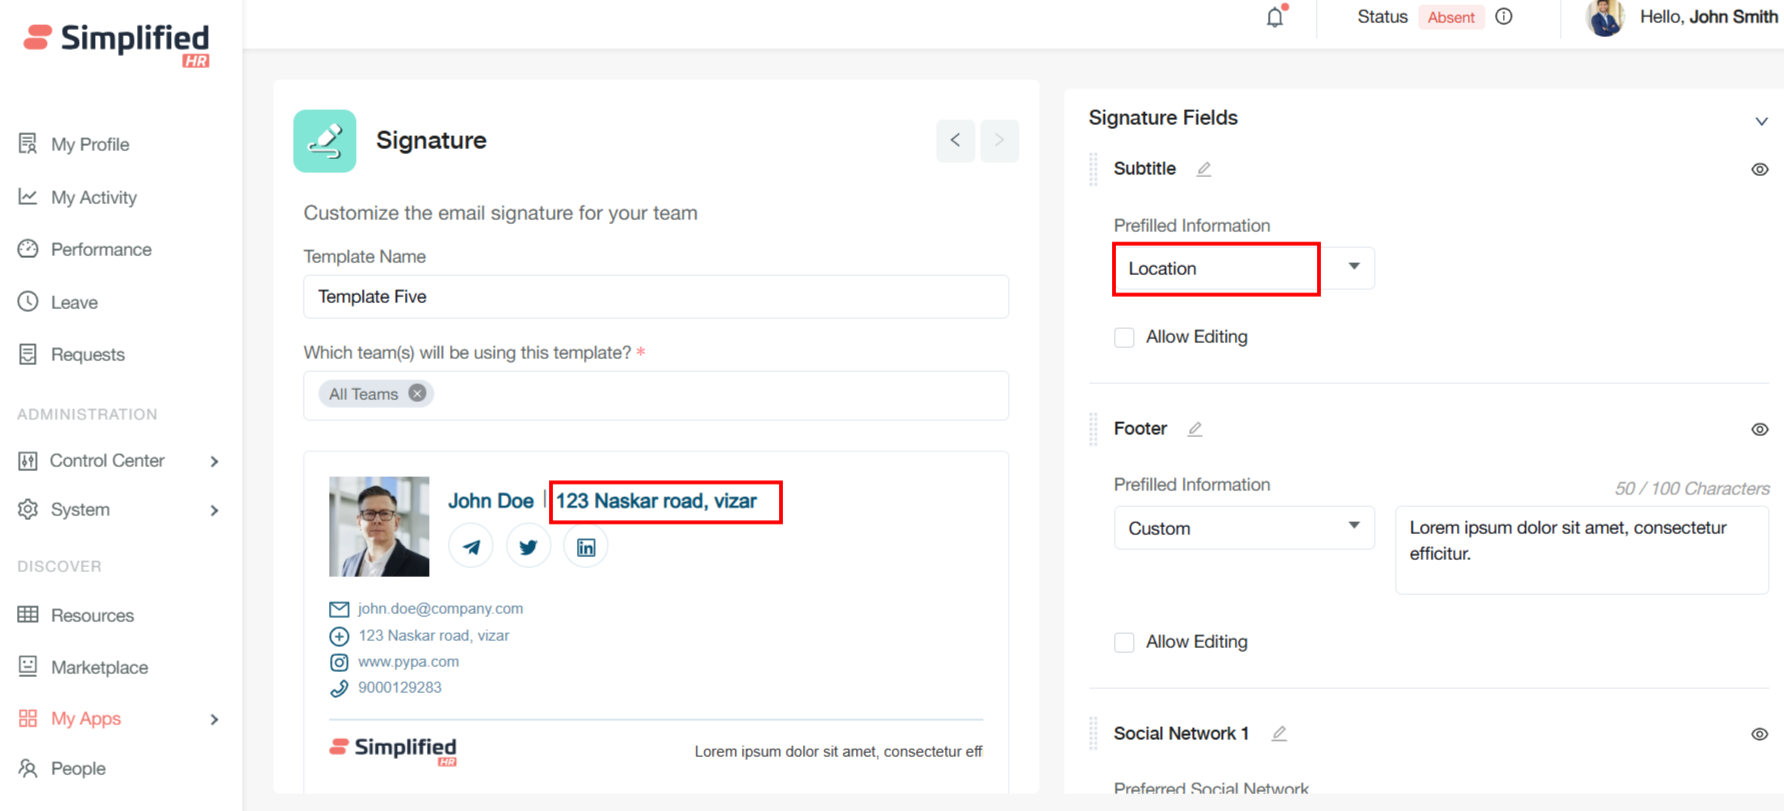
Configure Location Field
Selecting "Location" as a signature field shows the employee's assigned work location.
Configure Employment Type Field
The "Employment Type" field displays whether employees are full-time, part-time, contract, or consultant status.
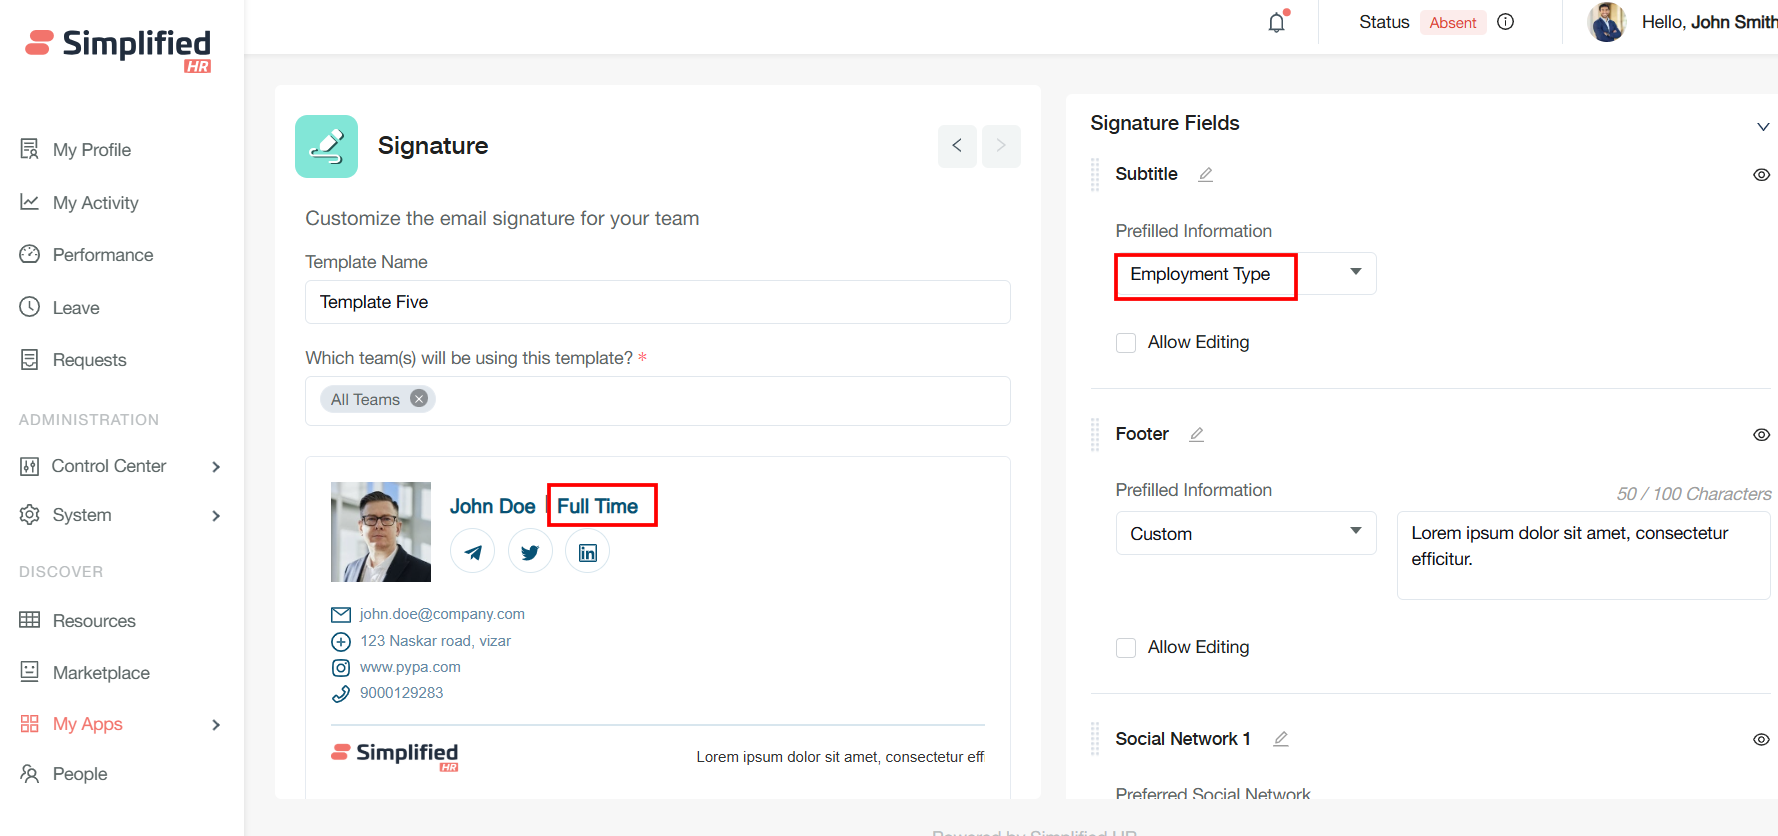
Configure Custom Fields
There is an option to choose custom fields. Besides some predefined fields, if someone selects from the custom dropdown, they will be able to set their own custom value according to their preference.
-
Predefined options: The system includes standard/predefined field options that users can select from.
-
Custom dropdown flexibility: Users have access to dropdown menus with preset choices.
-
Custom value input: When users interact with the custom dropdown, they can enter their own custom values instead of being limited to only the predefined options.
-
User autonomy: Users can set values according to their specific needs/preferences.
Configure Signature Footer
You can set the footer, and as per the footer field, the signature will be updated in the template.
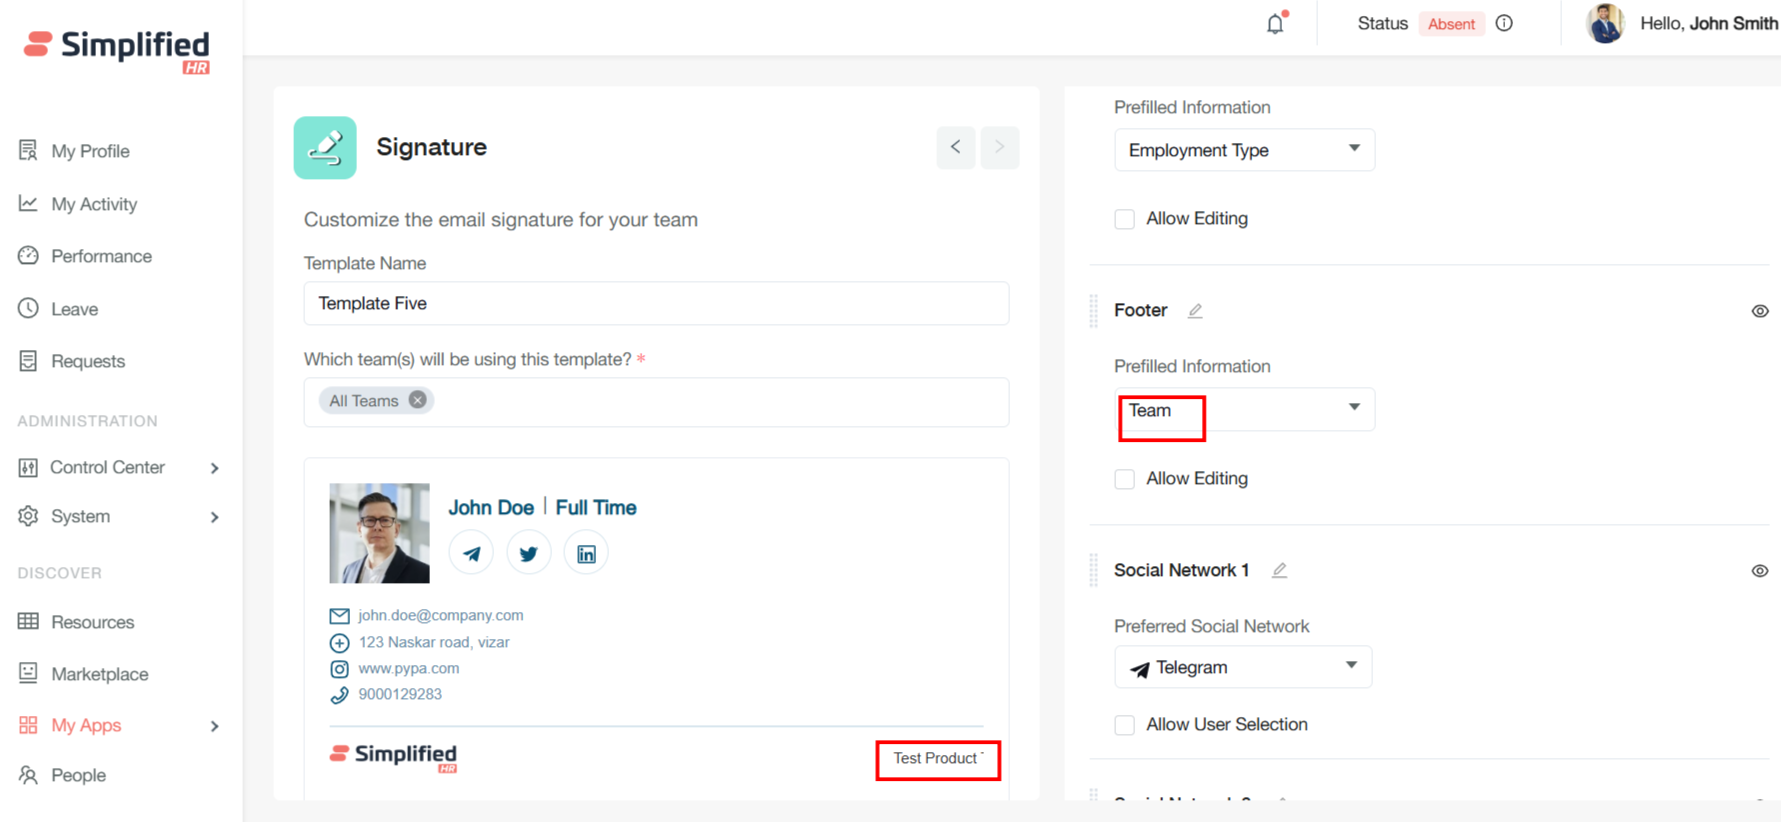
Configure Team Footer
Selecting "Team" as the footer field displays the employee's department or team designation.
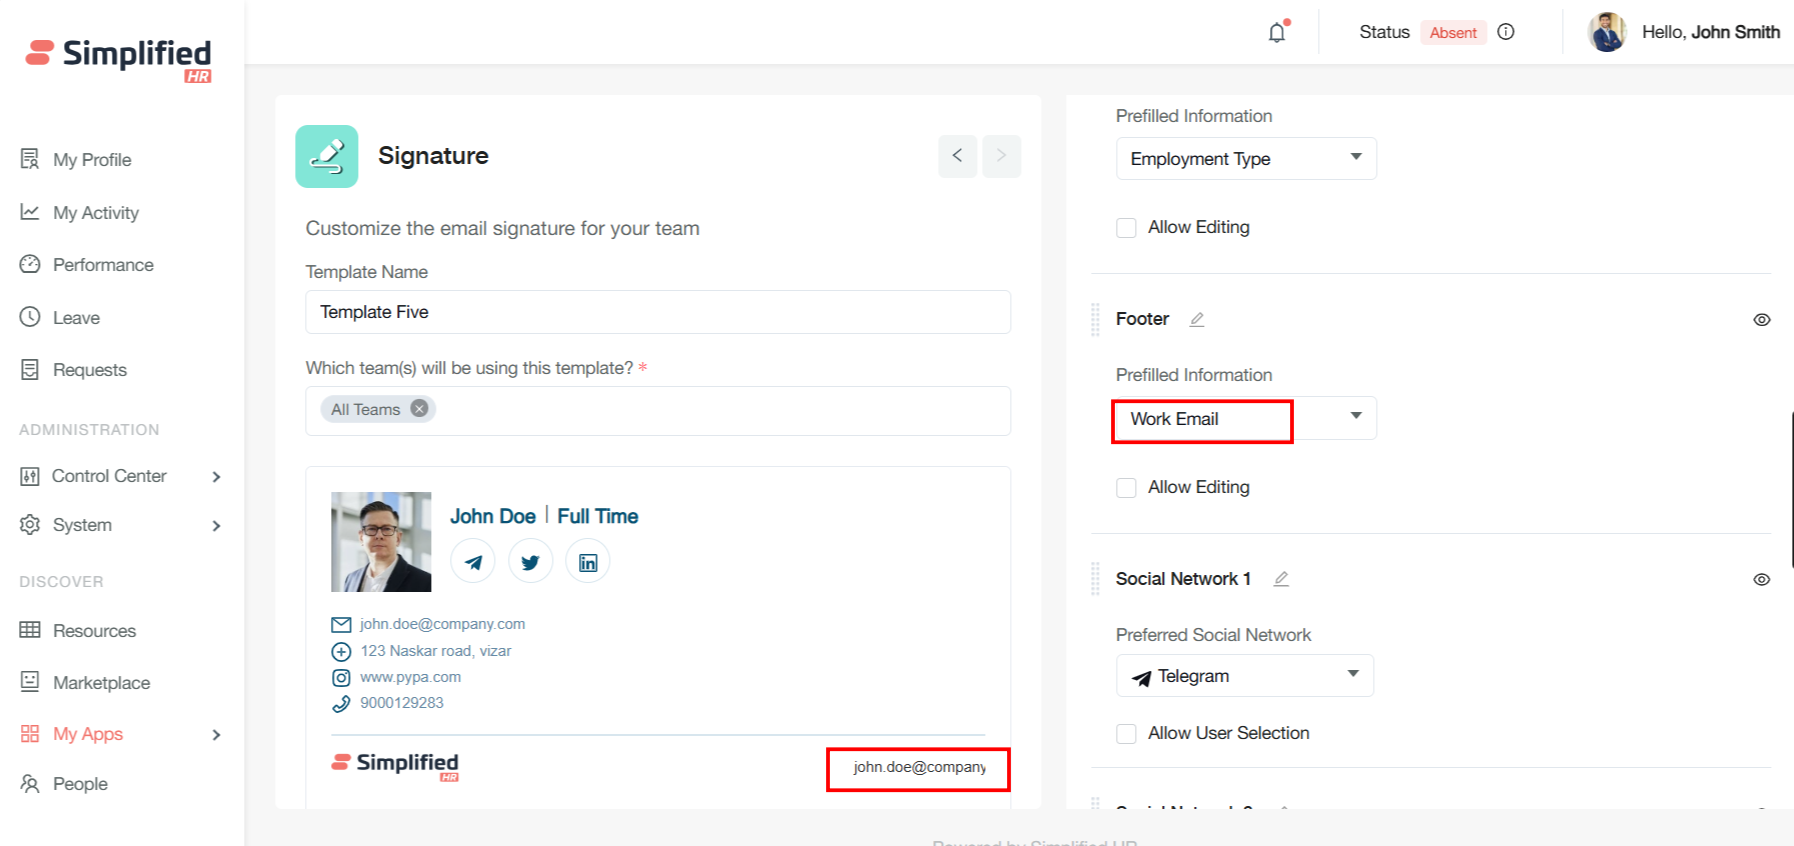
Configure Work Email Footer
If you select the footer as Work Email, it will reflect the work email in the footer of the signature field.
Configure Social Network Links
The Signature Maker supports comprehensive social media integration, allowing you to include up to three different social network links in each signature.
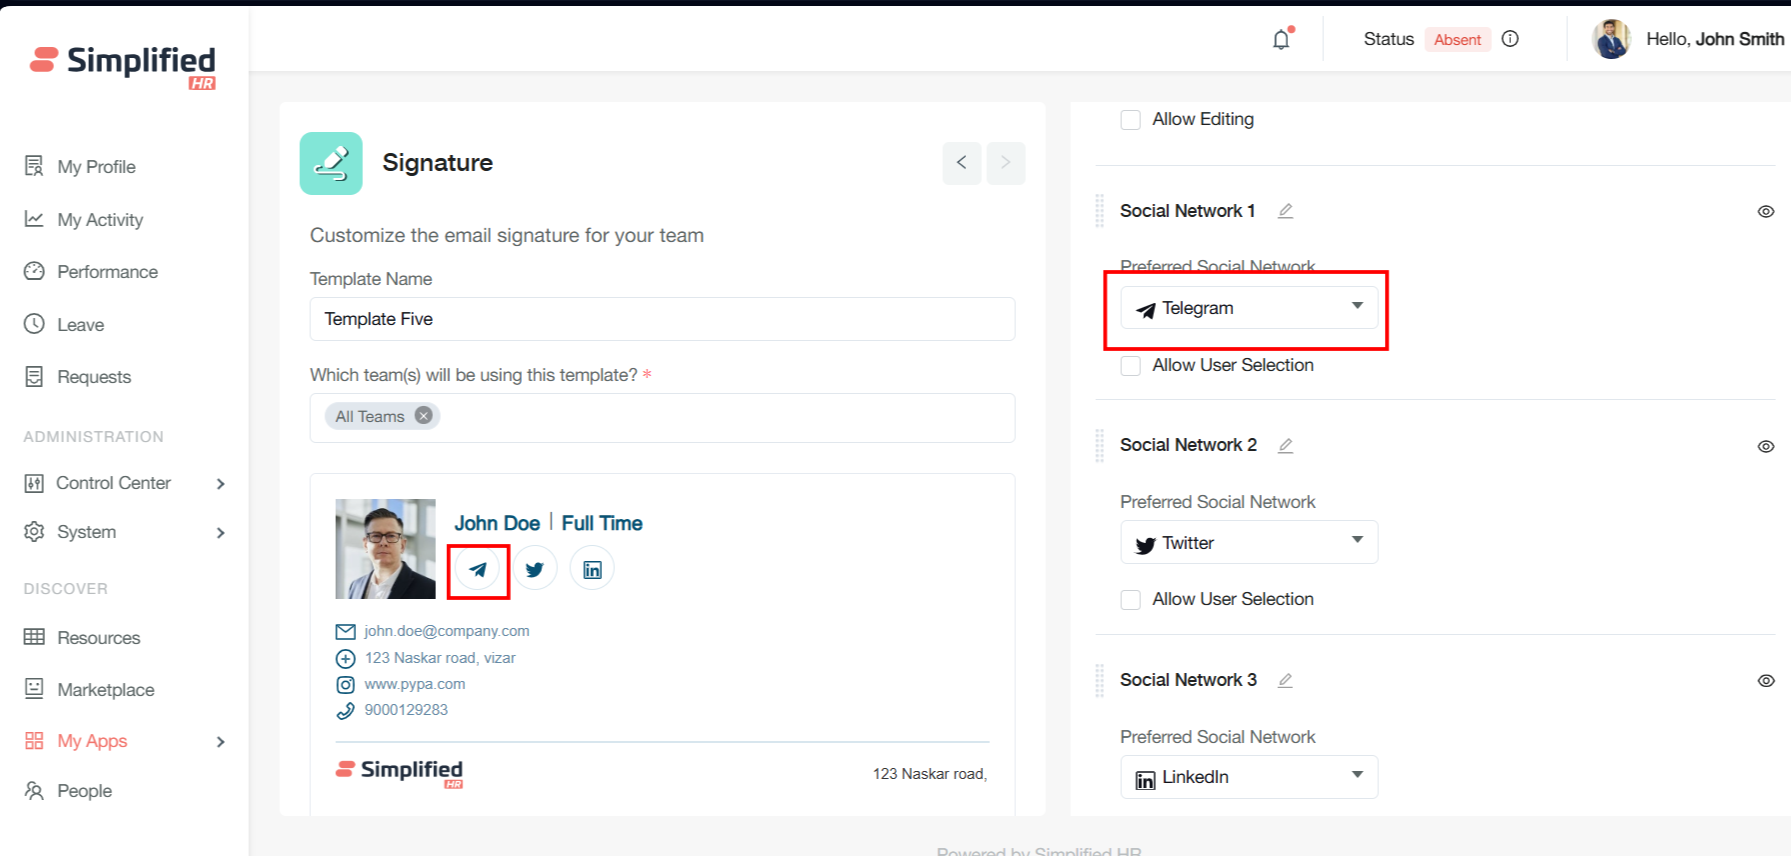
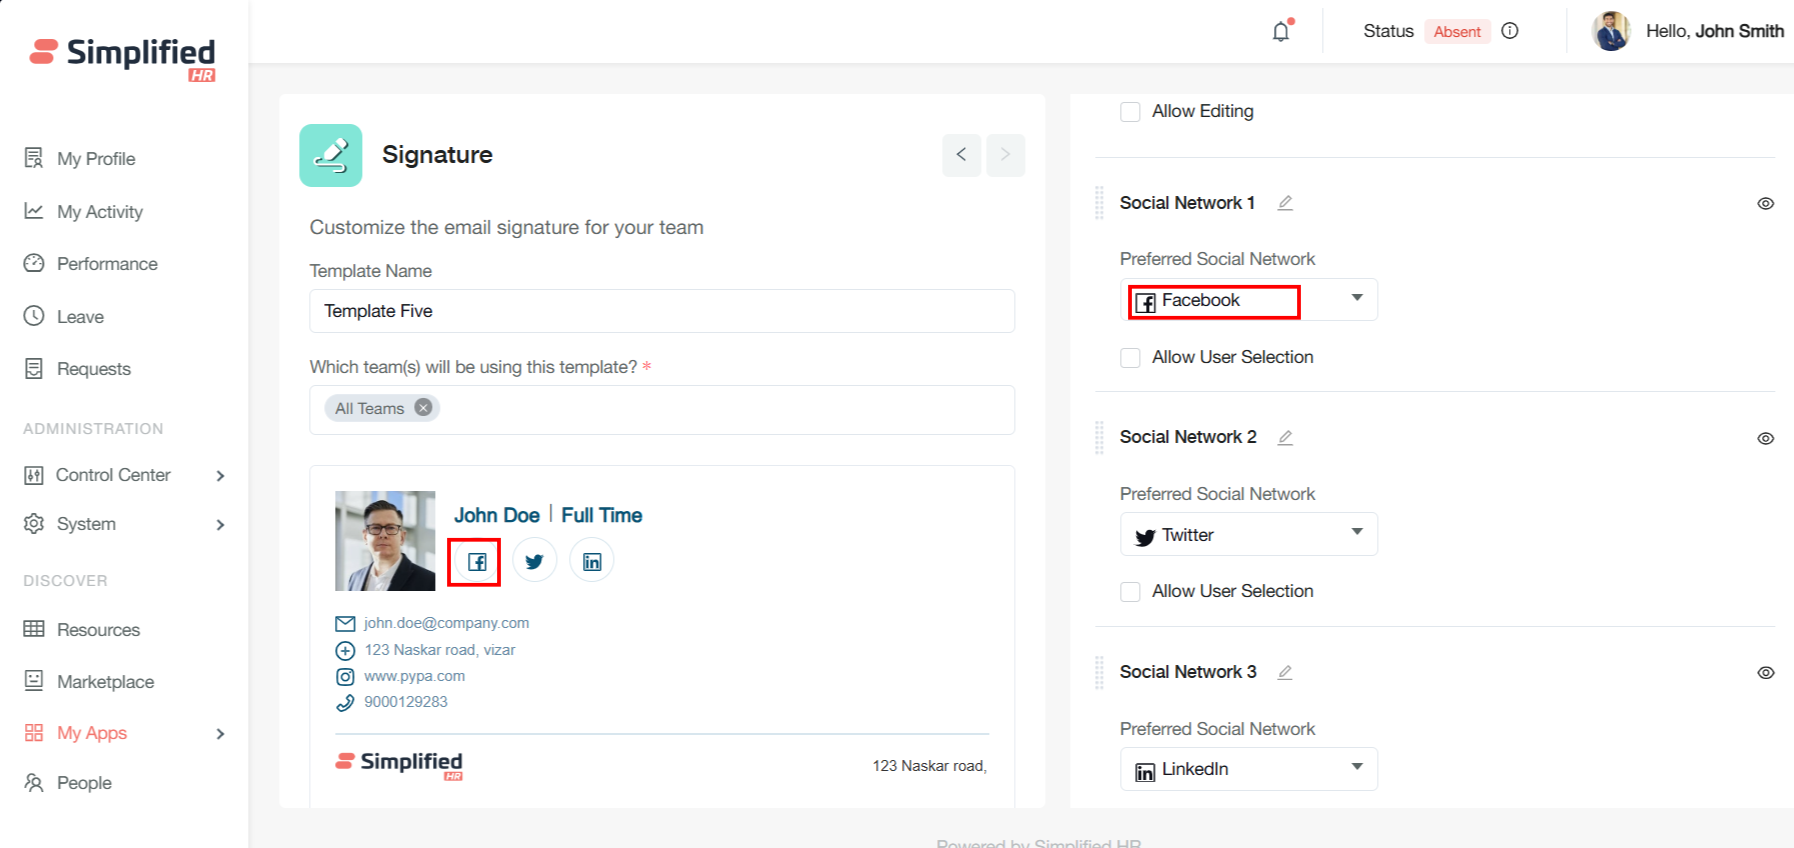
Configure Social Network 1
You can set Social Network 1, and as per the field, the signature will be updated in the template. For example: select "Telegram" to display your organization's or individual's Telegram contact, or choose "Facebook" to link to your company's official Facebook page or professional profile.
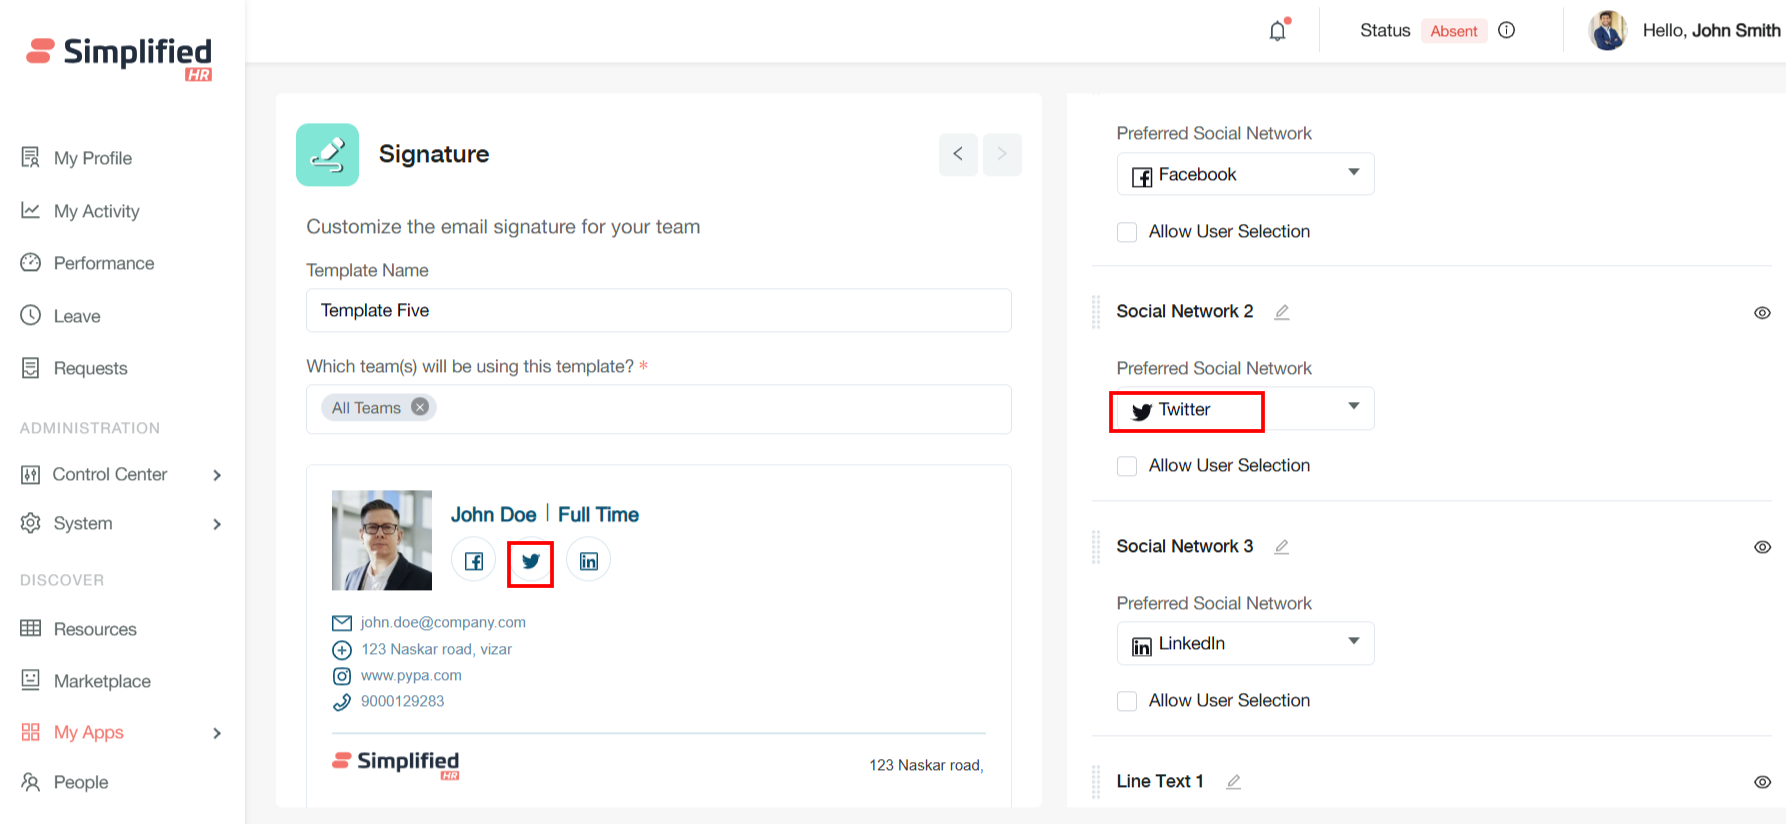
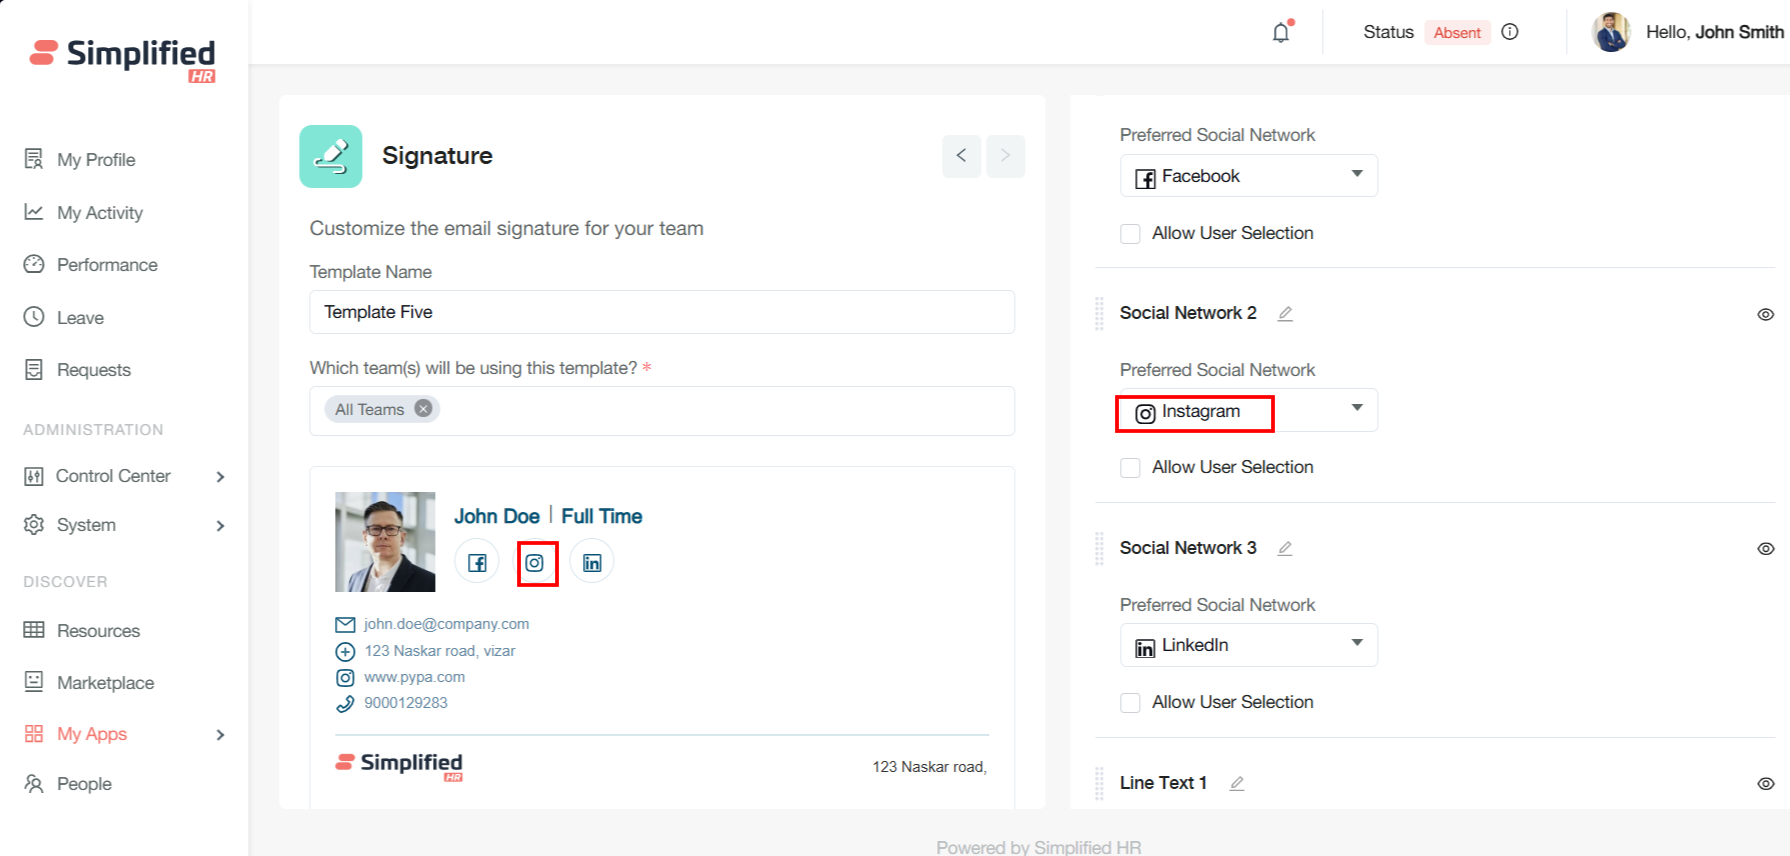
Configure Social Network 2
You can set Social Network 2. For example: select "Twitter" to showcase your organization's Twitter presence, or choose "Instagram" to highlight visual content and company culture.
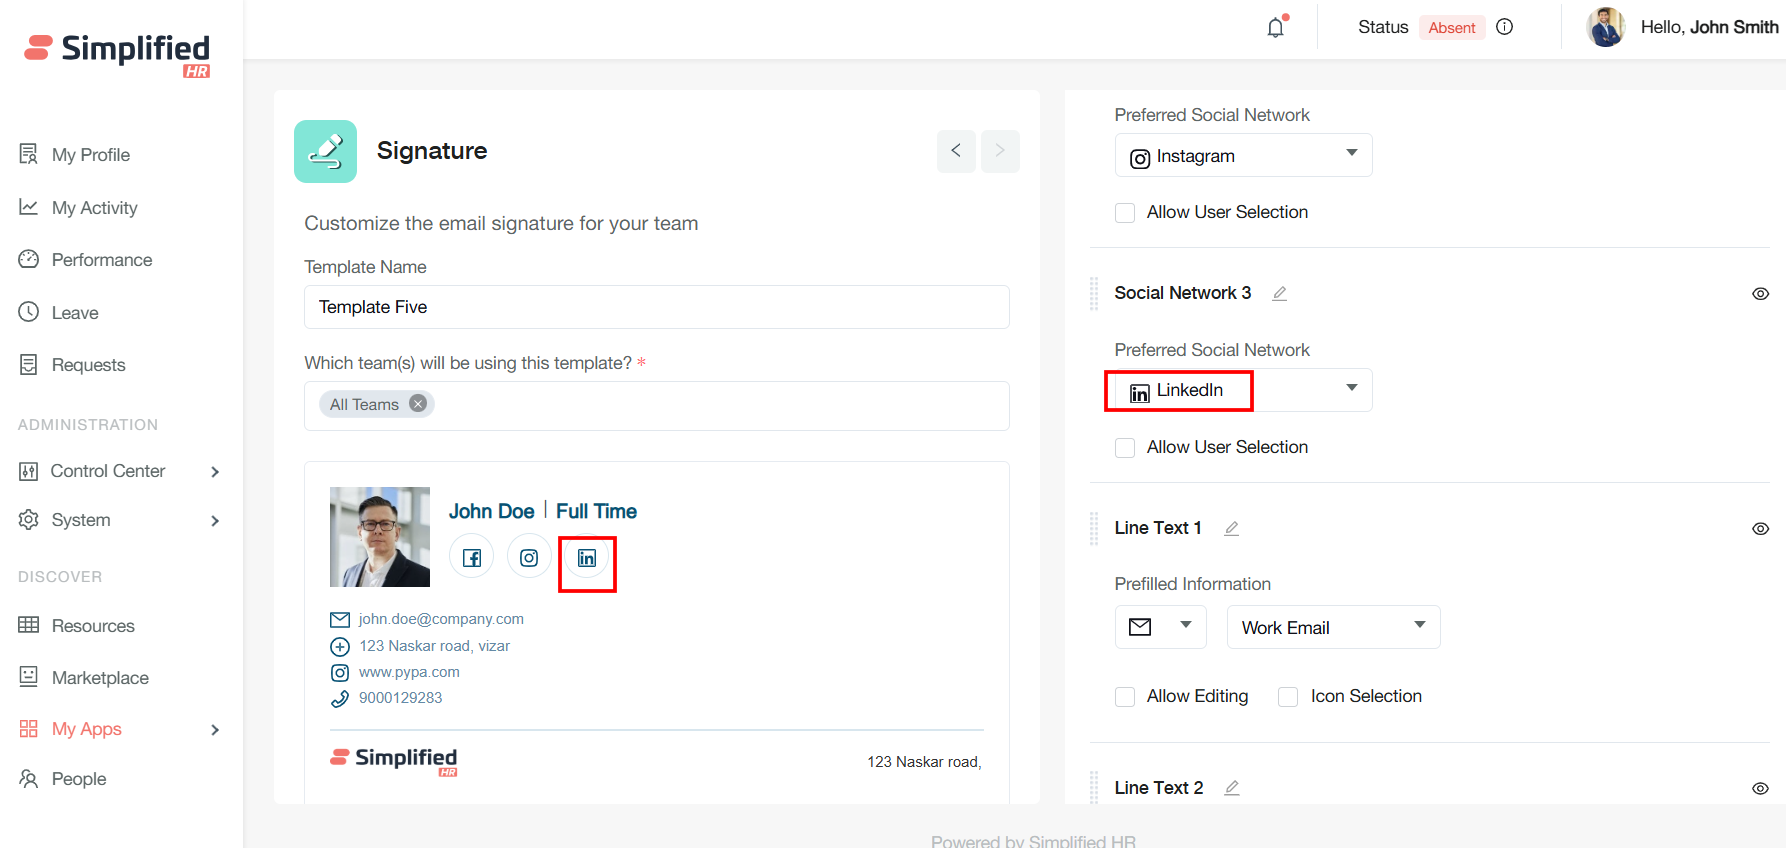
Configure Social Network 3
You can set Social Network 3. For example: select "LinkedIn" to connect with recipients on the premier professional networking platform, or choose "MS Teams" to facilitate direct collaboration and communication.
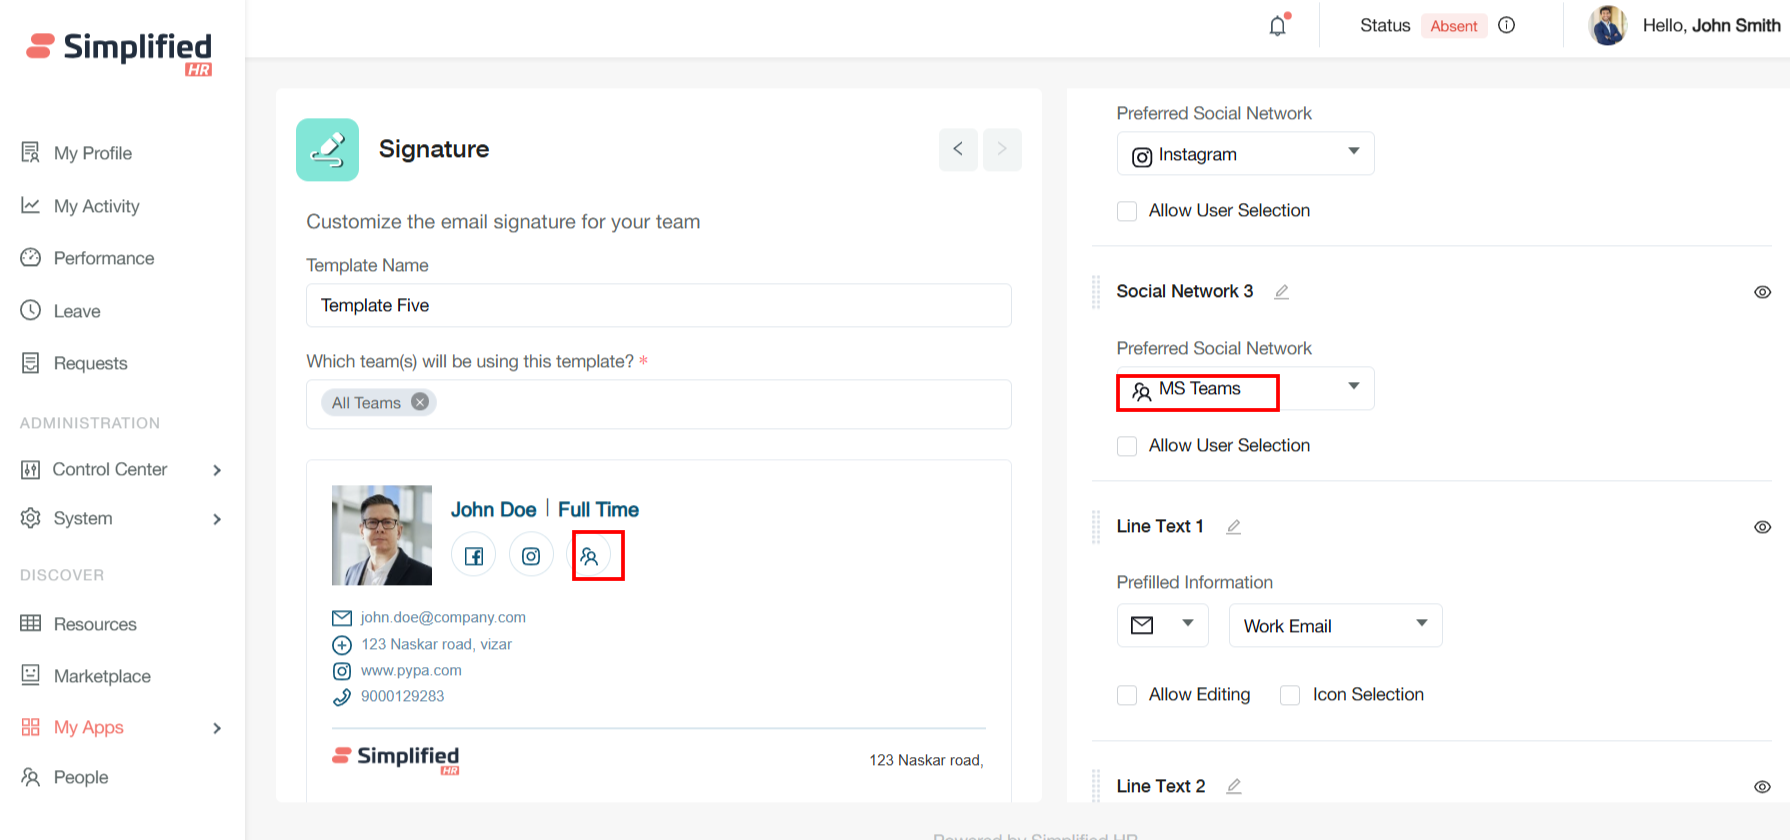
Important: Telegram, Facebook, Twitter, Instagram, LinkedIn, and MS Teams are documented examples of the options available in these dropdowns, not necessarily the only options in the UI.
Configure Link Text 1
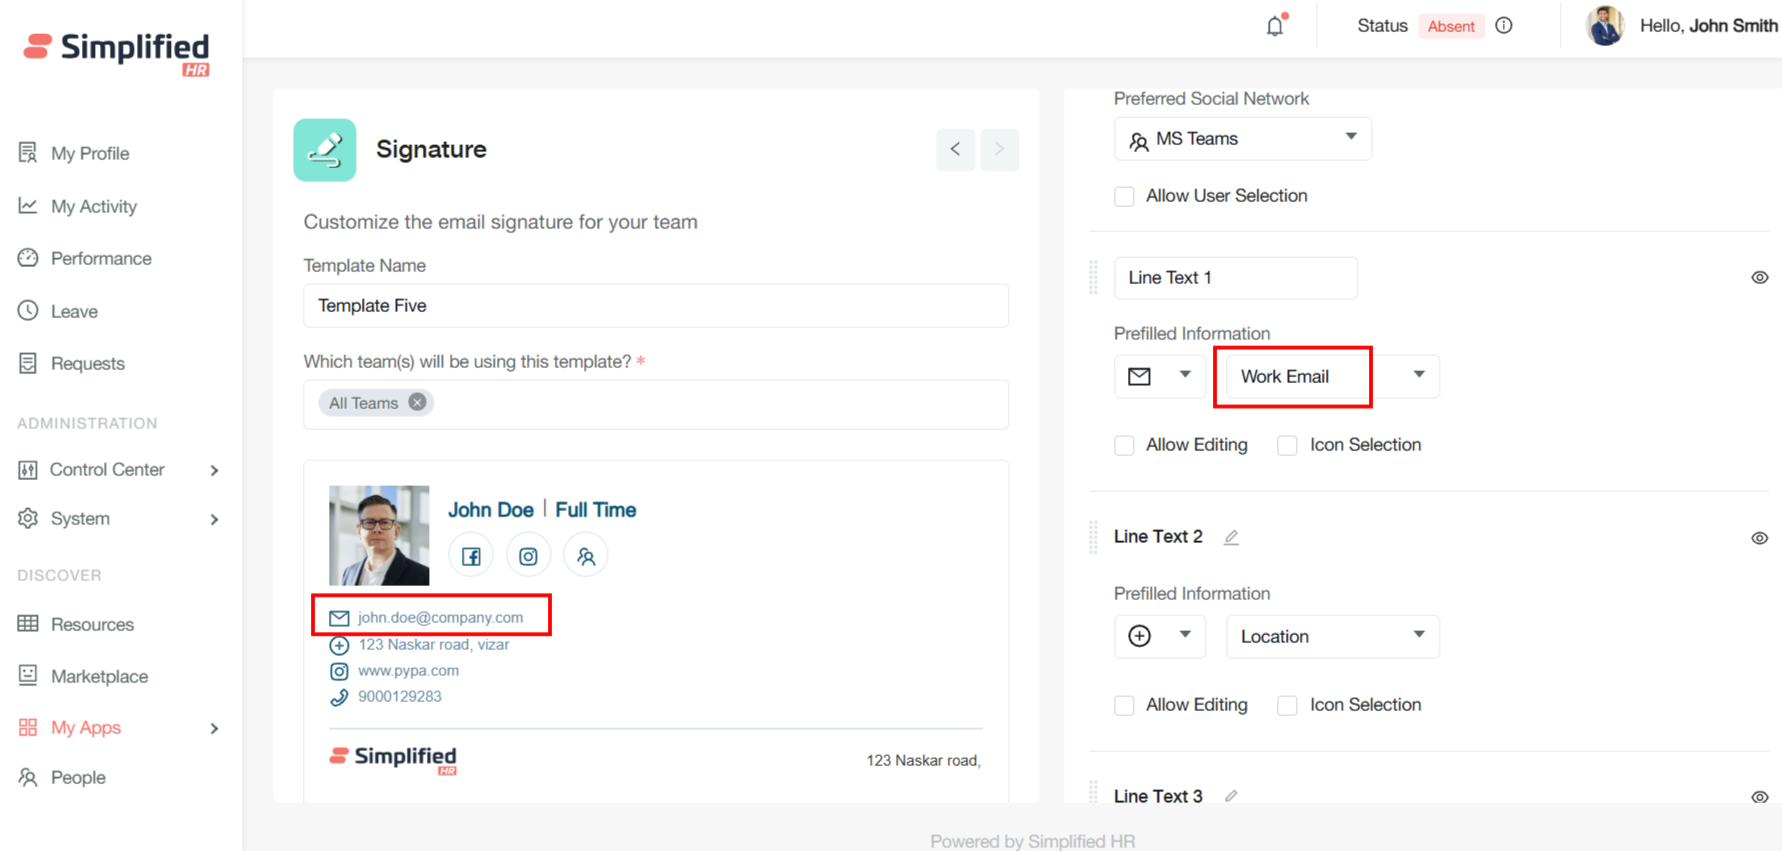
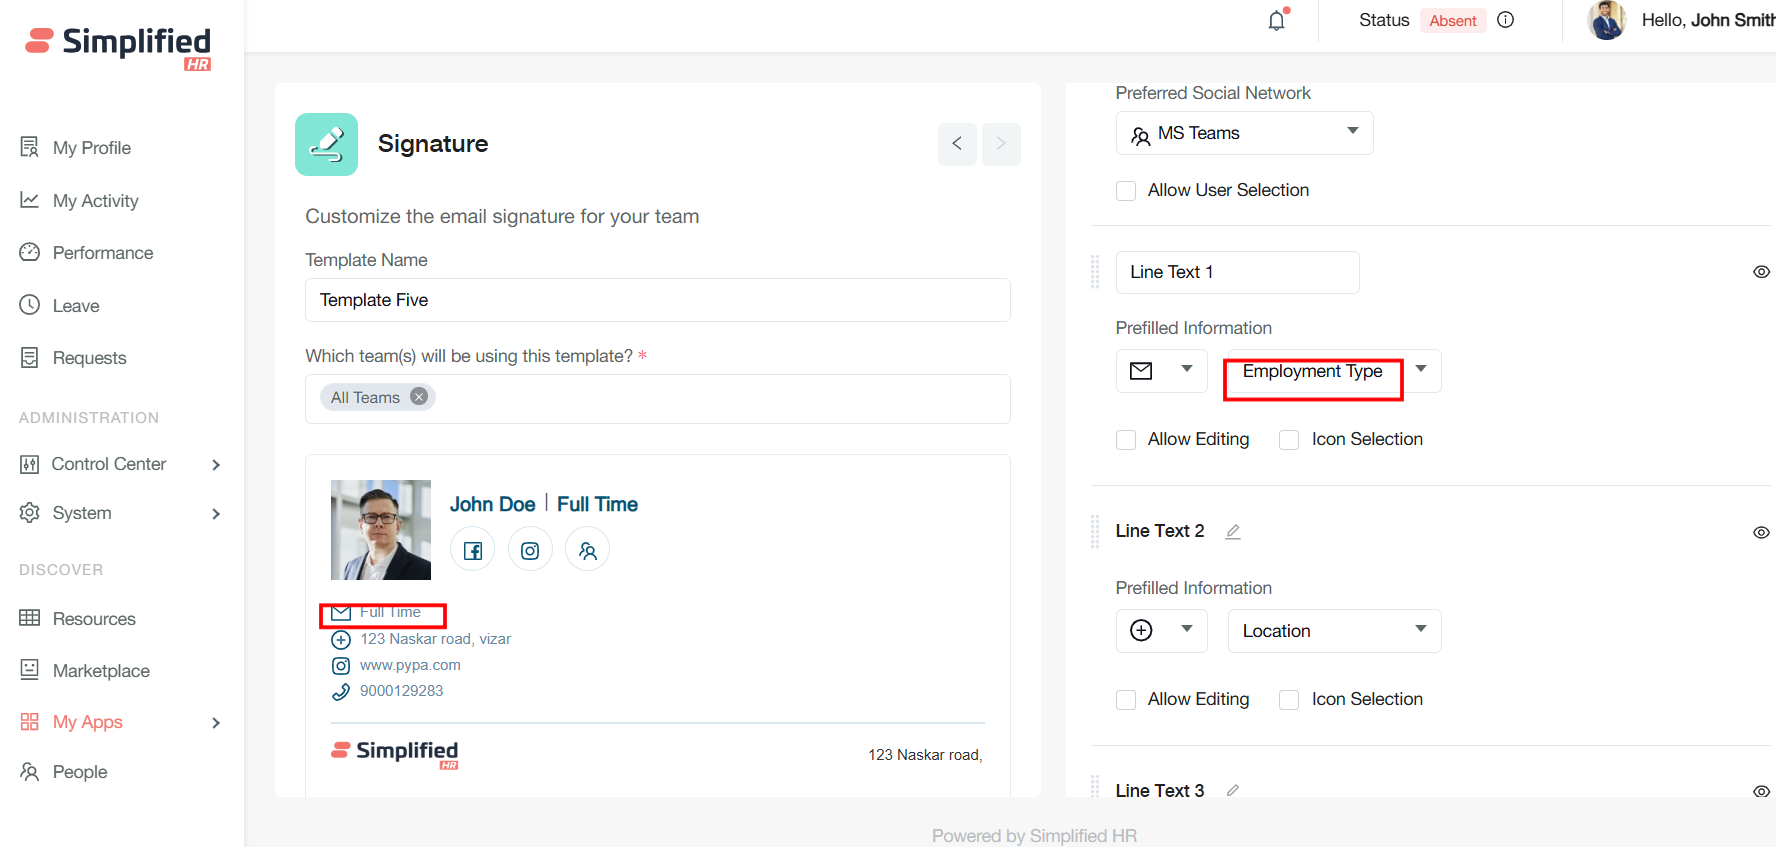
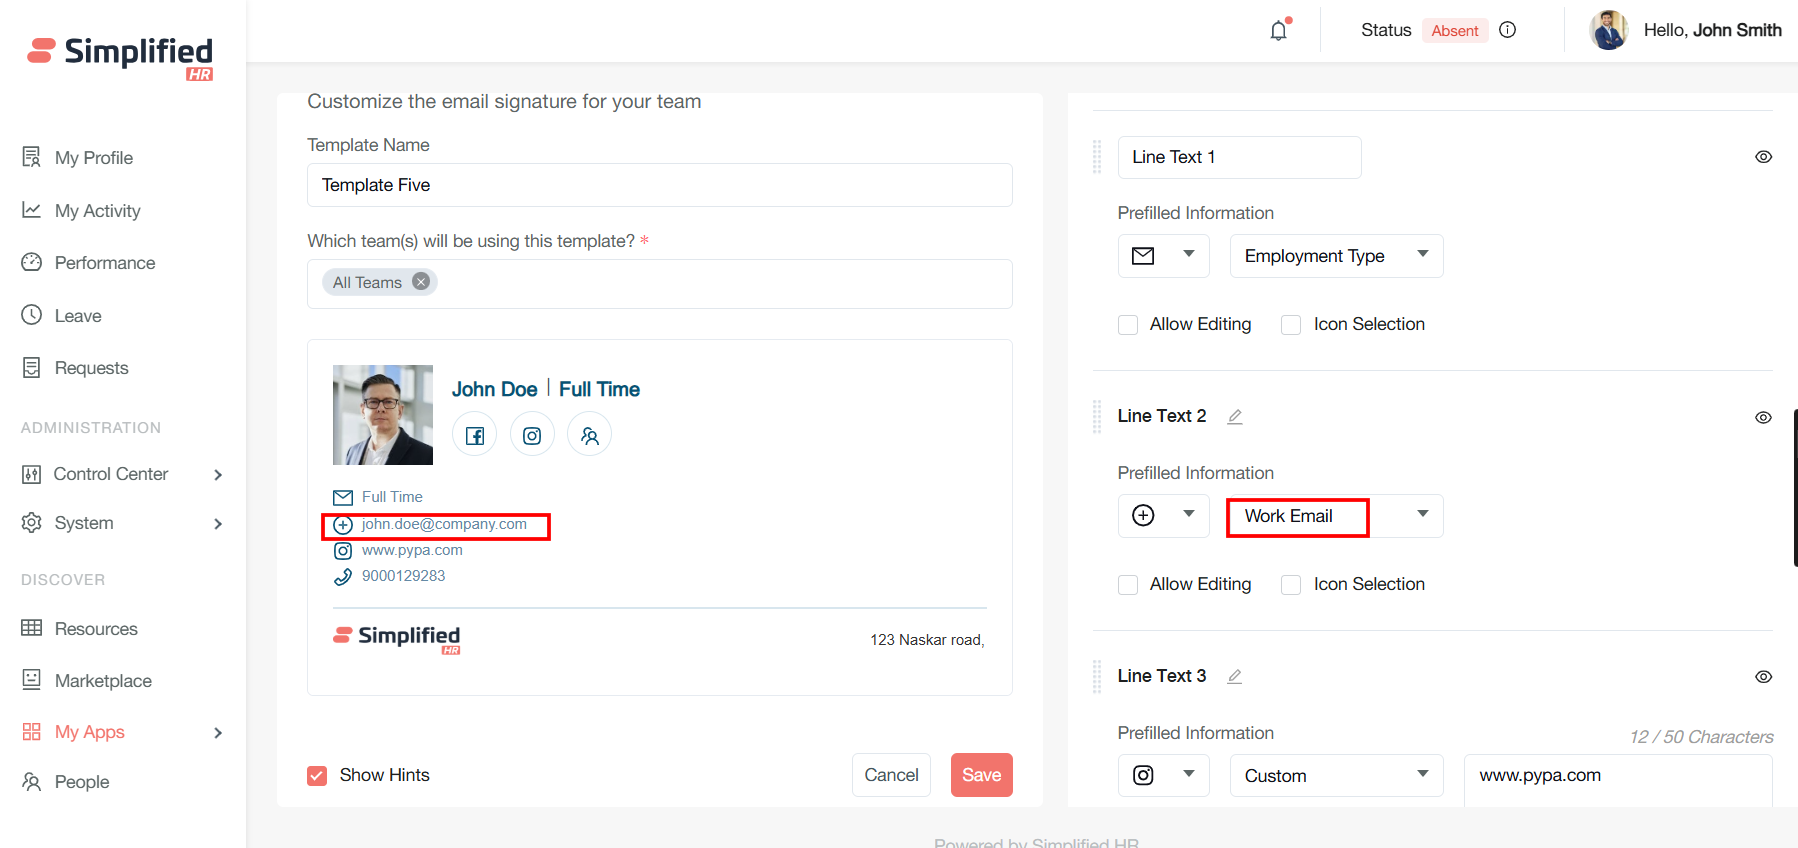
You can set Link Text 1, and as per the field, the signature will be updated in the template. For example: configure "Work Email" as Link Text 1 to provide a clickable email contact method, or select "Employment Type" to provide context about employee status and availability.
Configure Link Text 2
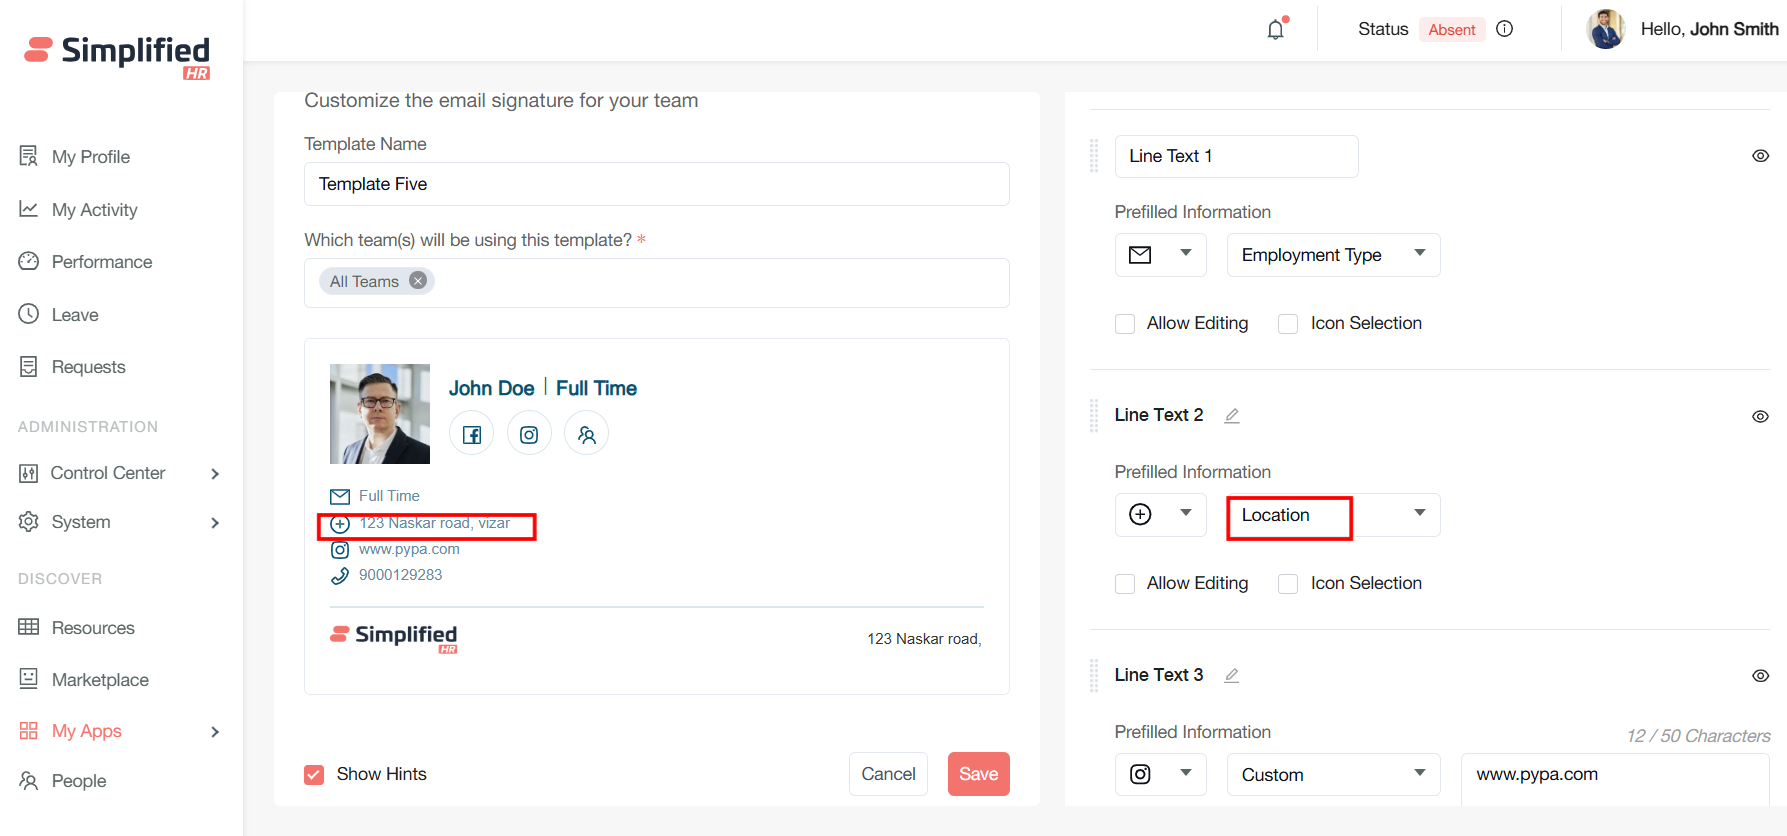
You can set Link Text 2. For example: choose "Location" to provide clickable links to office addresses, maps, or location-specific information.
Configure Multiple Work Email Options
Configure additional "Work Email" options for employees with multiple email addresses.
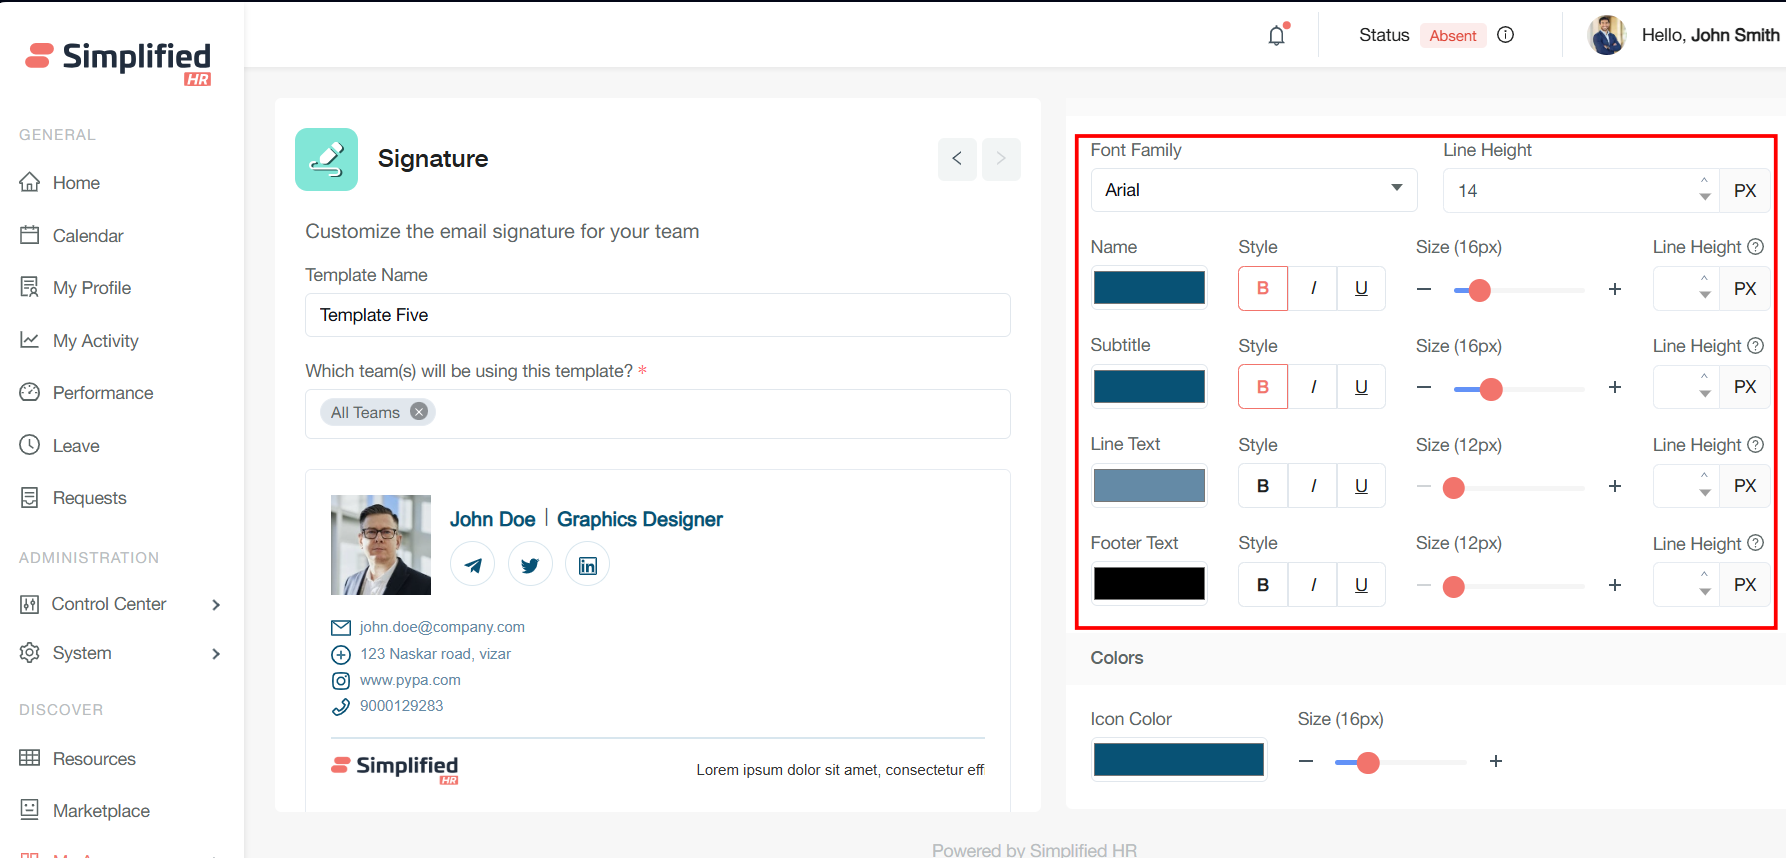
Configure Signature Font
Font selection: Choose from professional typefaces that render consistently across email clients.
Configure Signature Height
Height settings: Configure signature dimensions for optimal display.
Configure Name Formatting
Name formatting: Customize how employee names appear in signatures.
Configure Subtitle Styling
Subtitle styling: Configure job titles and department designations.
Configure Line Text Appearance
Line text appearance: Adjust spacing and alignment for signature elements.
Configure Footer Text Formatting
Footer text formatting: Ensure consistent styling for footer information.
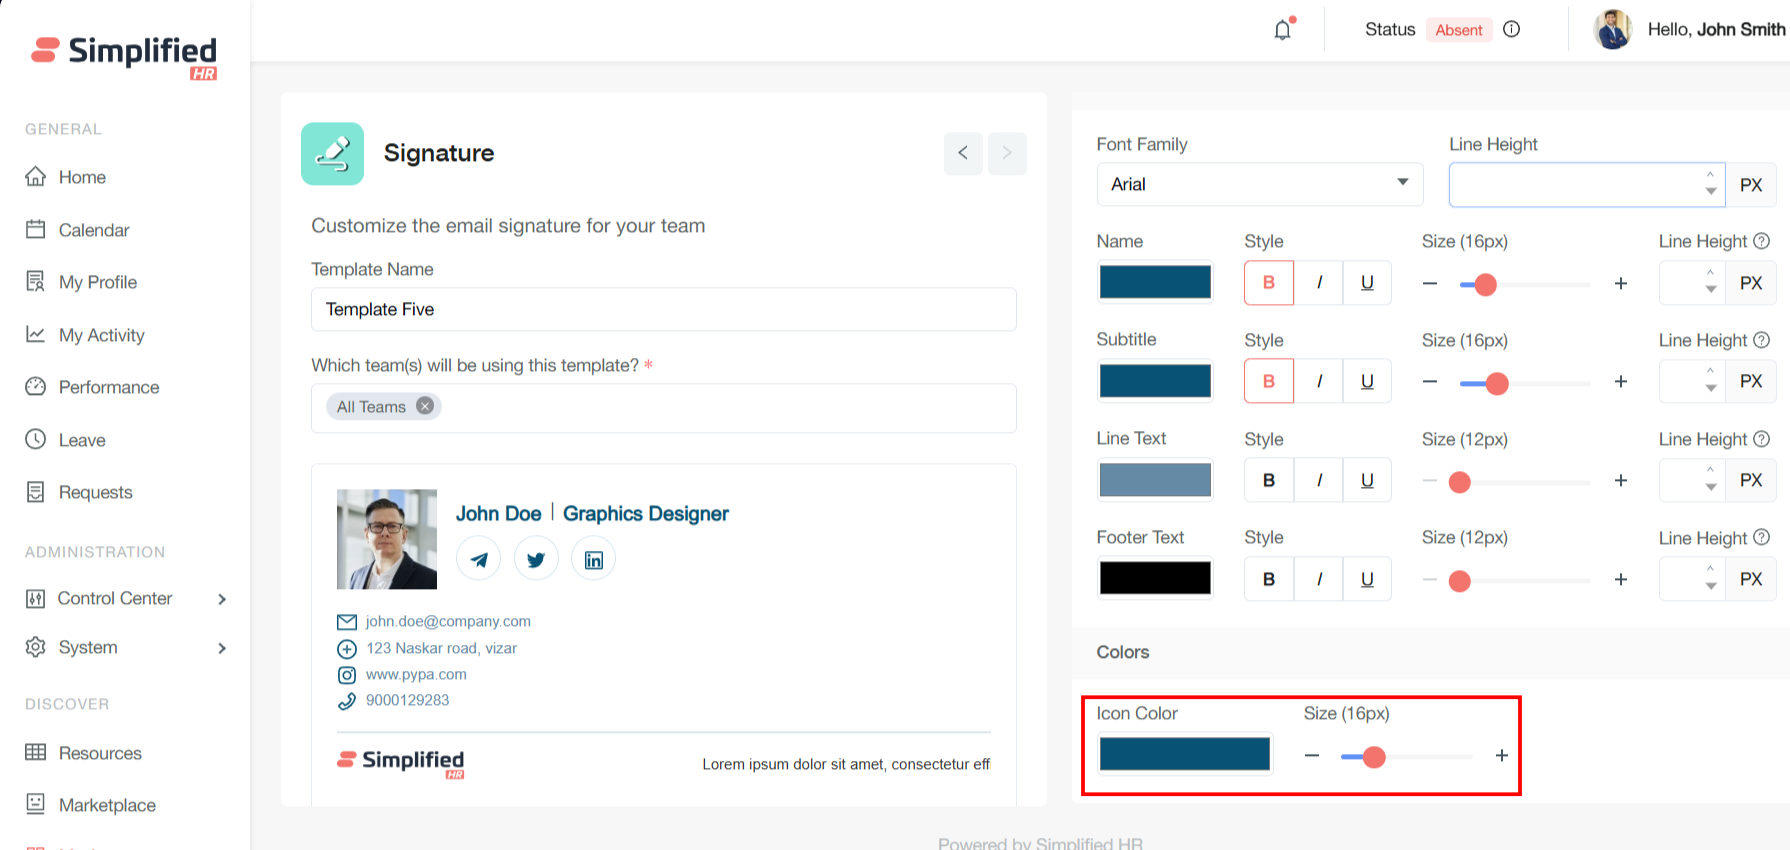
Customize Icon Color
Icon Color Customization: Modify icon colors to match your organizational brand guidelines, ensuring visual consistency across all signatures and maintaining professional appearance standards.
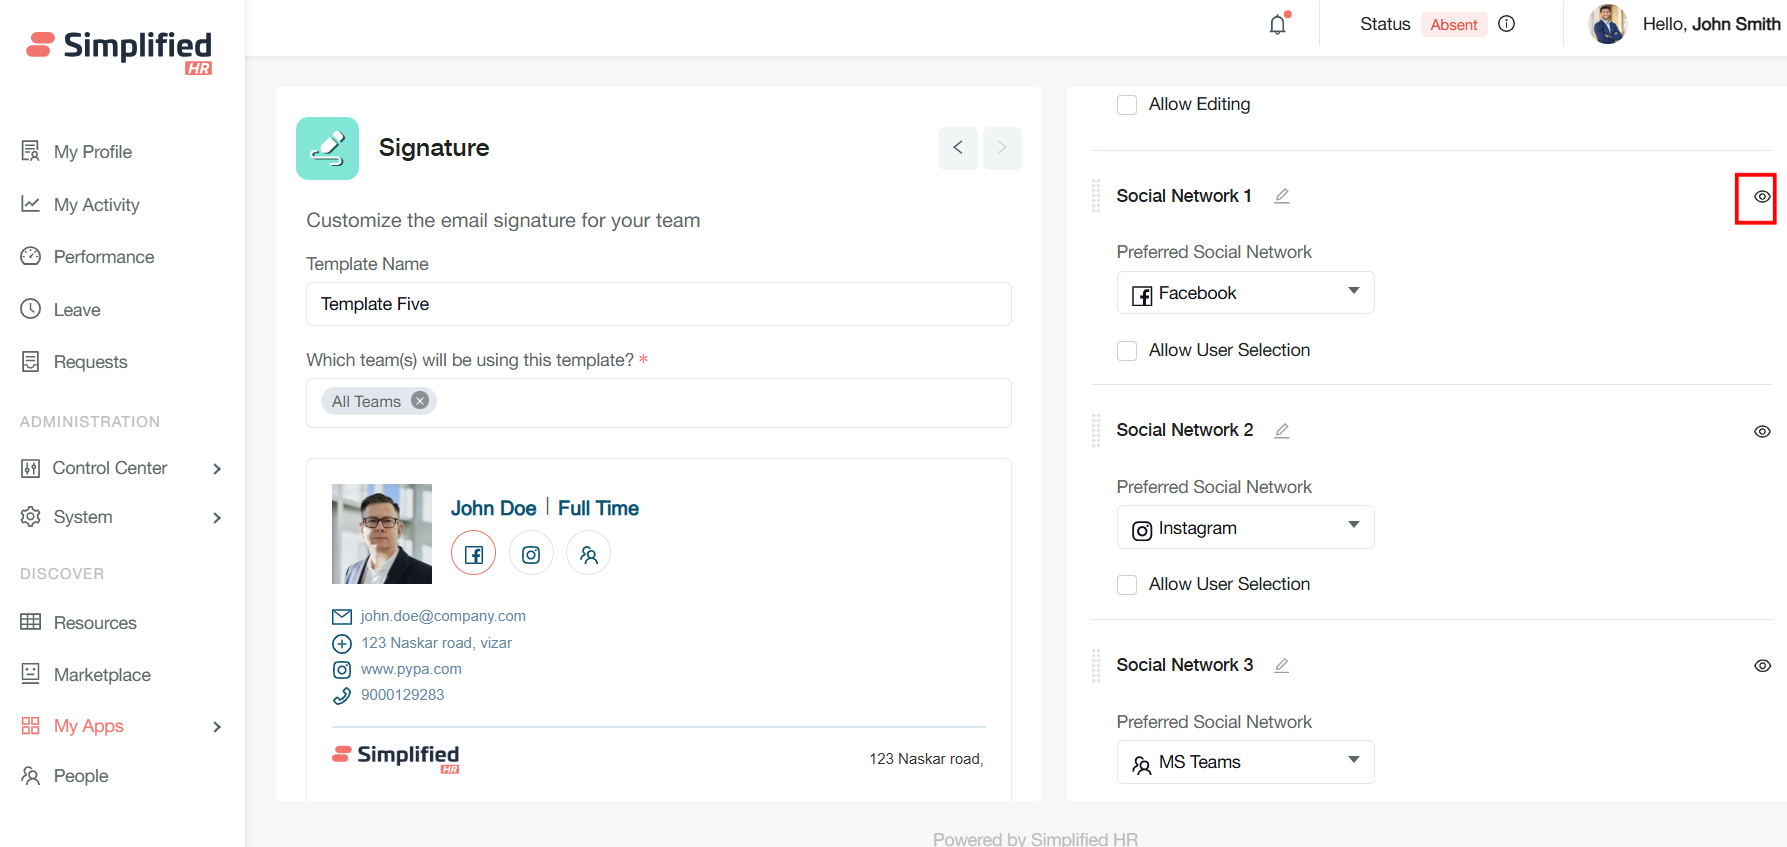
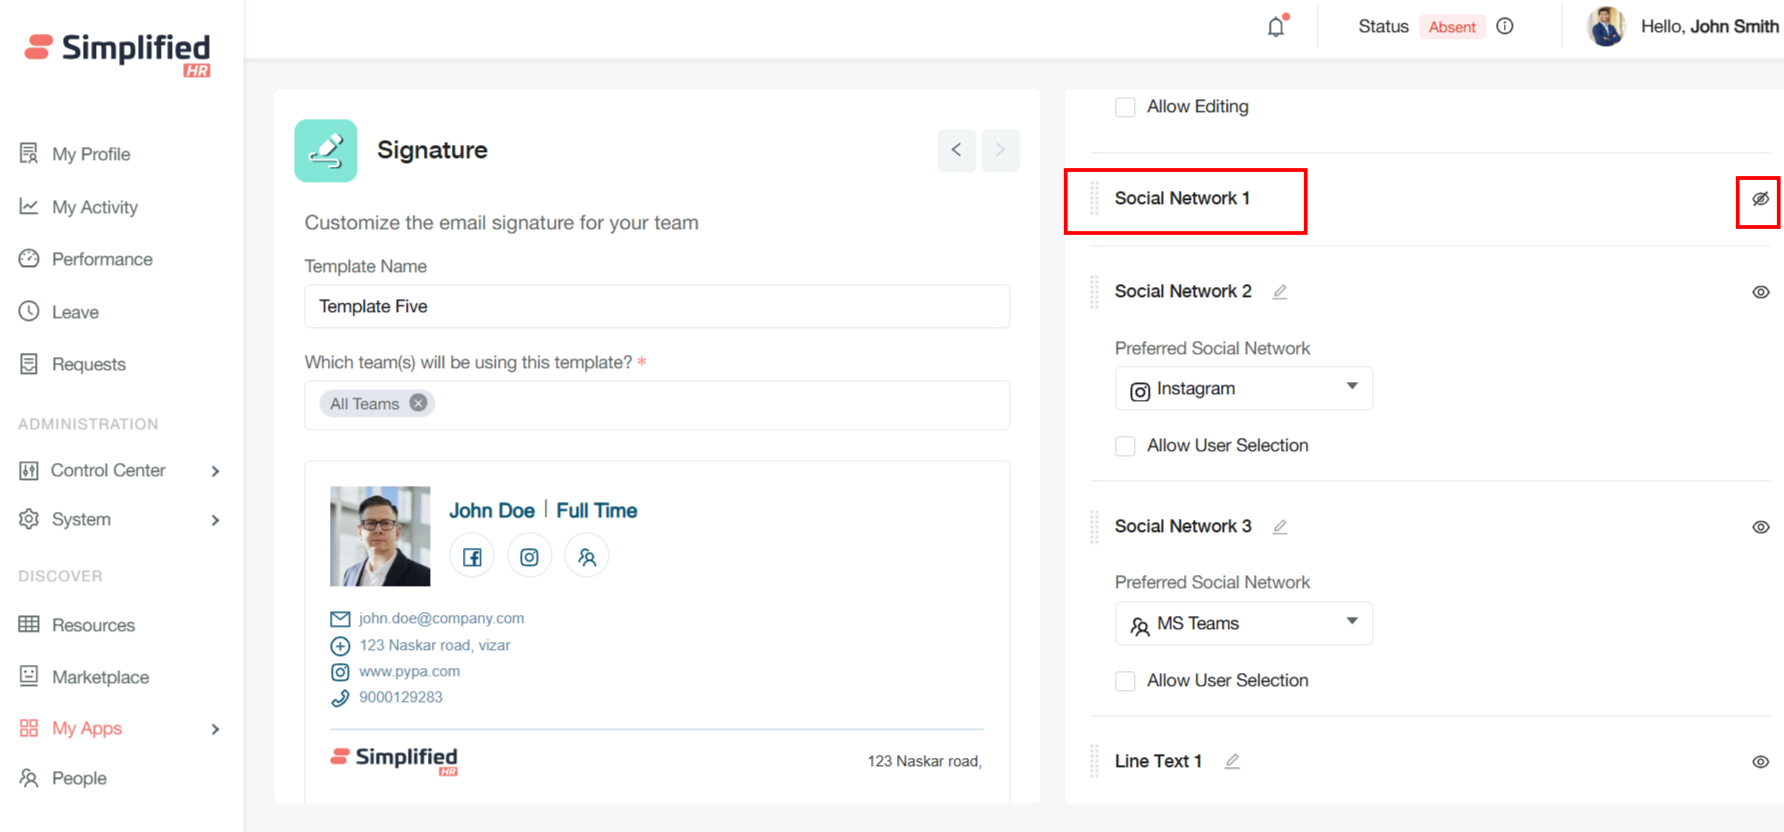
Show or Hide Signature Fields
You can show/hide every field from the configuration panel.
Allow User Selection
Allow User Selection Checkbox: When enabled, this feature permits individual users to customize certain signature elements after the template has been configured. This approach balances organizational control with personal customization needs.
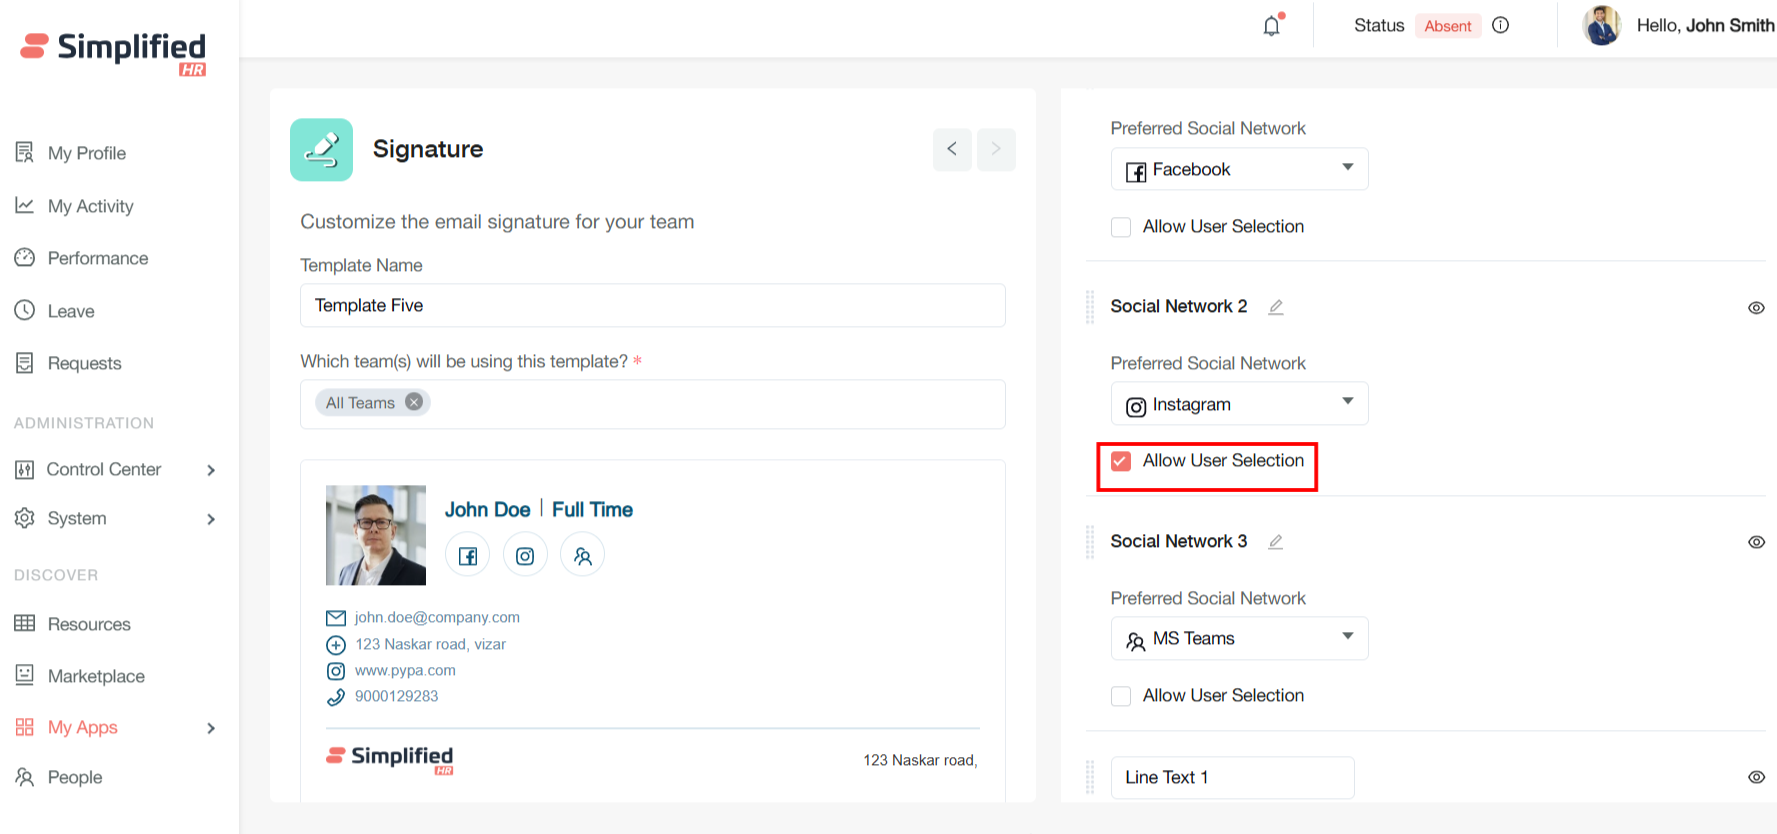
Important: Allow User Selection is distinct from Allow Editing: Allow Editing enables team members to modify their individual signatures within the template framework, while Allow User Selection permits users to customize certain signature elements after the template has been configured.
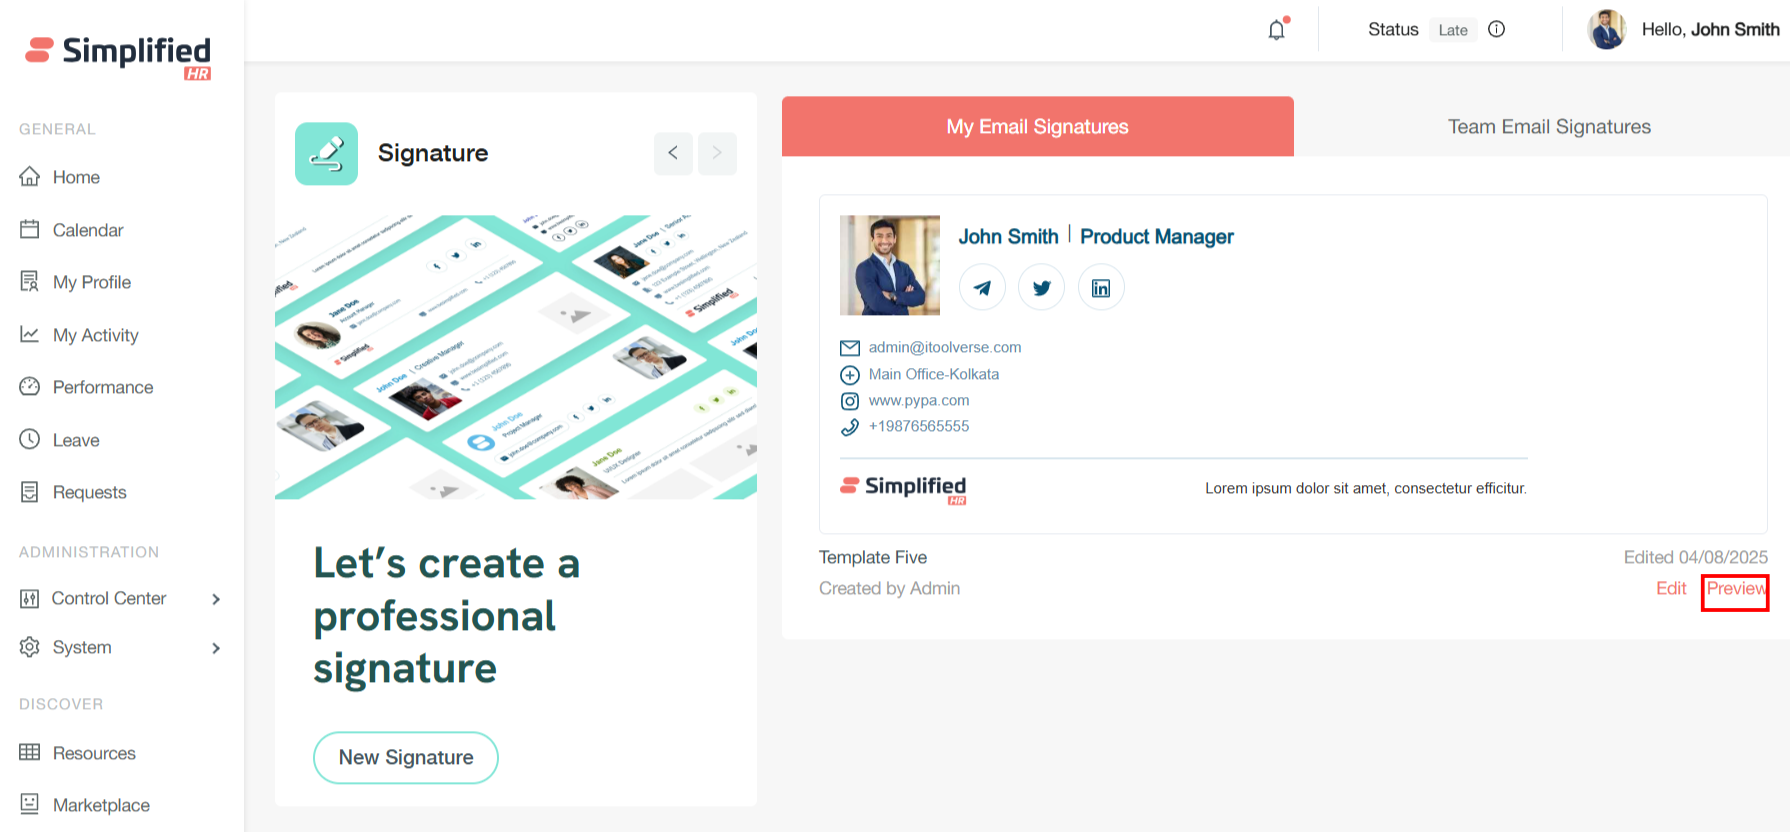
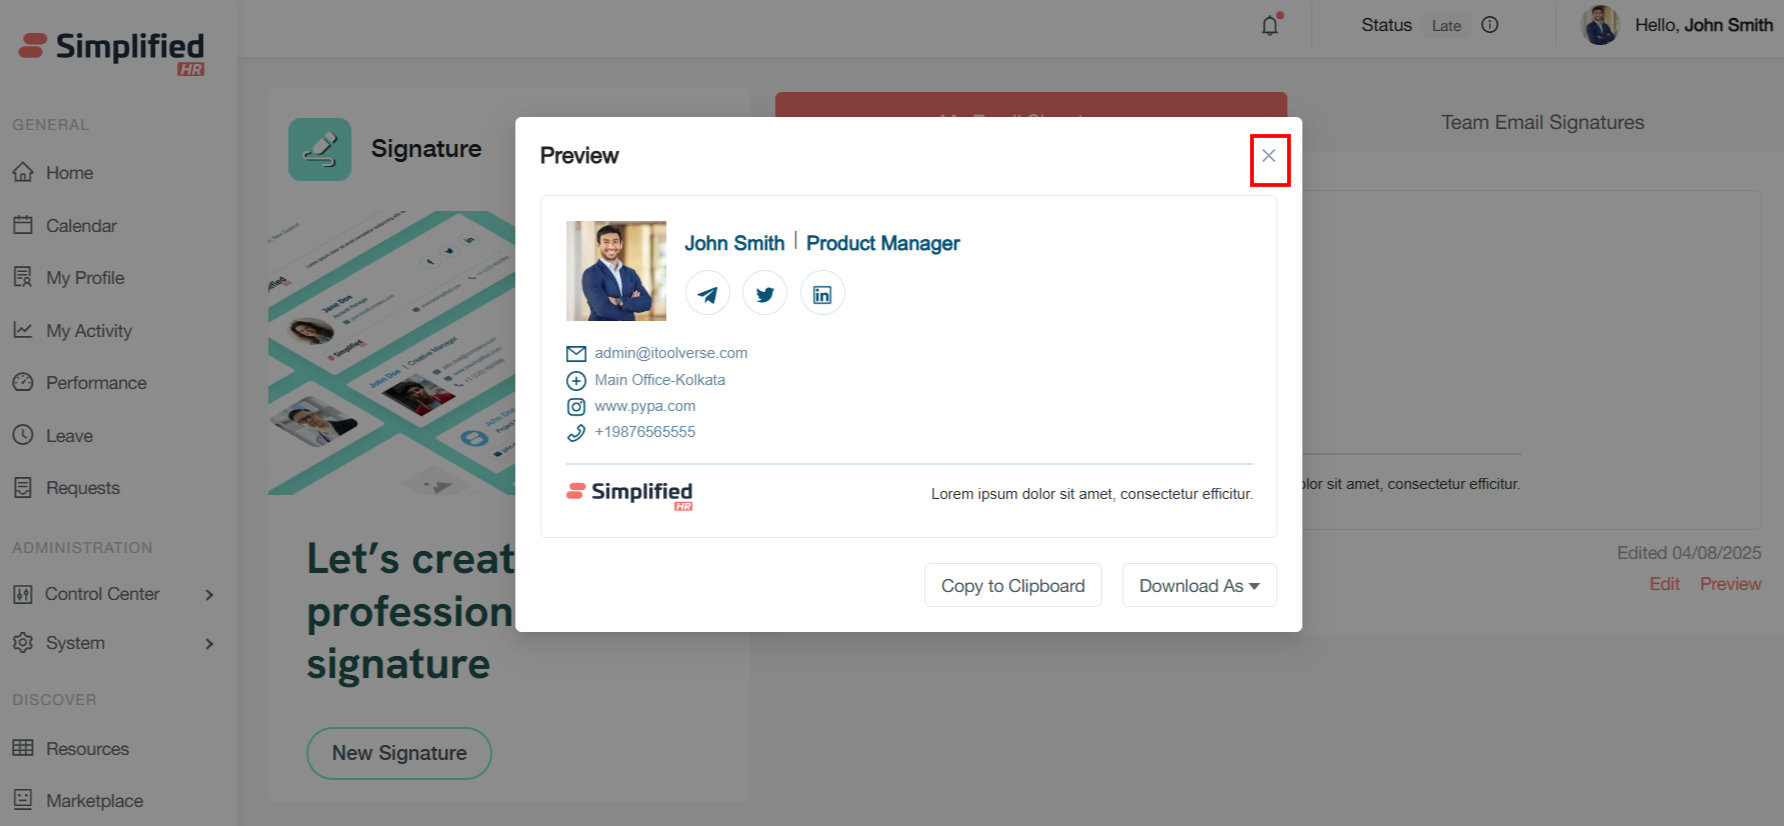
Preview Signature Template
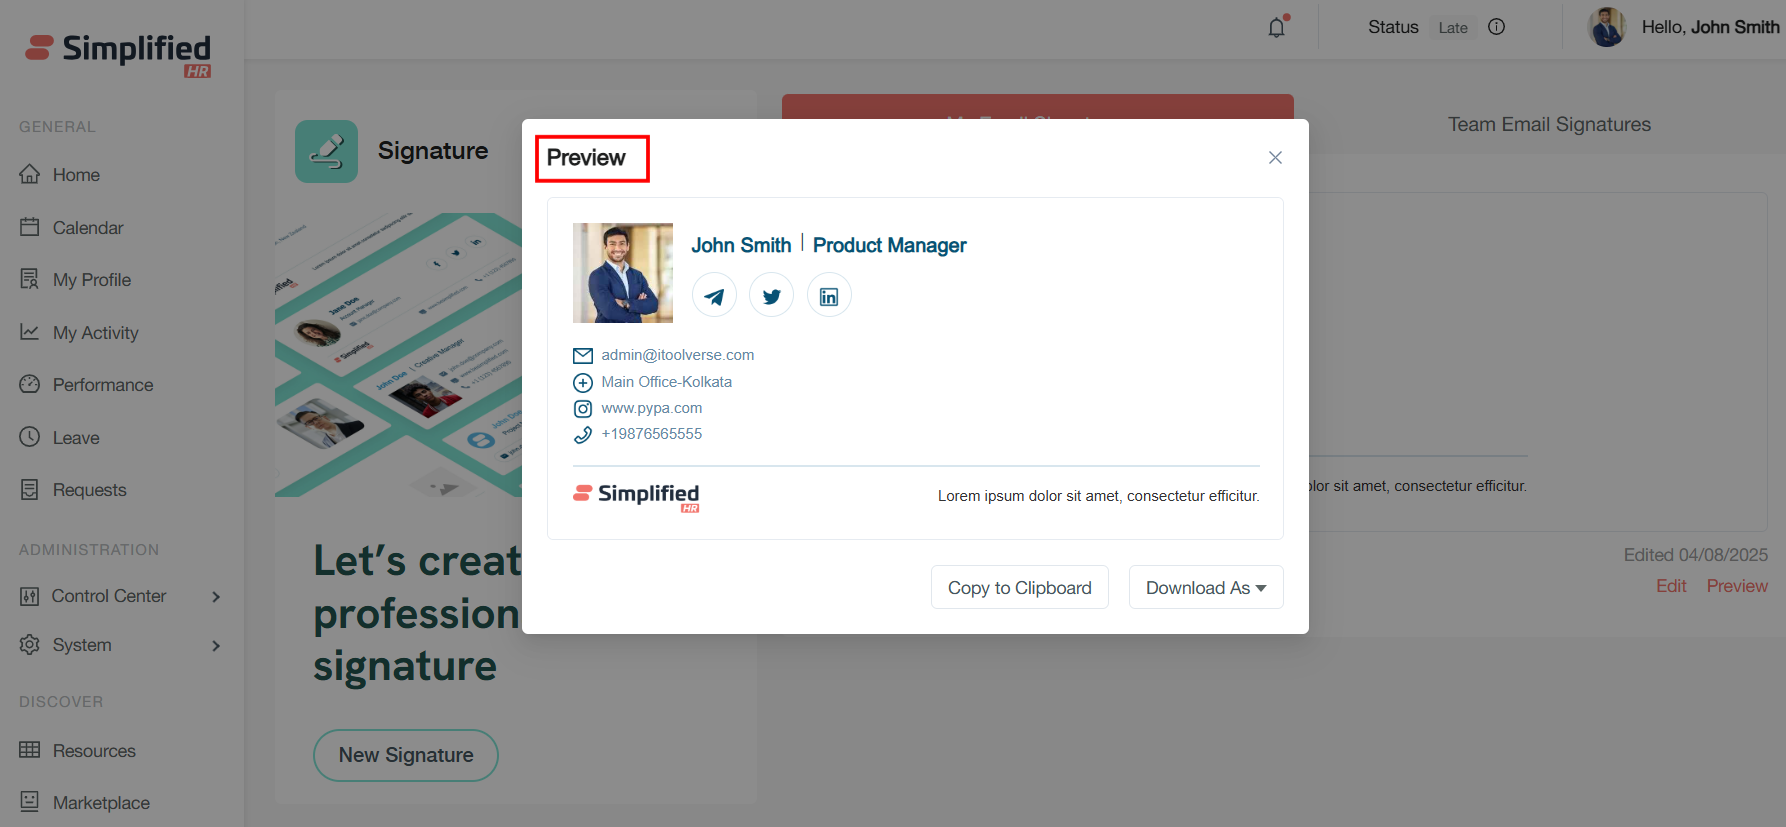
The Signature Maker includes comprehensive preview functionality to ensure your signatures appear correctly across different email clients and devices. Click the preview option to display a sample template with realistic data.
Verify Signature Appearance
-
Review the signature appearance across different screen sizes and formats.
-
Test visual elements including images, colors, and text formatting.
-
Verify link functionality and social media integration.
Close Signature Preview
Close Preview: Click the cross (X) button to exit the preview modal and return to the template management interface.
Publish Signature Template to Teams
After saving your template, the signature becomes available in the My Email Signature section for users who are assigned to the appropriate team. This automatic assignment ensures that:
-
Team members see only relevant signature templates.
-
Organizational structure is maintained in signature deployment.
-
Administrative overhead is minimized through automated assignment.
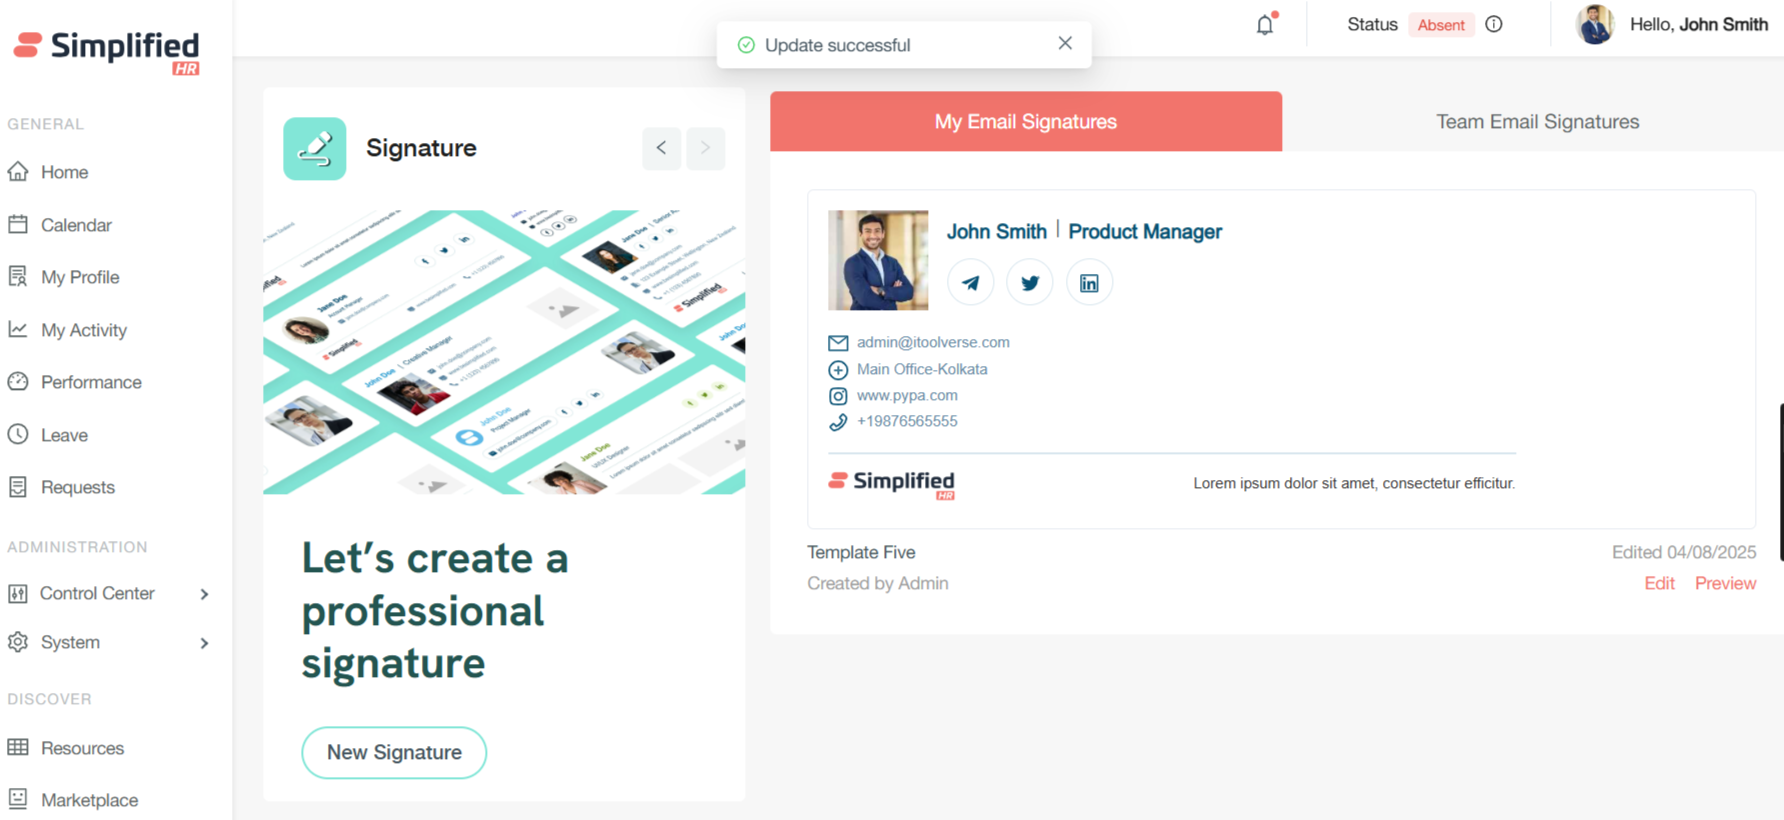
View Team Email Signature
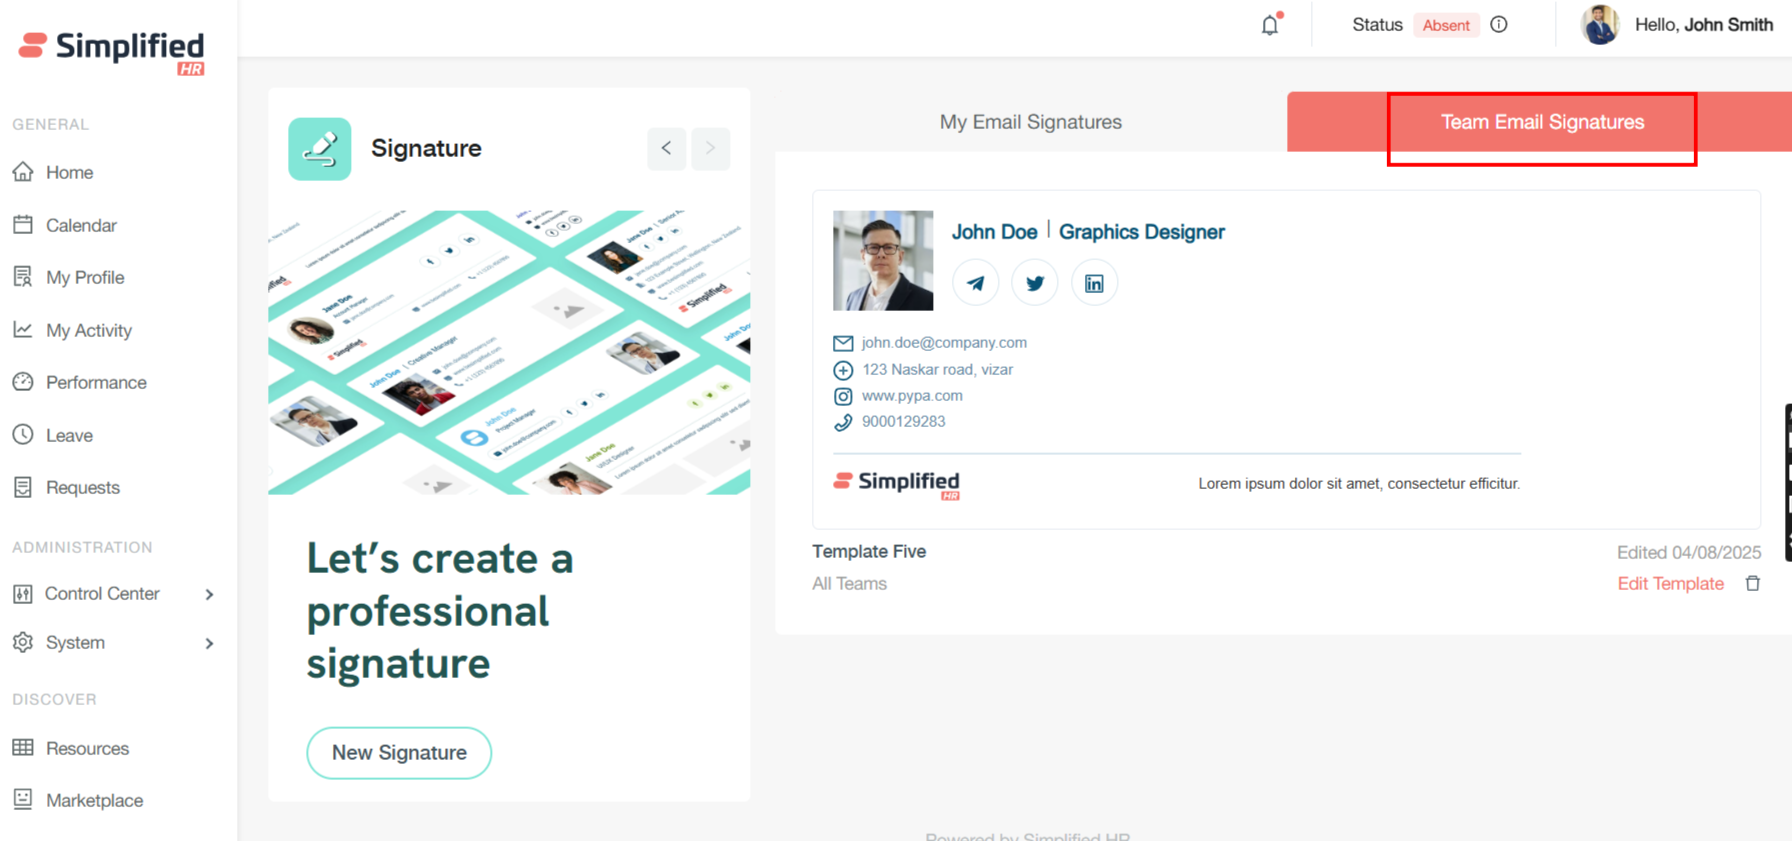
Team Email Signature is also displayed for the team members.
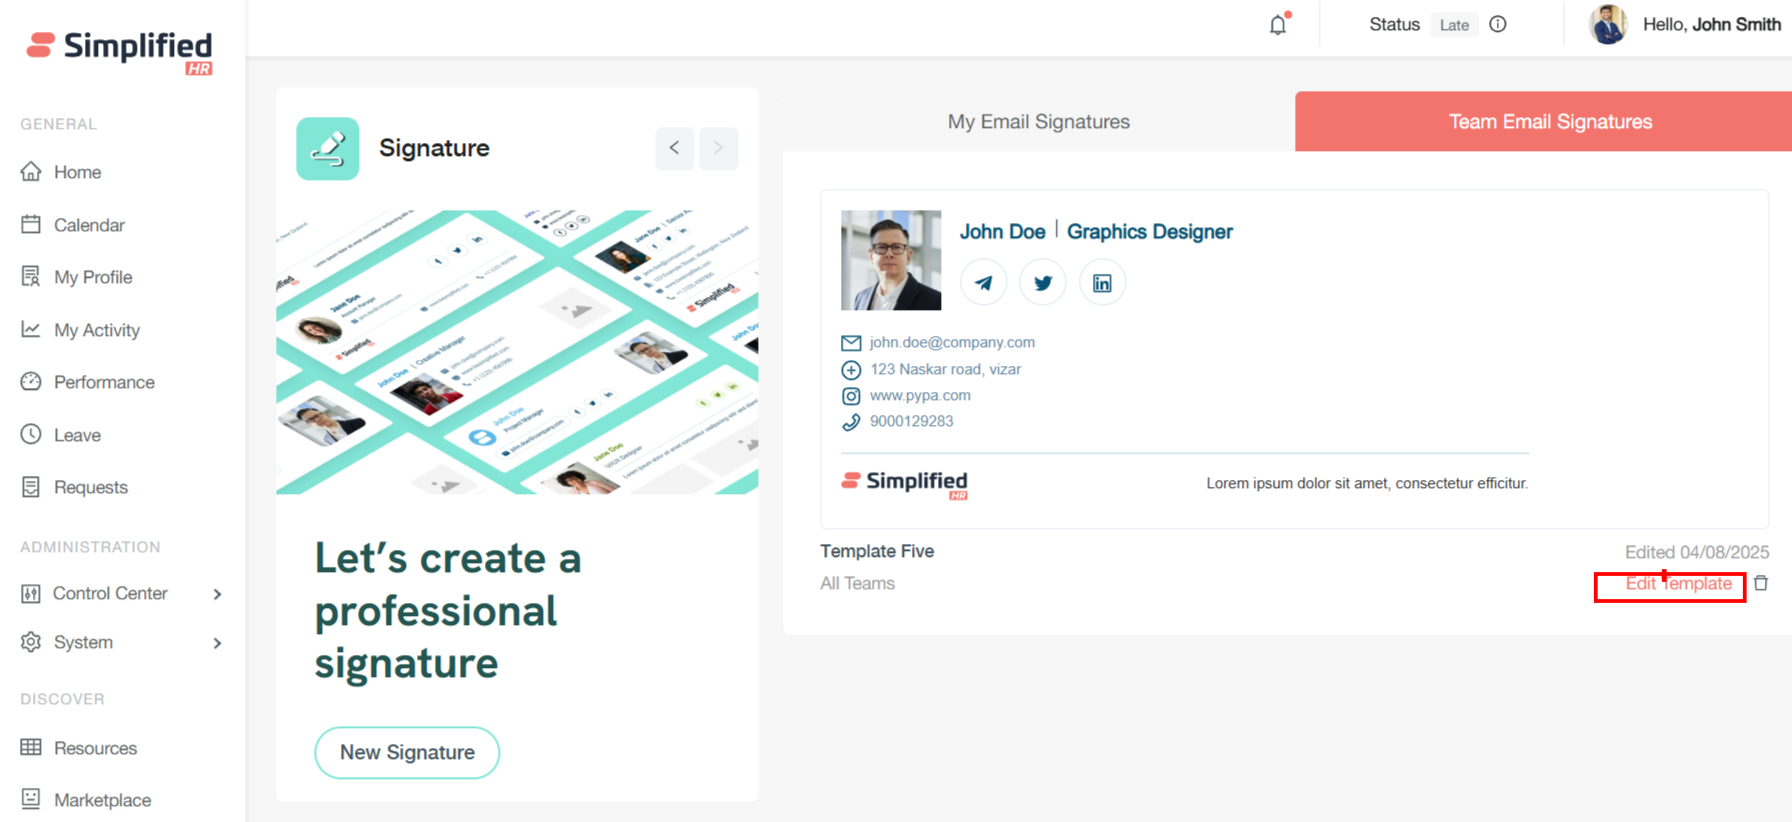
Edit Existing Signature Template
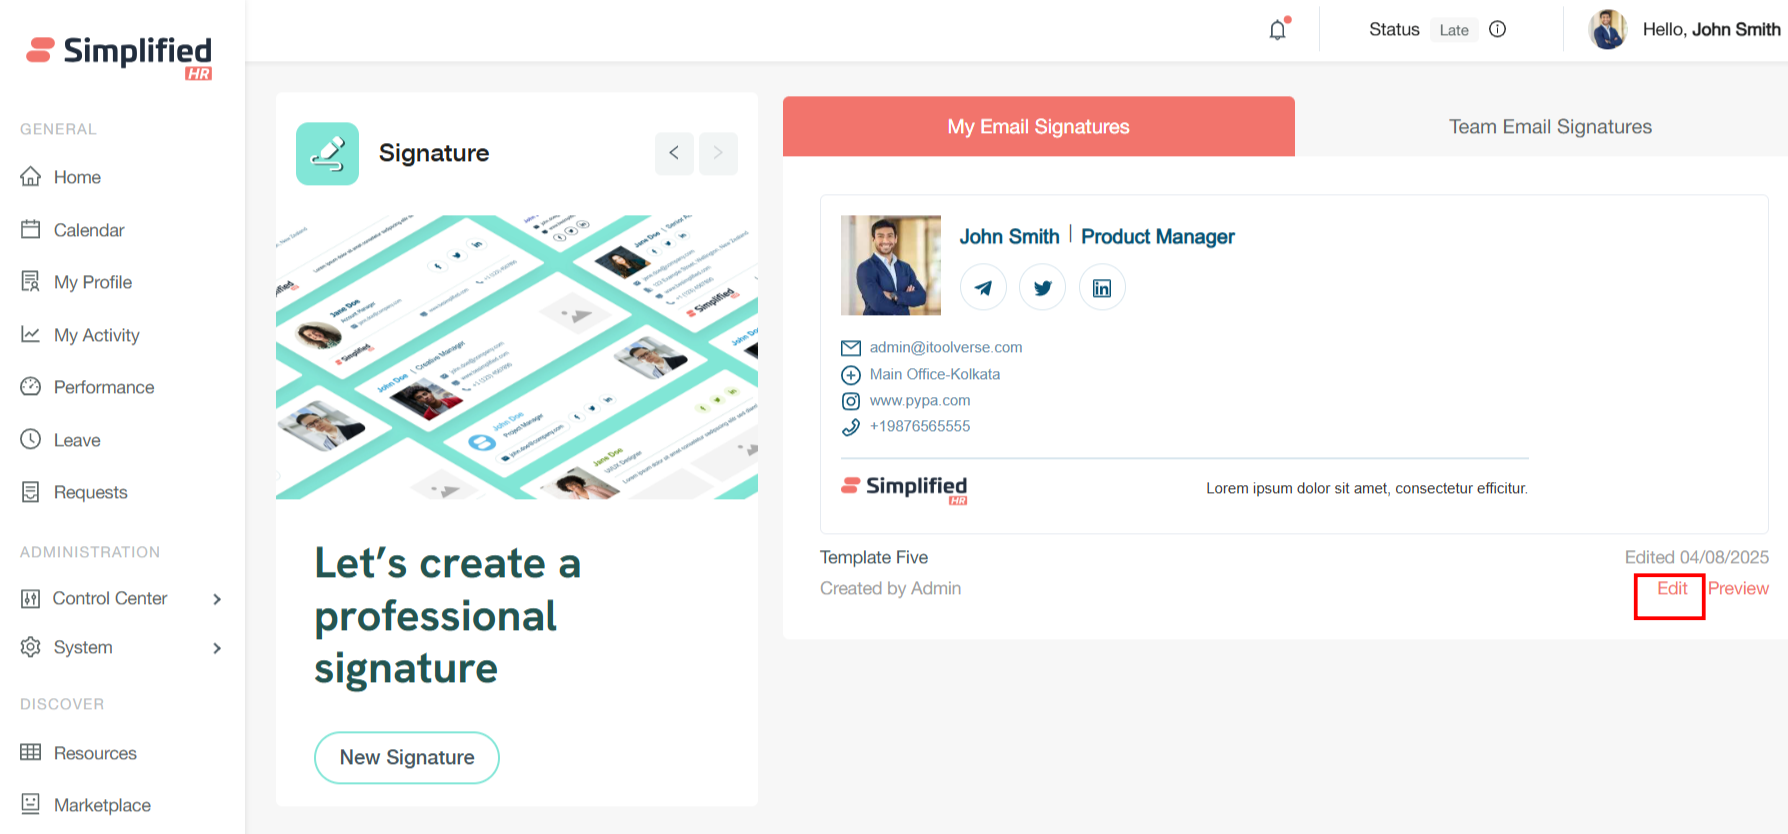
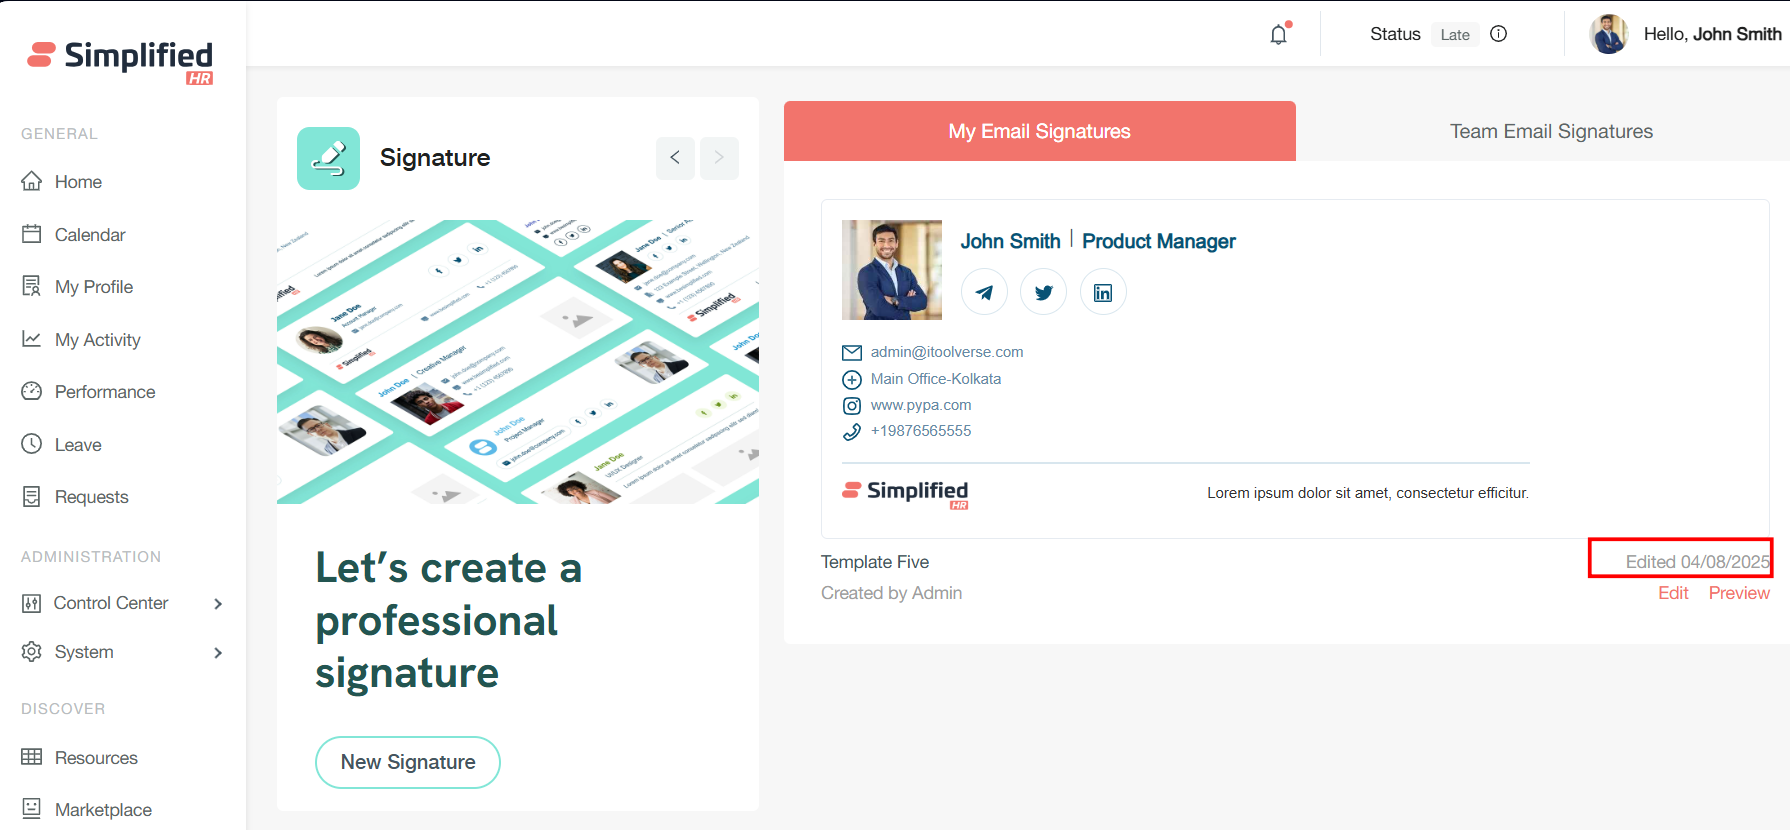
Edit Button Functionality: Users can modify existing templates through the dedicated edit button, which opens the comprehensive template editor.
View Last Modified Date
Last Modified Tracking: The system displays the last edited date for each template, providing visibility into when signatures were most recently updated.
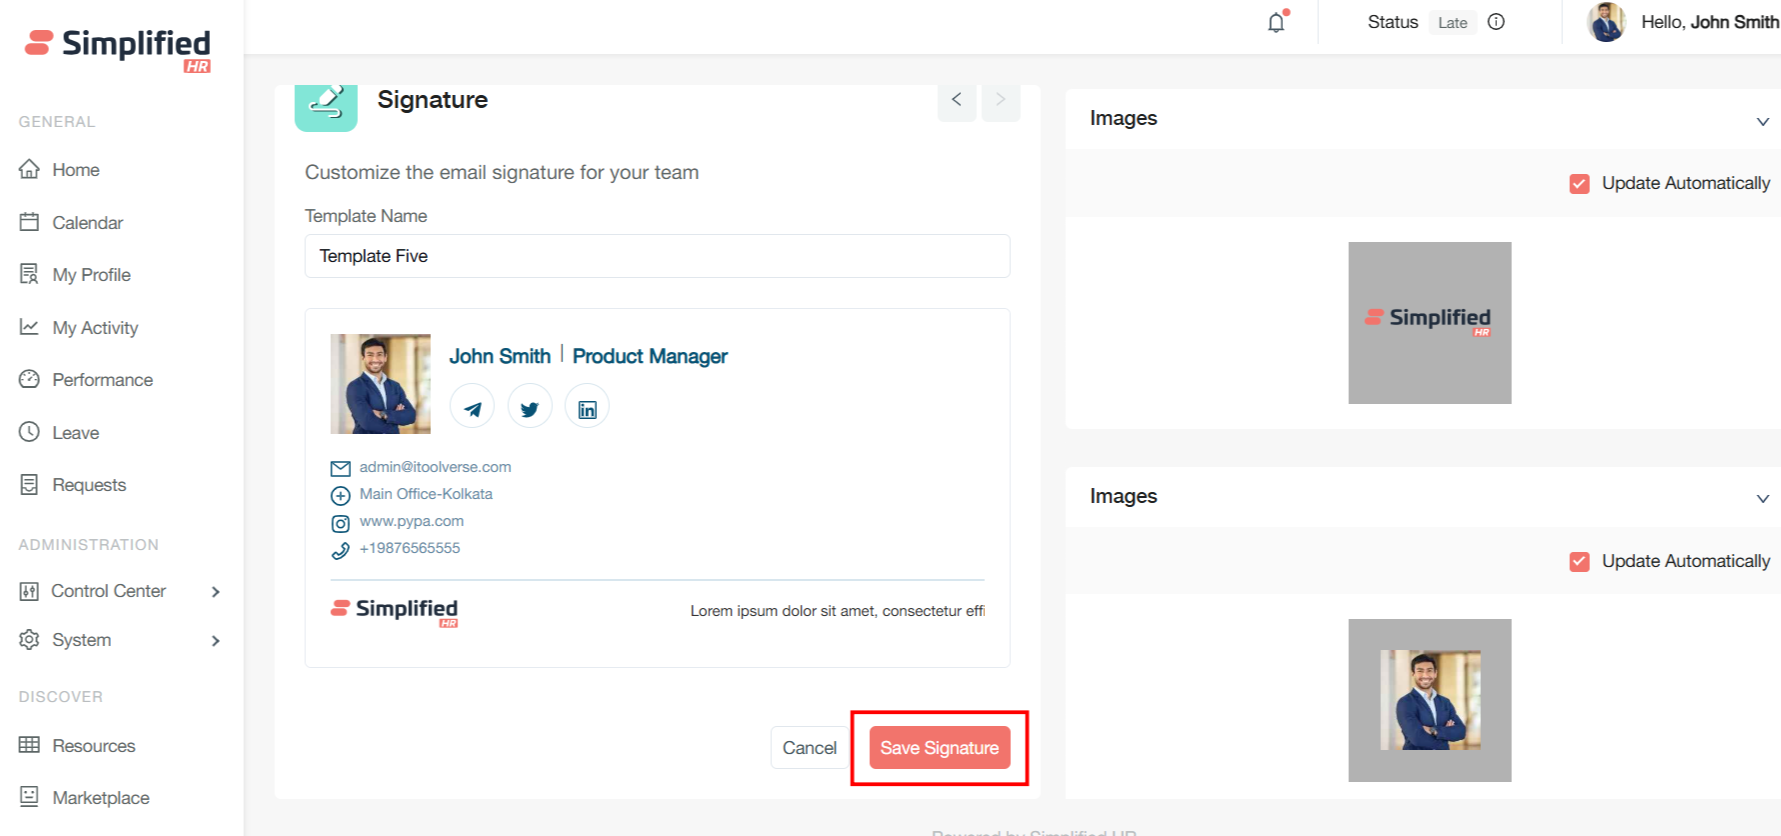
Save Signature Template Changes
Click "Save Changes" to apply your modifications and update the template.
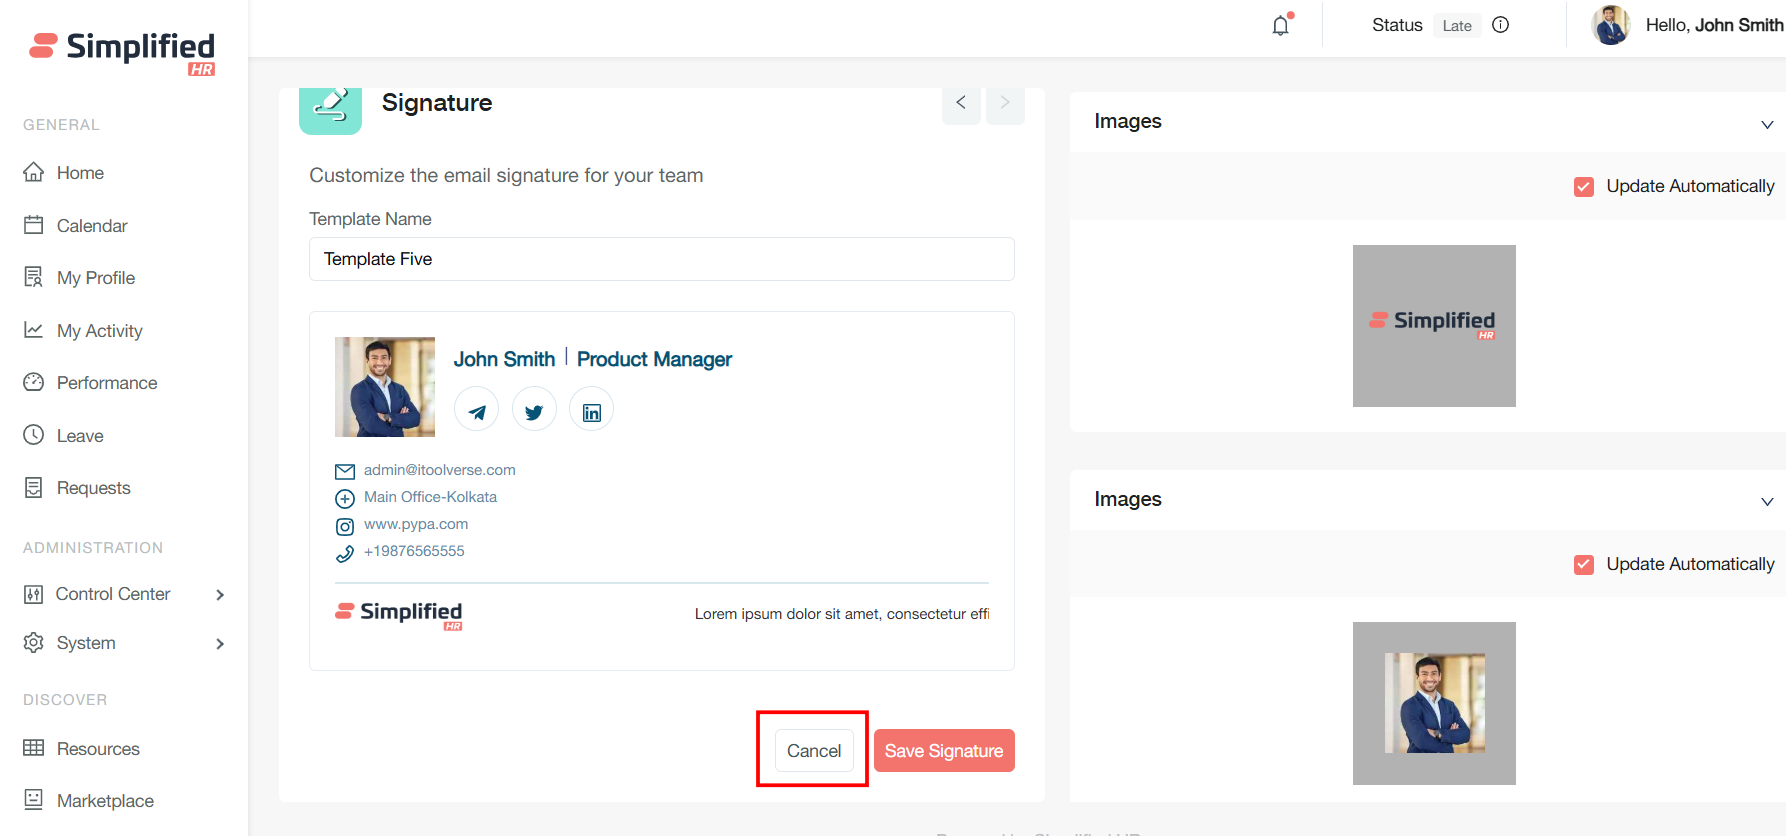
Cancel Signature Template Changes
Select "Cancel" if you want to discard your changes and return to the previous version.
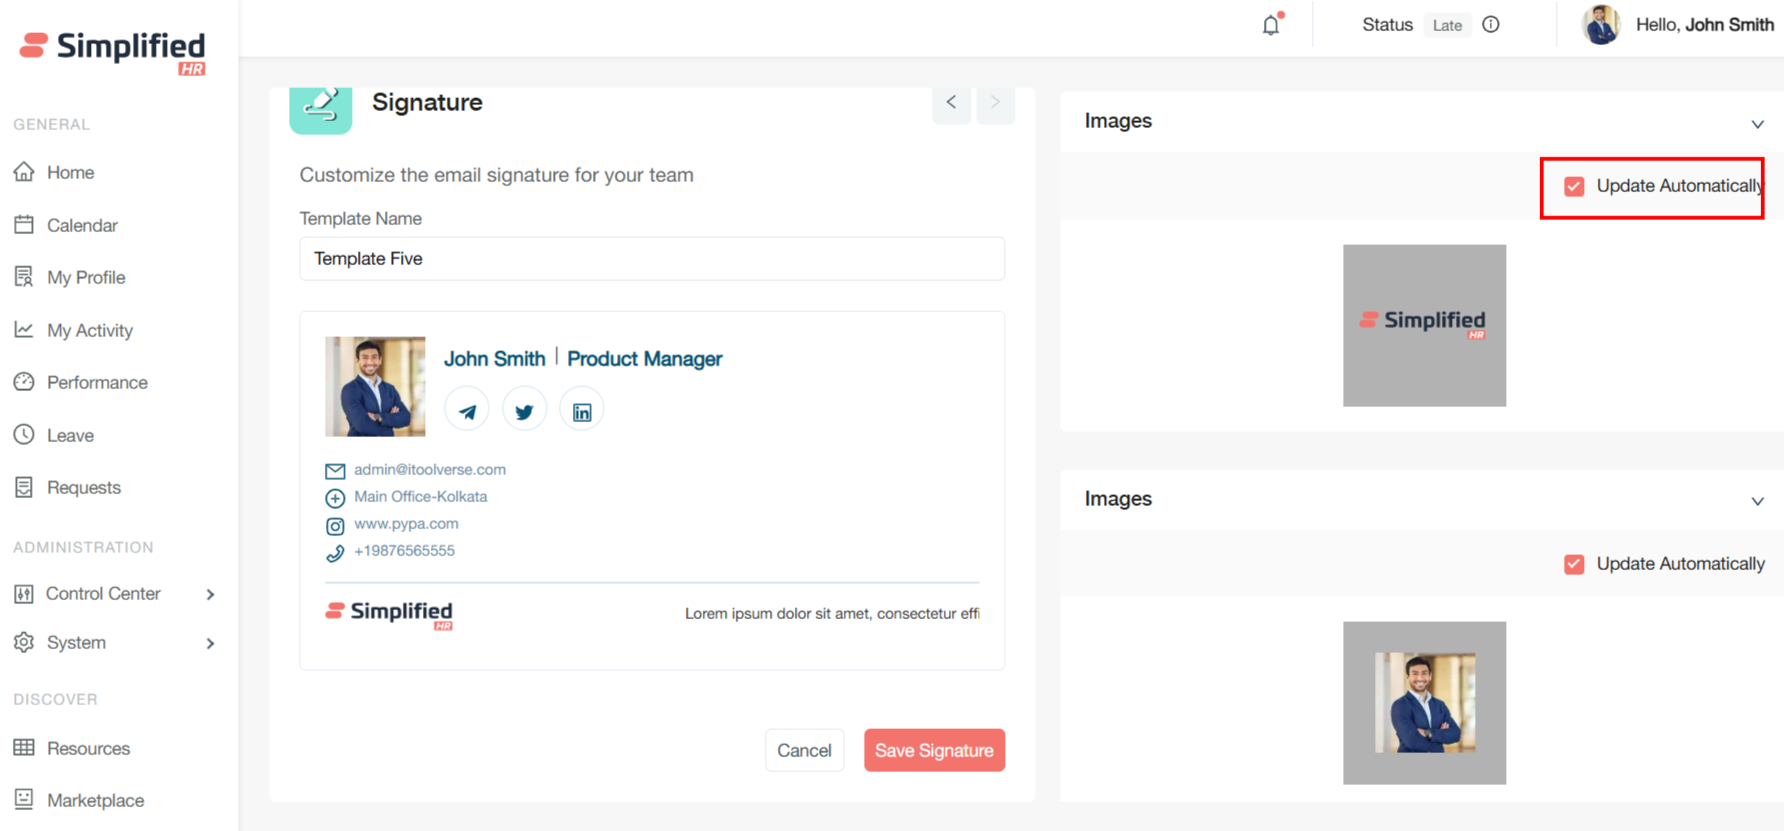
Enable Automatic Template Updates
Update Automatically Checkbox: Enable this feature to save template changes automatically without requiring manual save actions.
Edit Team Email Signature
Team email signatures can be edited using the same comprehensive process available for individual templates, ensuring consistent management approaches across all signature types.
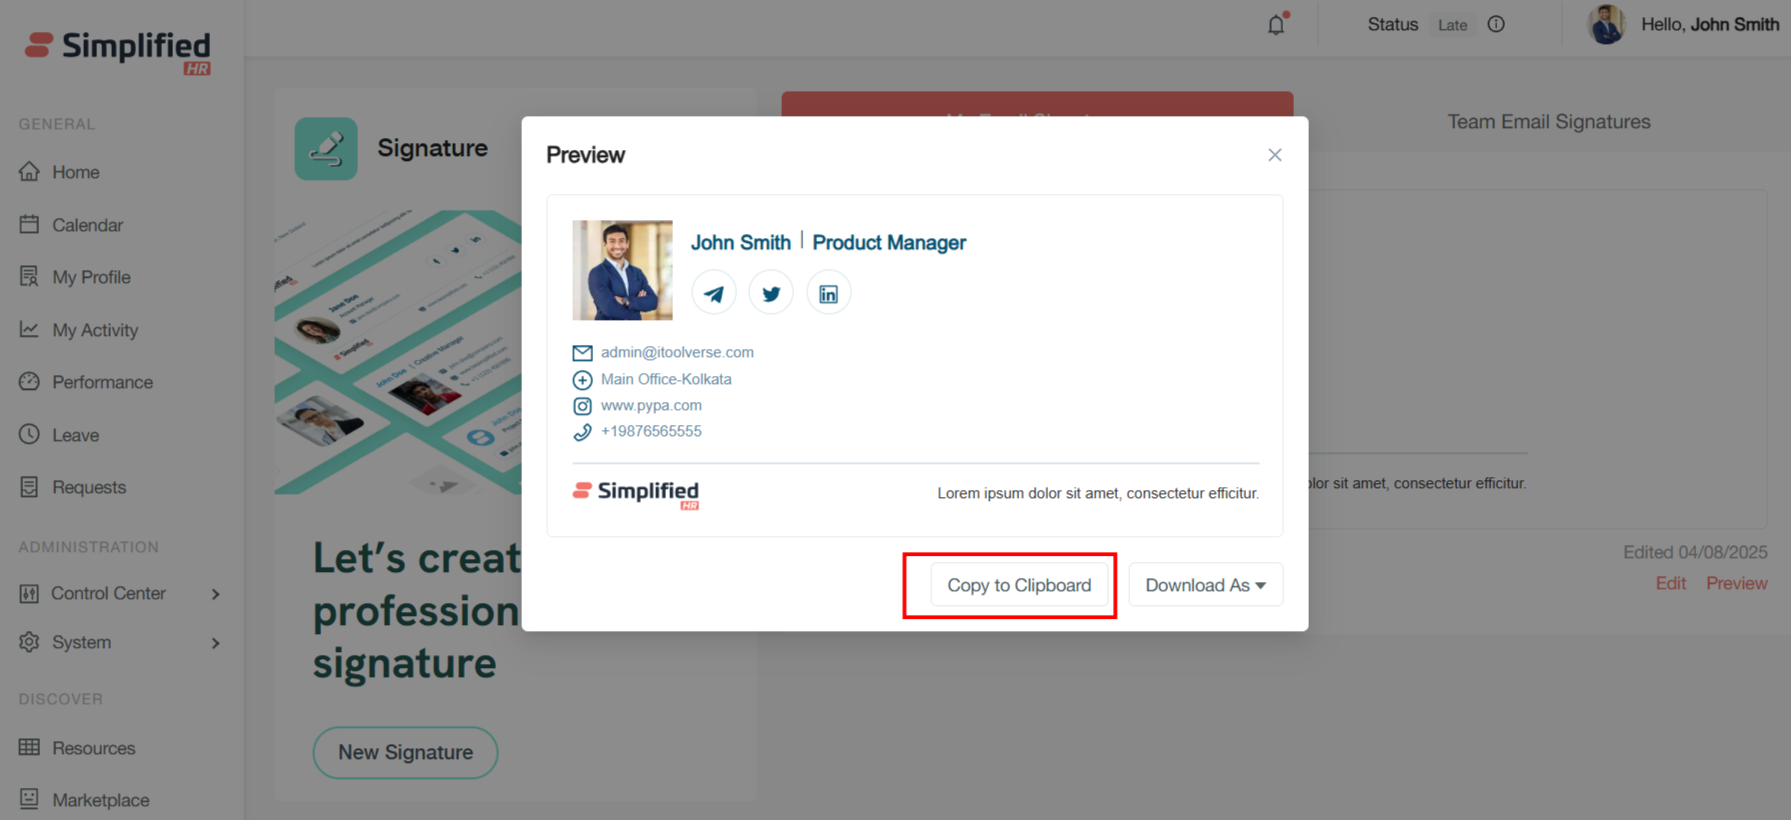
Copy Signature Template
You can copy the template using the Copy to Clipboard option.
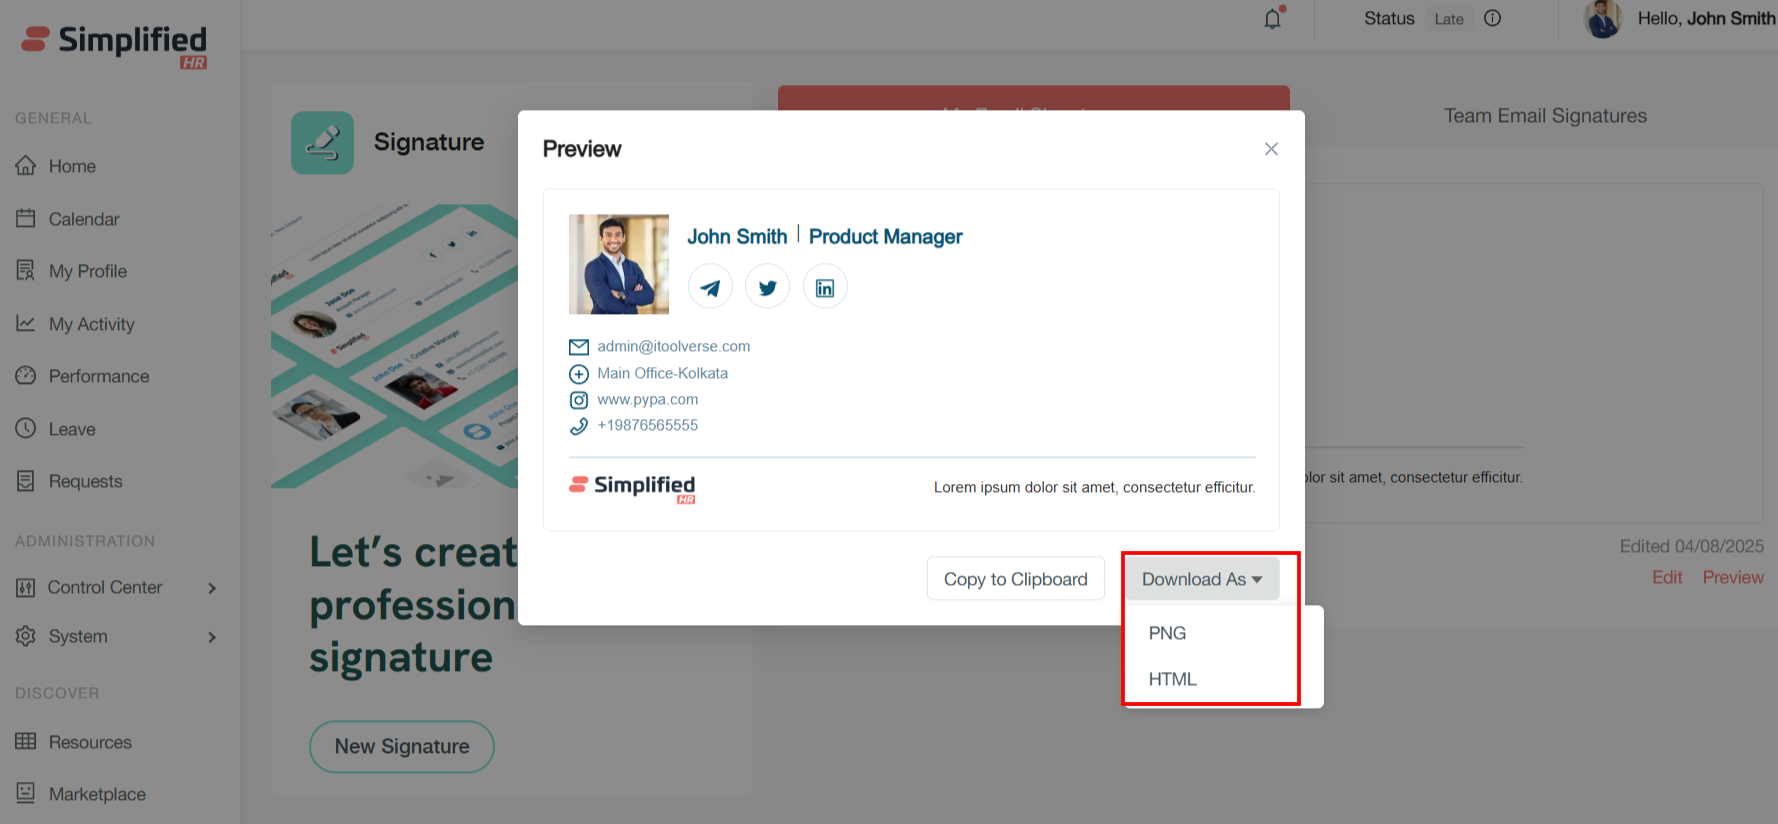
Download Signature Template
You can download the template in HTML/PNG format:
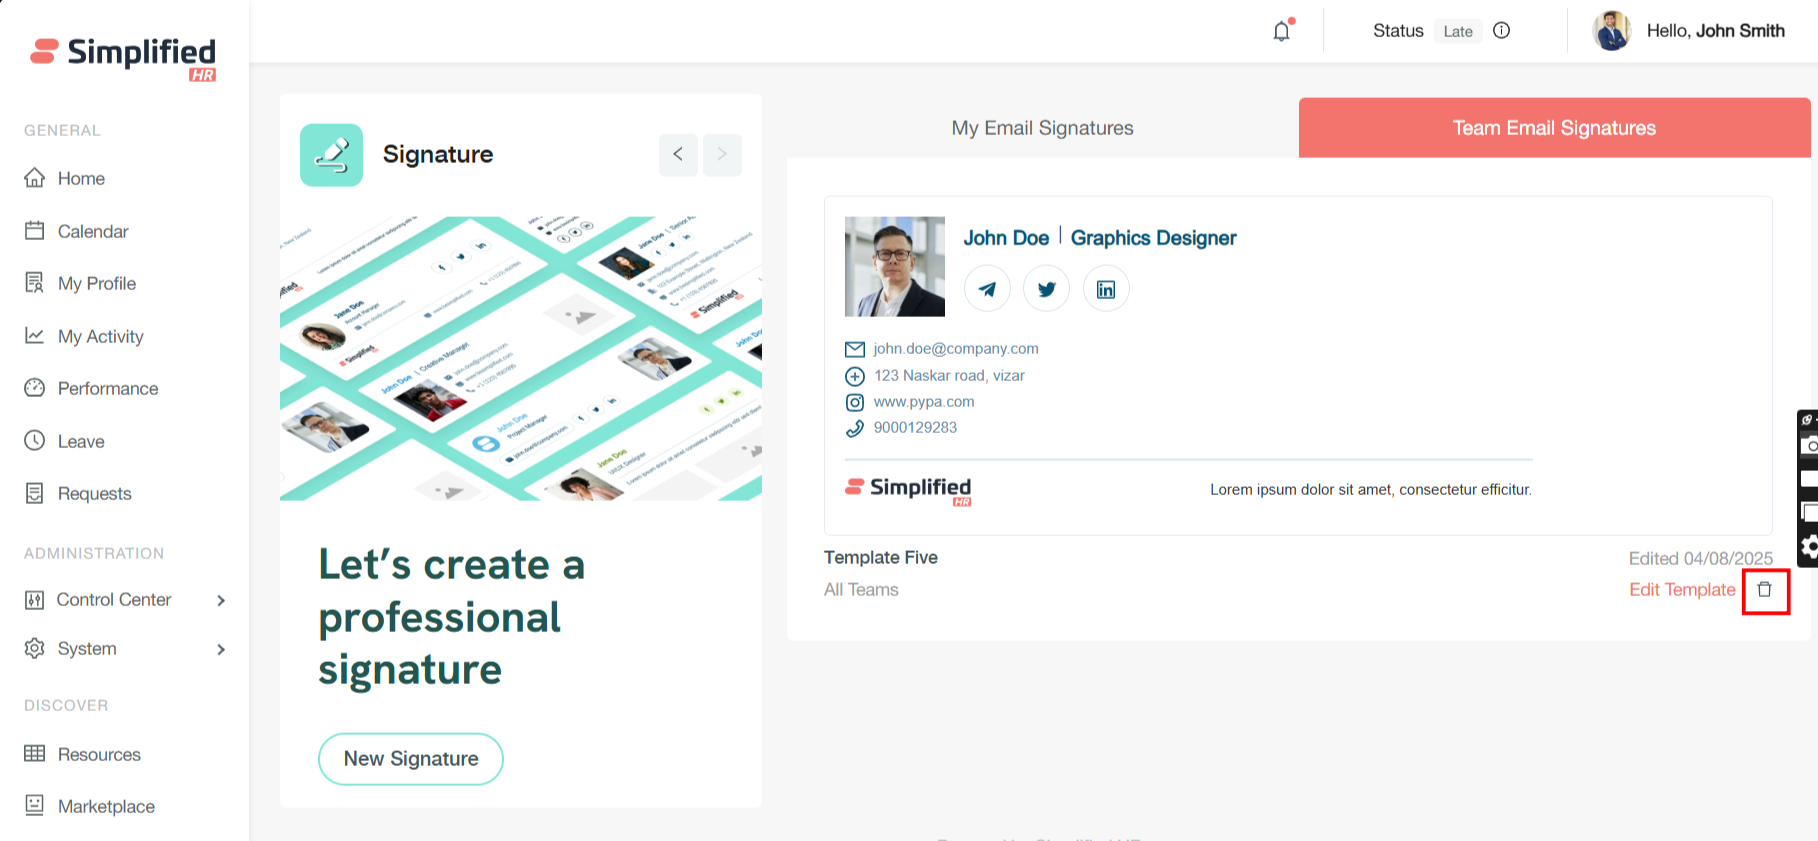
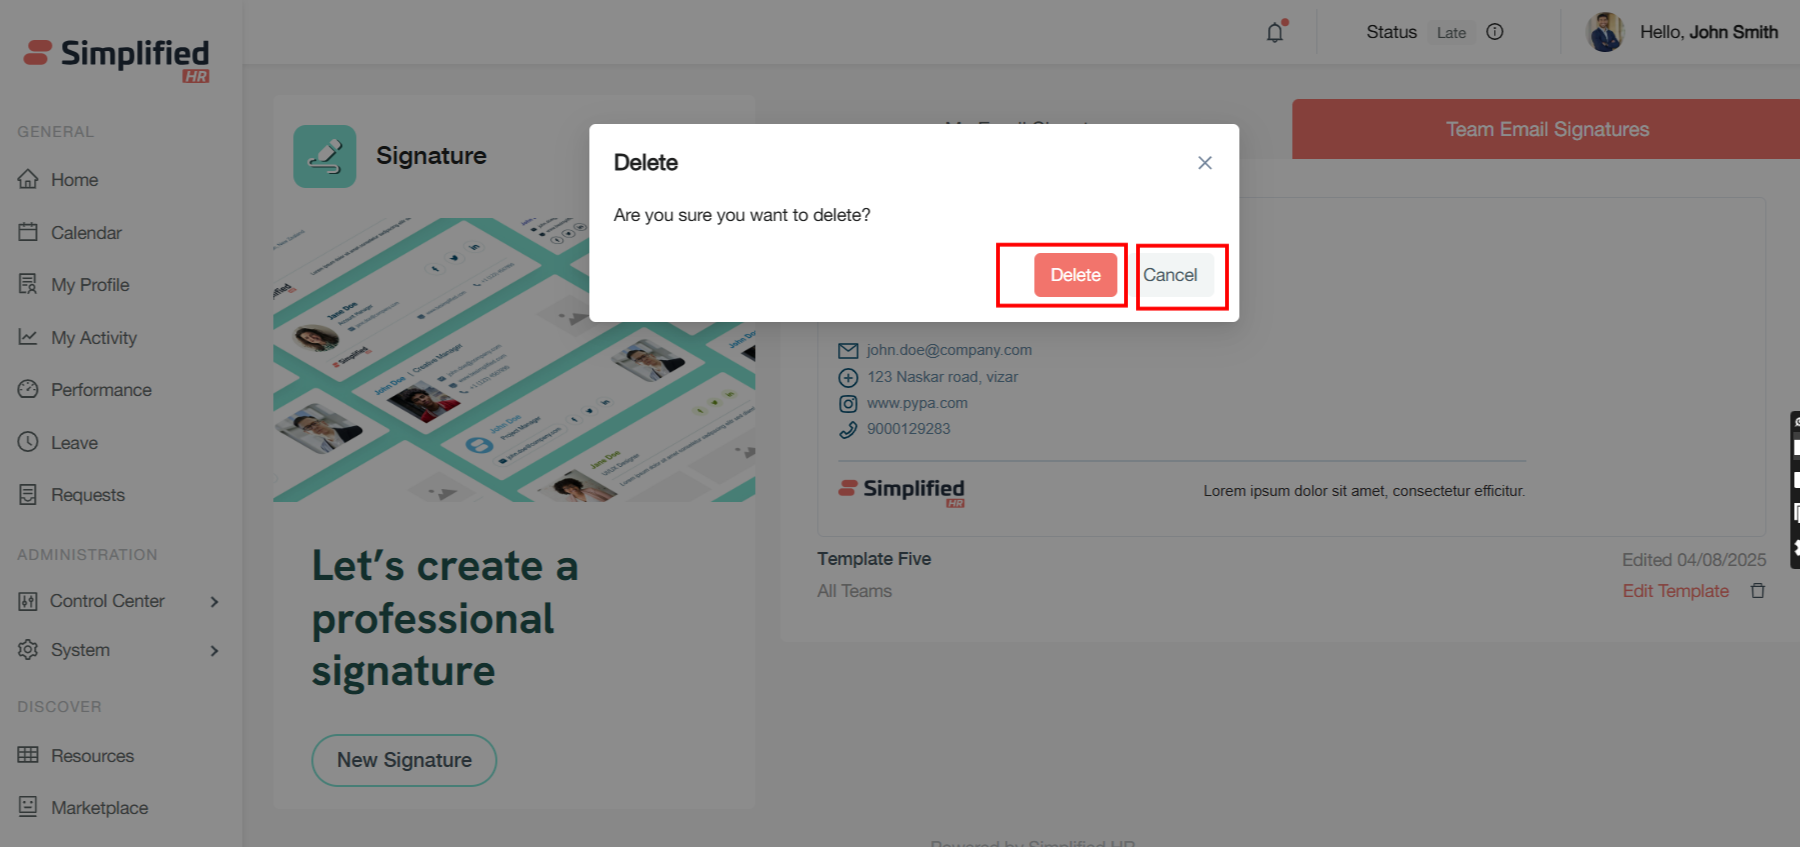
Delete Signature Template
-
Click the delete button for the template you want to remove.
-
Review the confirmation dialog that appears to prevent accidental deletions.
-
Click "Delete" to confirm removal and permanently delete the template.
Cancel Signature Template Deletion
Select "Cancel" to abort the deletion process and retain the template.
Understand Template Deletion Scope
If "Created by Me" is deleted, the user-specific template will be deleted, but the "Created by Admin" and main template will remain intact.
-
User-specific deletion: When a user deletes their customized template (Created by Me), only their personalized version is removed from the system.
-
Admin template protection: The original admin-created template and main template remain untouched and continue to be available.
-
Selective removal: The deletion operation is scoped to only affect the user's custom modifications, not the organizational base templates.
Manage Created by Admin Templates
Created by Admin: Templates generated and managed centrally by administrators for team members to use.
Manage Created by Me Templates
Created by Me: Users can take the admin's template and customize or modify it according to their own needs, then use that customized version. Users have the flexibility to take admin-provided templates as a starting point, make their own modifications, and then utilize their personalized version.