Admin → Locations
Overview
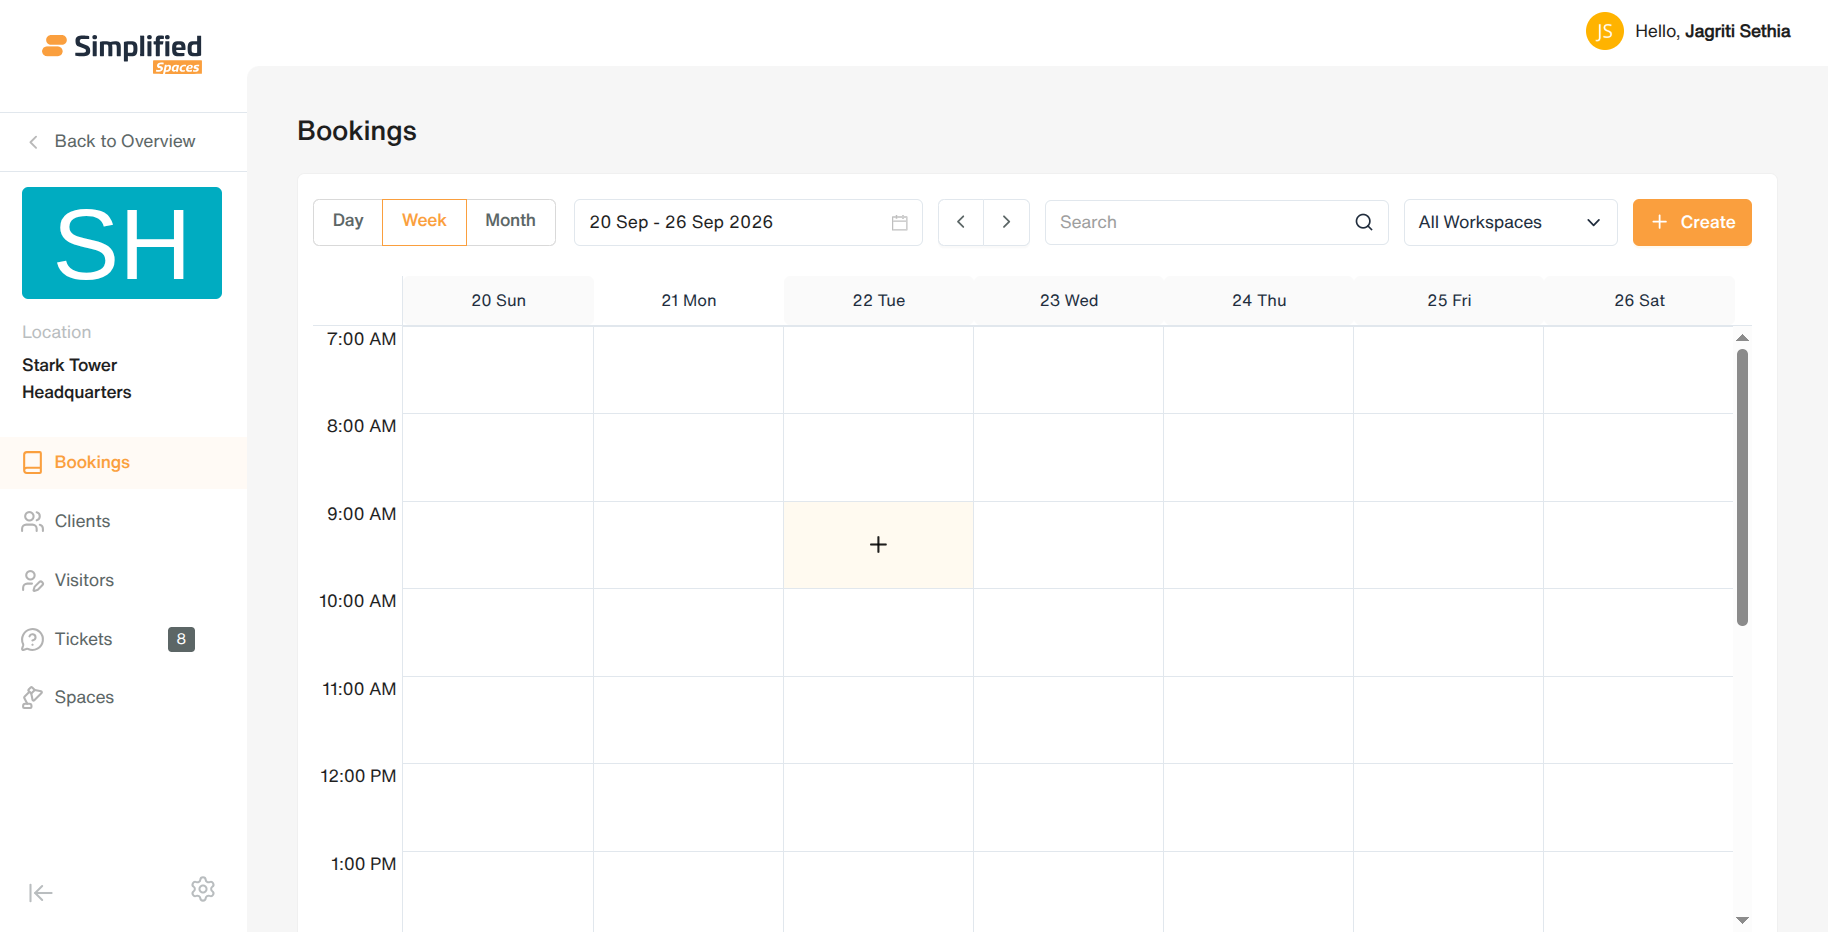
The Locations module lets an org Admin create, view, edit, activate/deactivate, and delete the physical locations (branches/centers) that belong to their organization. Each Location is a flat entity (no parent-child location tree) that carries address, amenities, team assignment, operating schedule, and contact/settings information. Once created, a Location becomes the scope for its own dashboard (Bookings, Clients, Spaces, Tickets, Visitors).
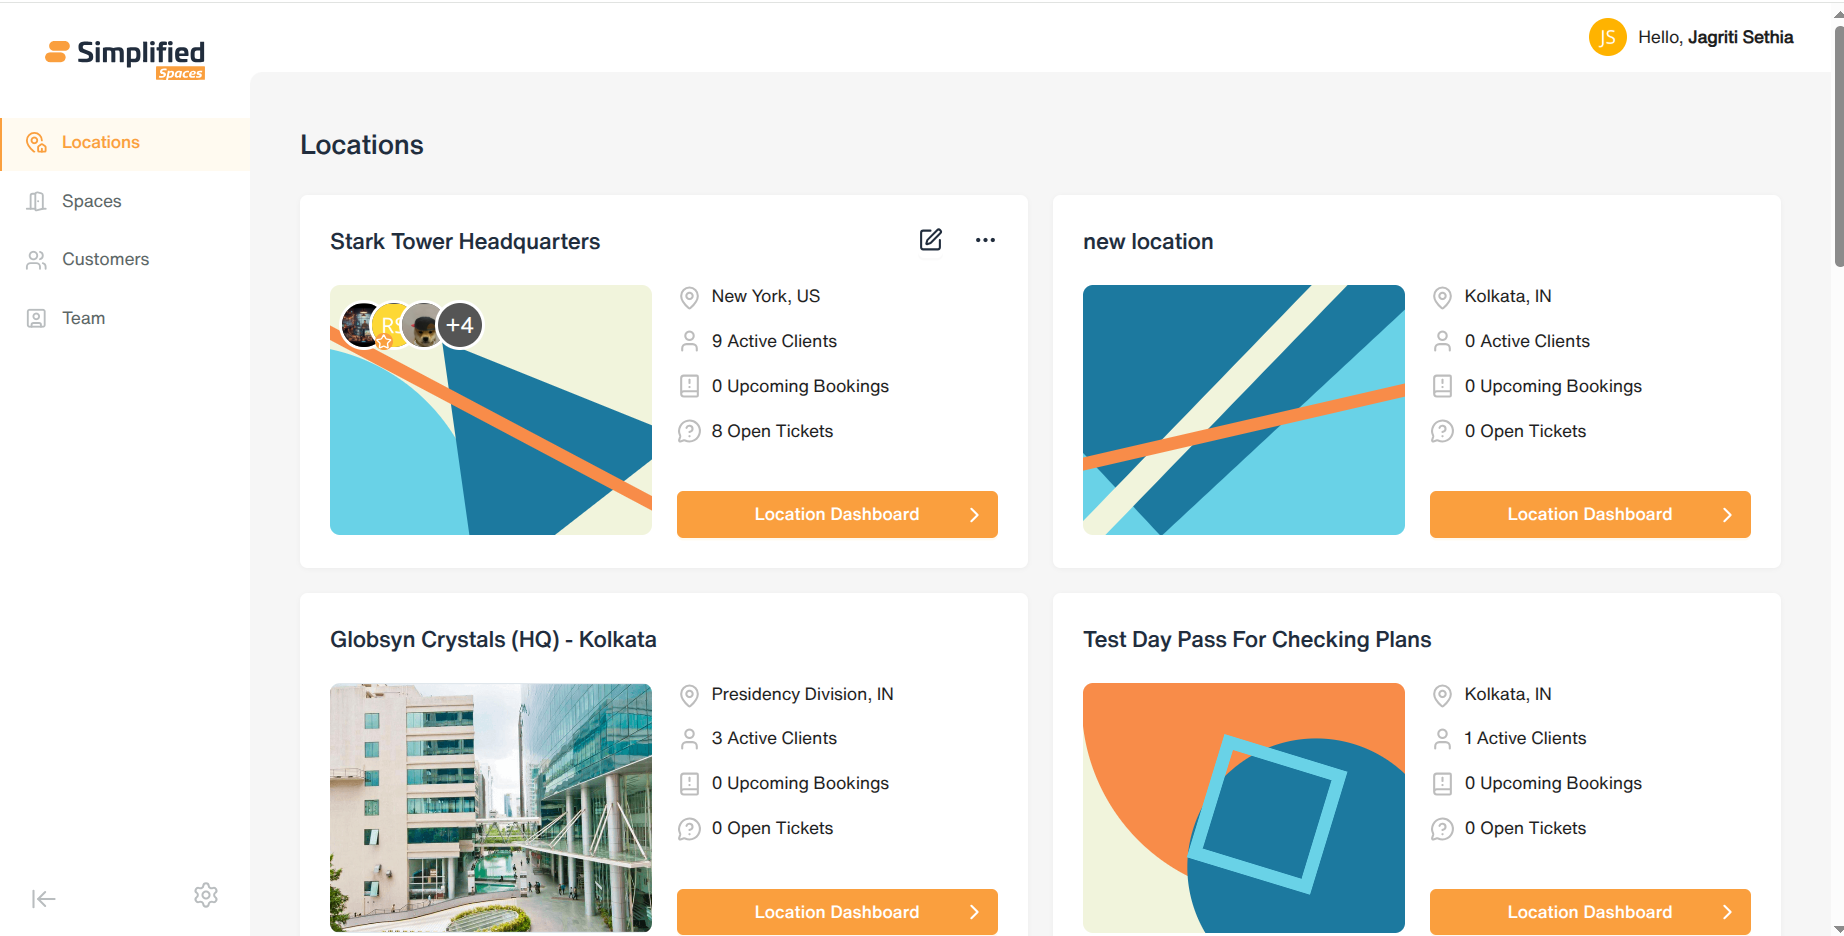
View Locations List
The Locations list is a card-grid (not a table) — two cards per row on large screens.
The Locations page is where you can see every location your organization has set up, check how each one is doing at a glance, and add new locations.
To navigate to the Locations page, select Locations on the left-hand menu.
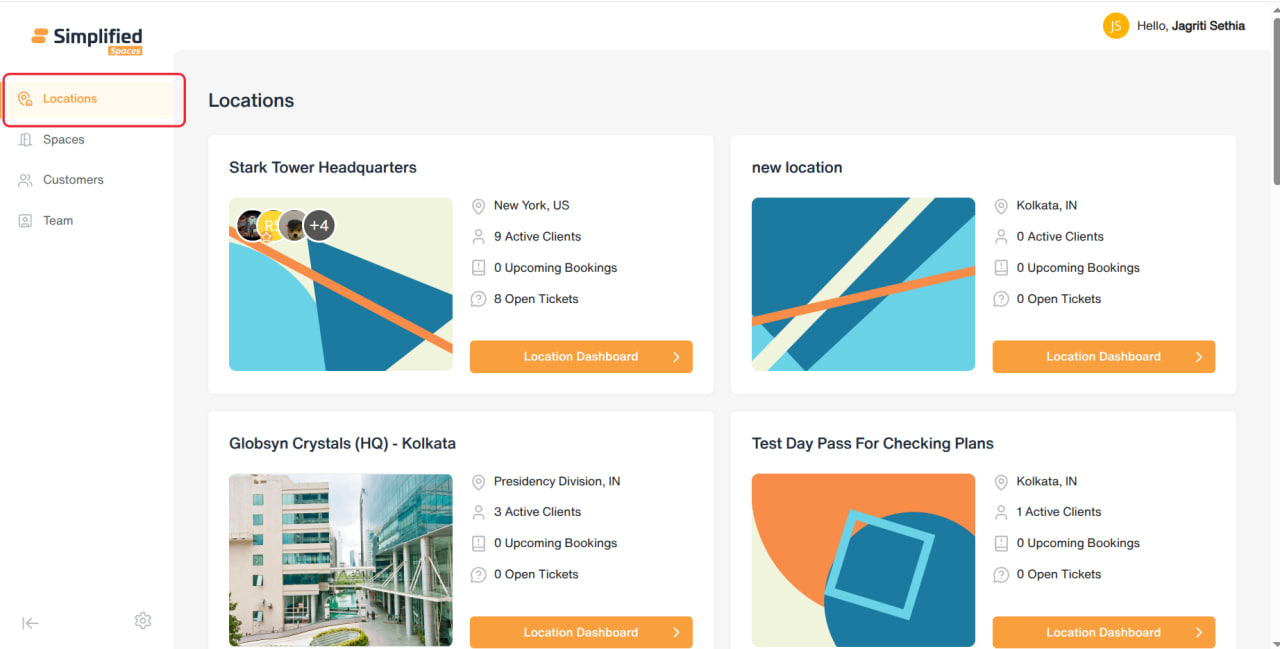
What you'll see
-
A card for each location, showing its photo, name, and city/country.
-
The team members assigned to that location, with the community manager marked with a star.
-
Three quick numbers: Active Clients, Upcoming Bookings, and Open Tickets.
-
A button to open that location's own dashboard.
-
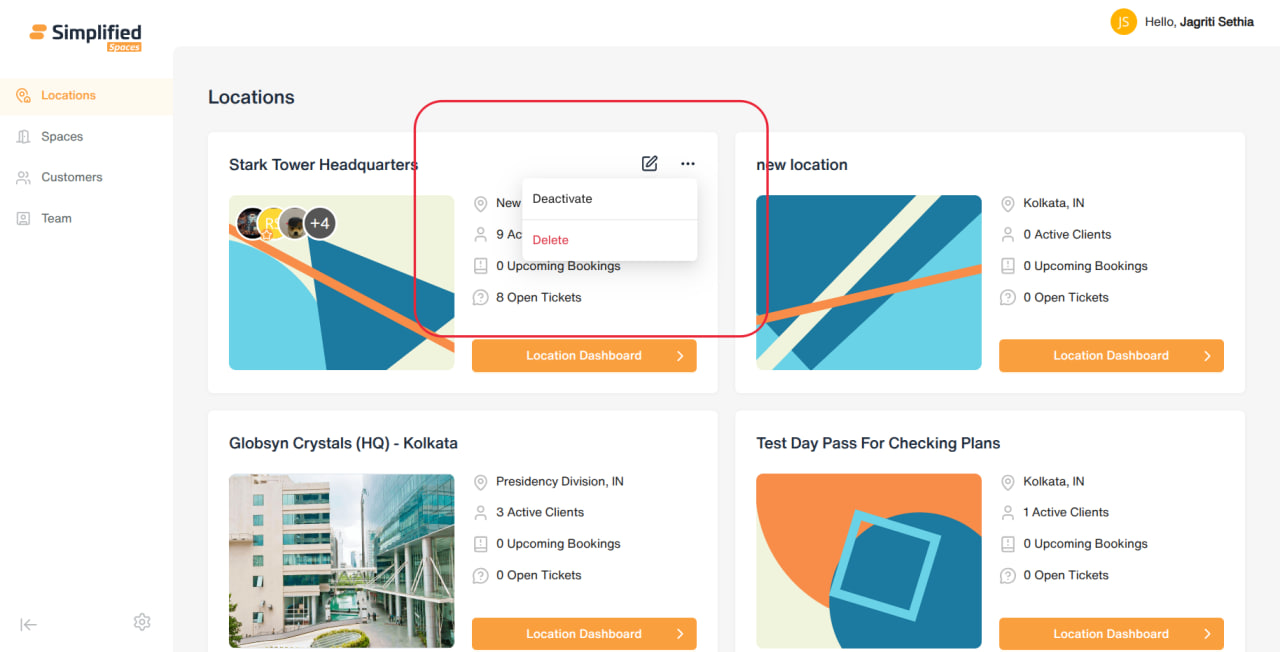
An Edit icon and a menu (⋮) with Activate/Deactivate and Delete.
-
If a location is deactivated, its card looks faded and shows a small "inactive" icon.
-
If you haven't added any locations yet, you'll see a message inviting you to add your first one.
Add a New Location
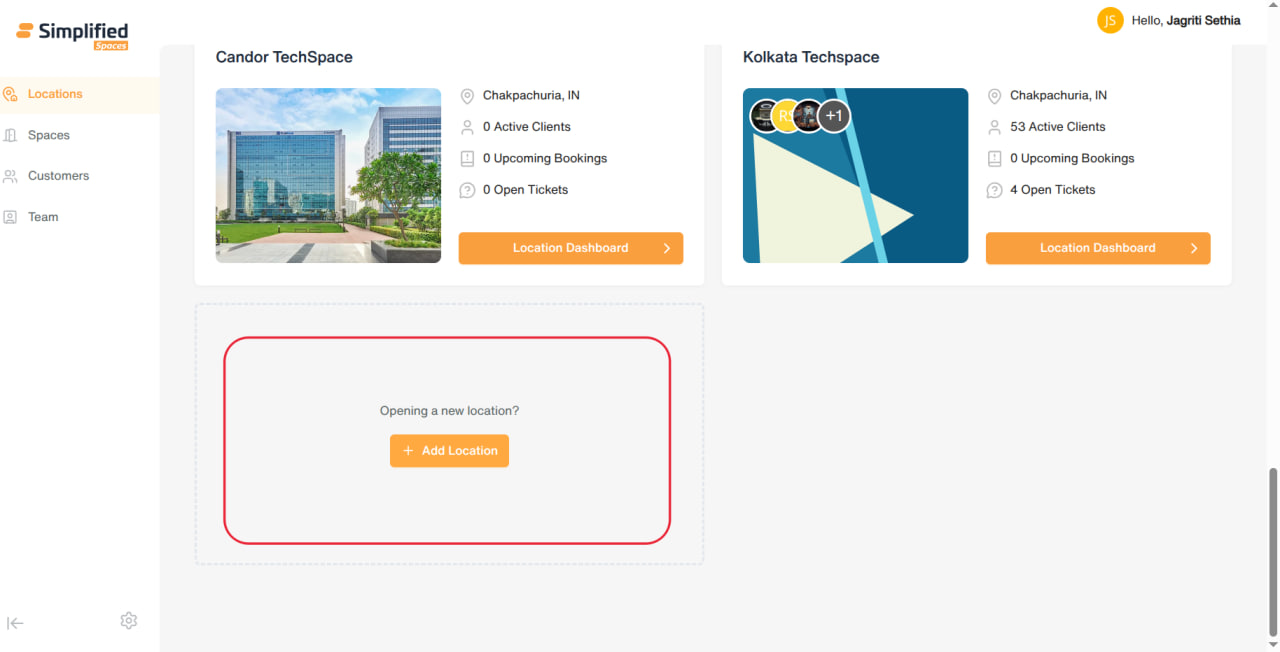
1. On the Locations page, click the Add Location card.
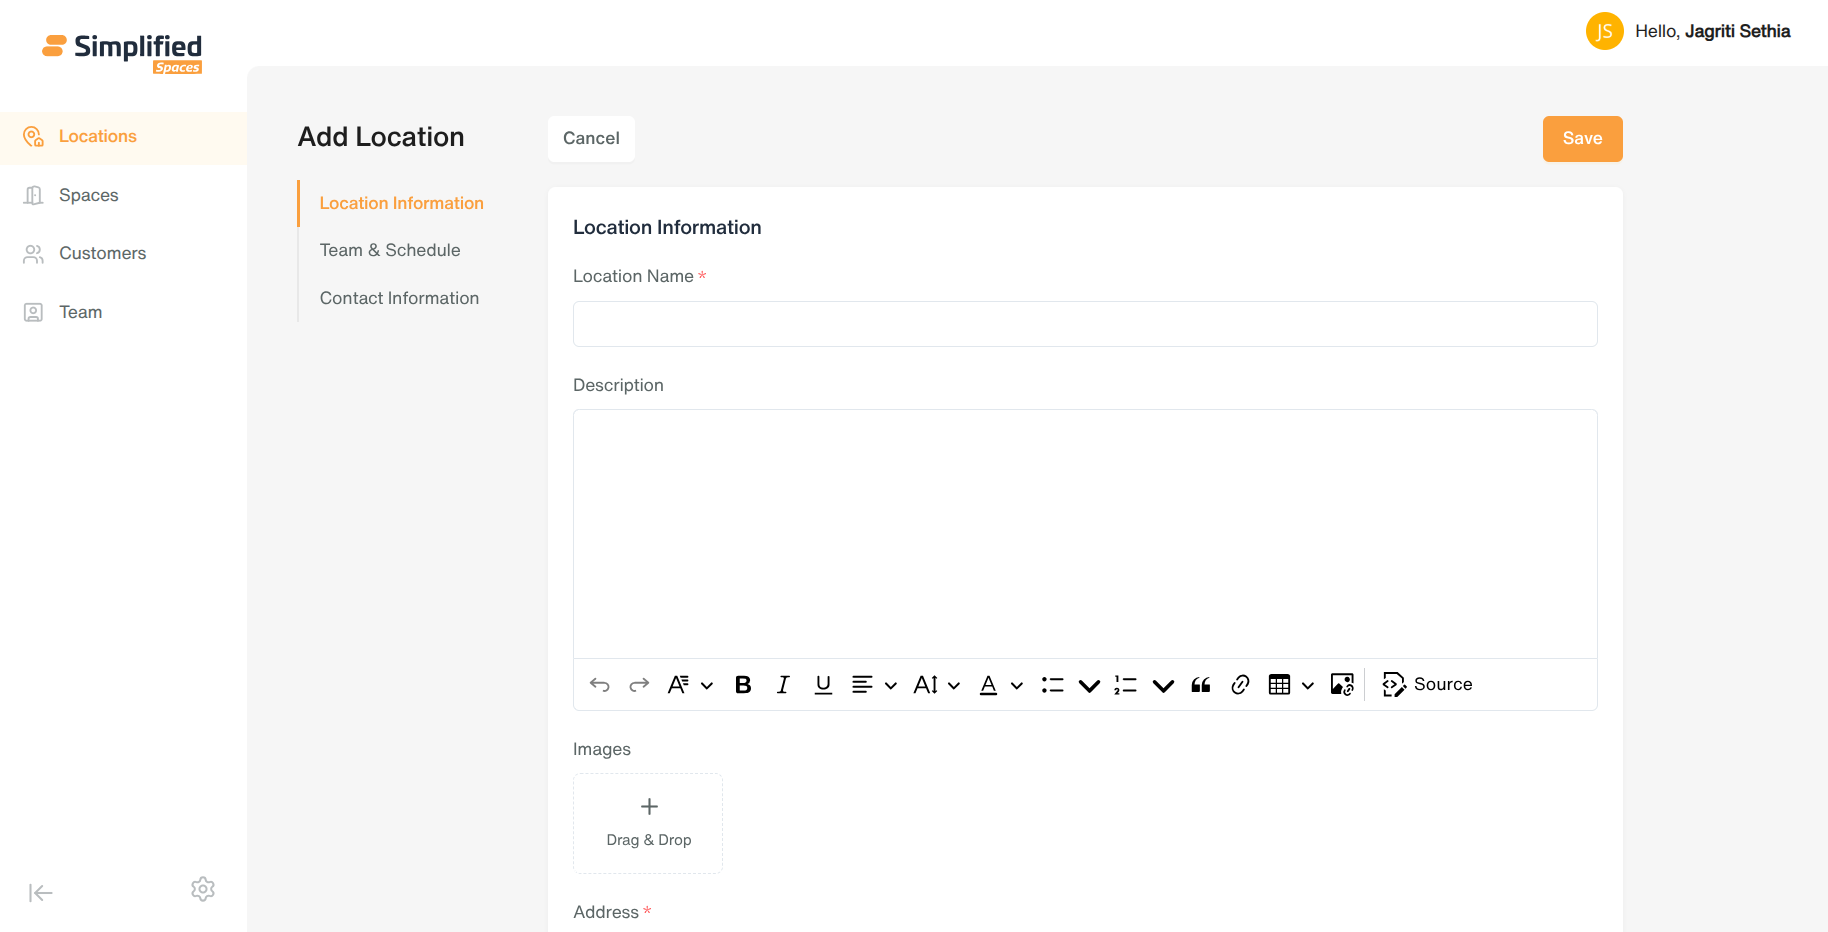
2. Fill in the location's basic details:
- Location name
- A description (optional)
- Photos (optional)
- Address — start typing and pick your address from the suggestions, then confirm the country, state, city, and zip code
- Which floors/levels are available at this location
- Which services this location offers (Workspace Booking, Parking, Meal Booking)
- Any amenities available (Wi-Fi, printers, etc. — whatever your org has set up)
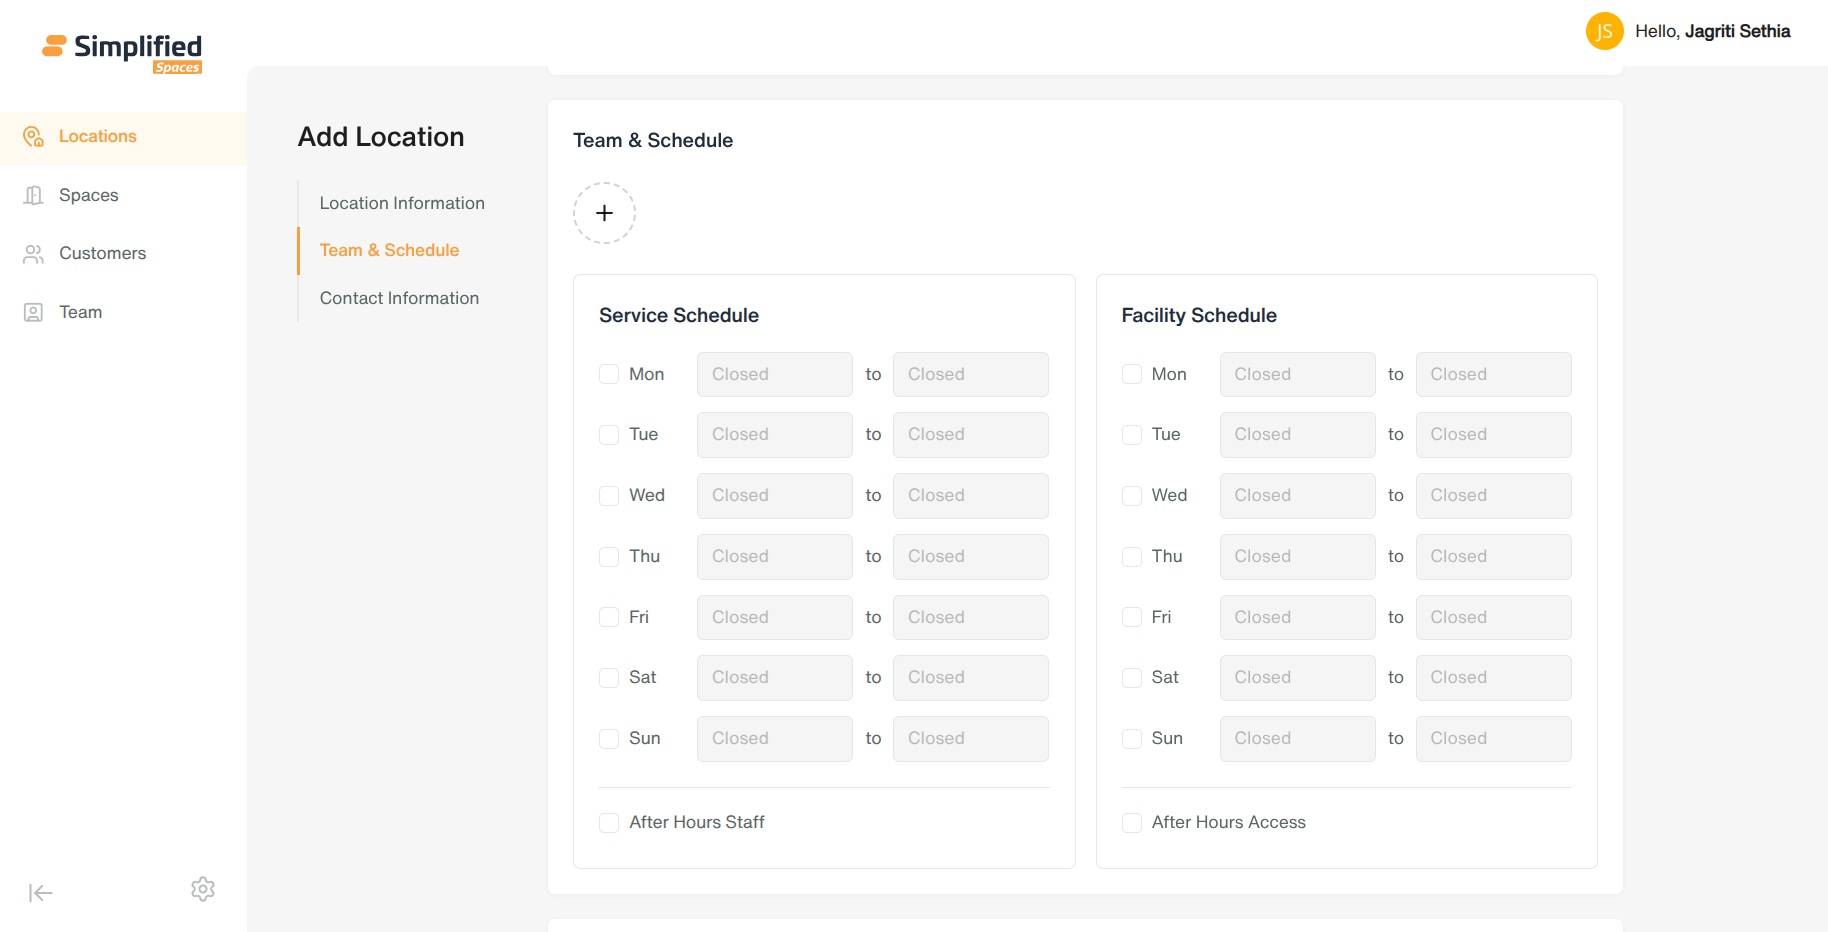
3. Assign a team to the location:
- Click Assign Team Member, search for a colleague, pick their role, and add them.
- You can add or remove team members before saving.
- Set the weekly service hours and facility hours — turn each day on or off and set opening/closing times.
- Turn on After Hours Staff or After Hours Access if this location supports it.
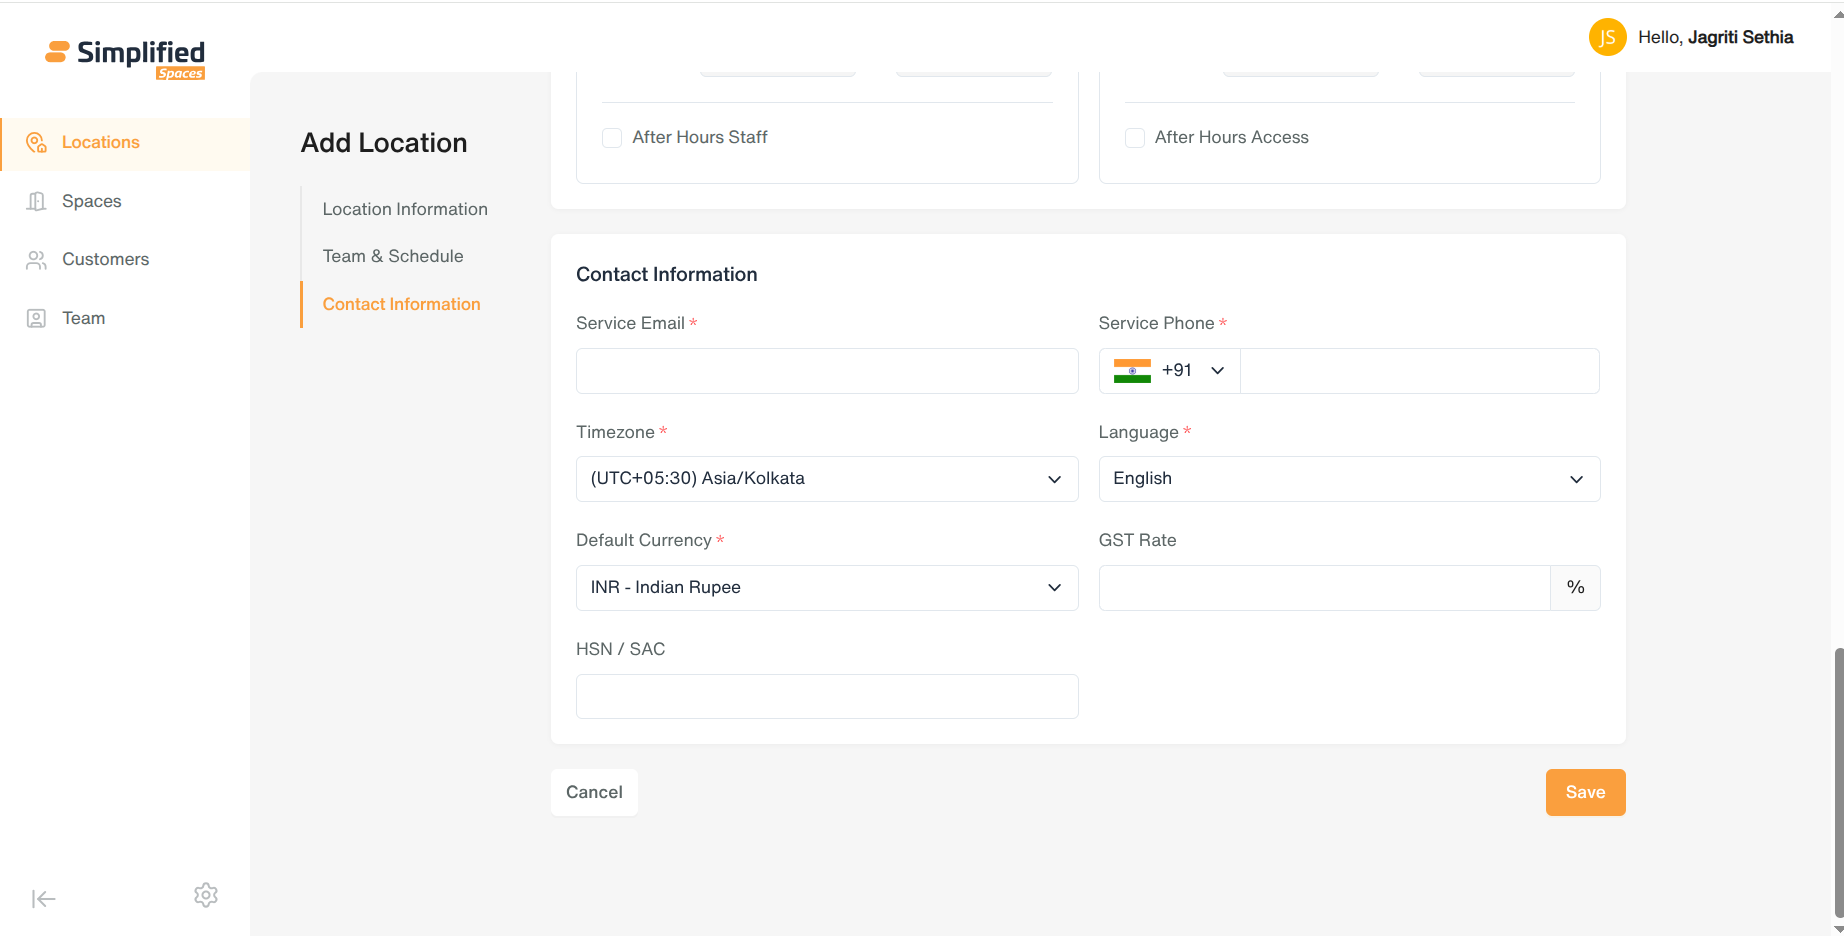
4. Add contact details:
- A service email and phone number for the location
- Timezone, language, and currency this location operates in
- GST rate and HSN/SAC code, if applicable
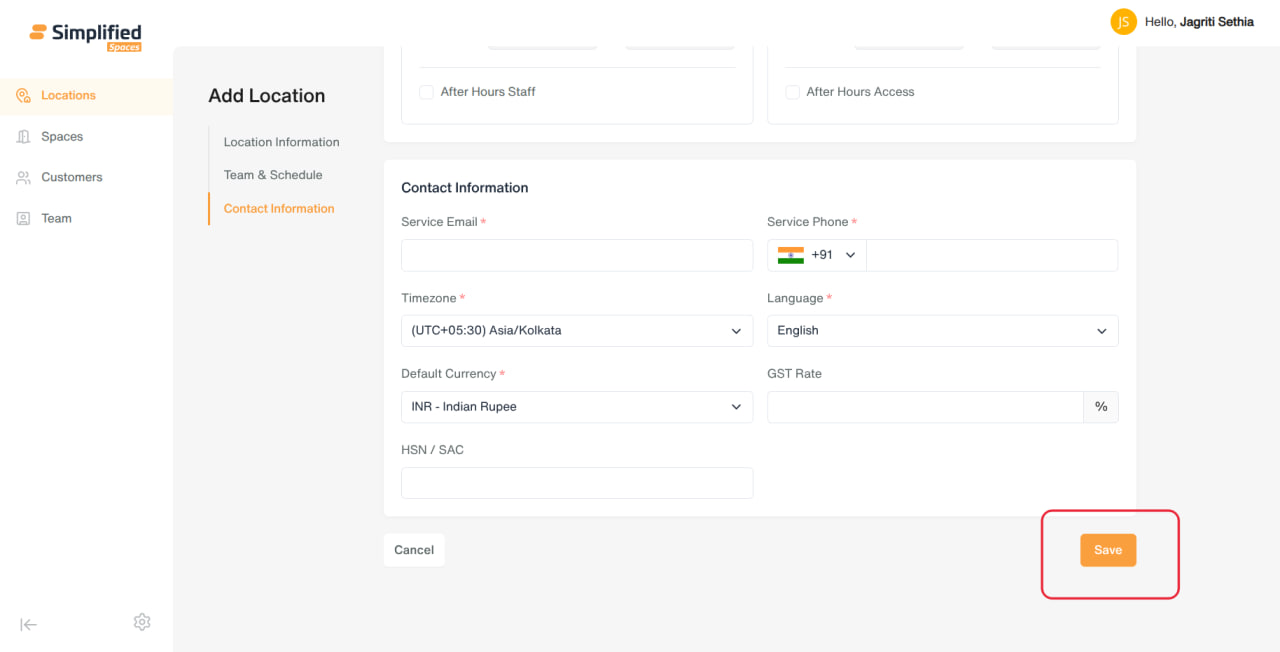
5. Click Save. Your new location now appears on the Locations page.
Edit a Location
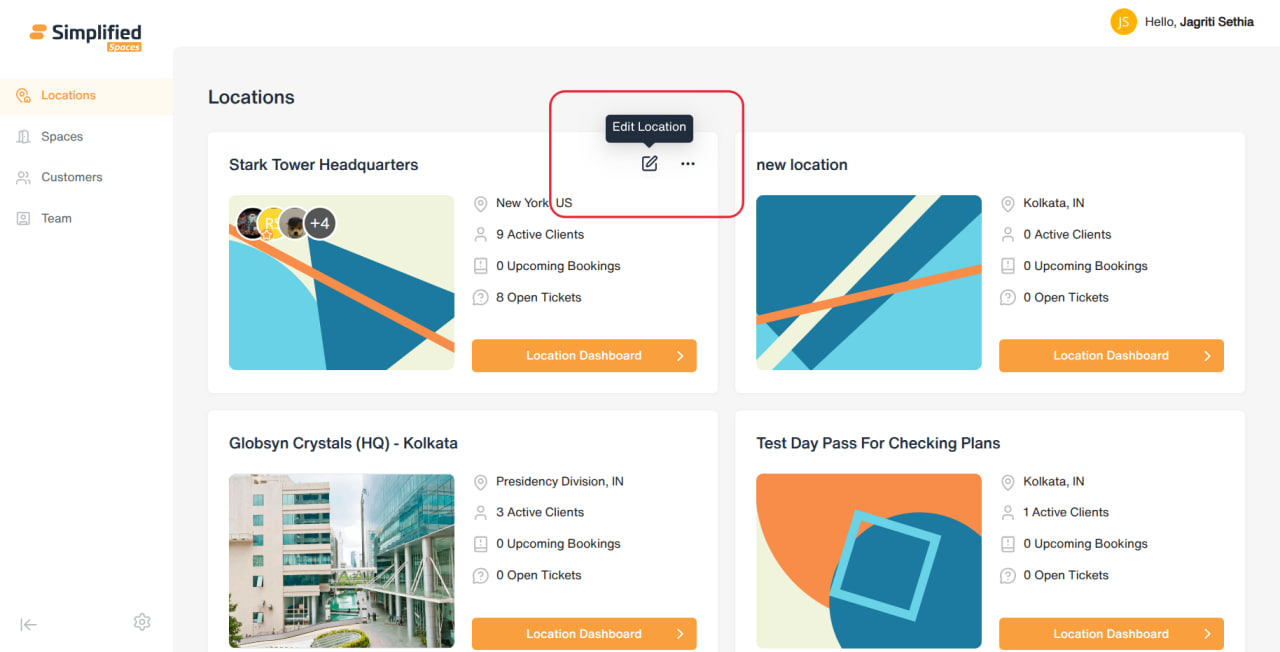
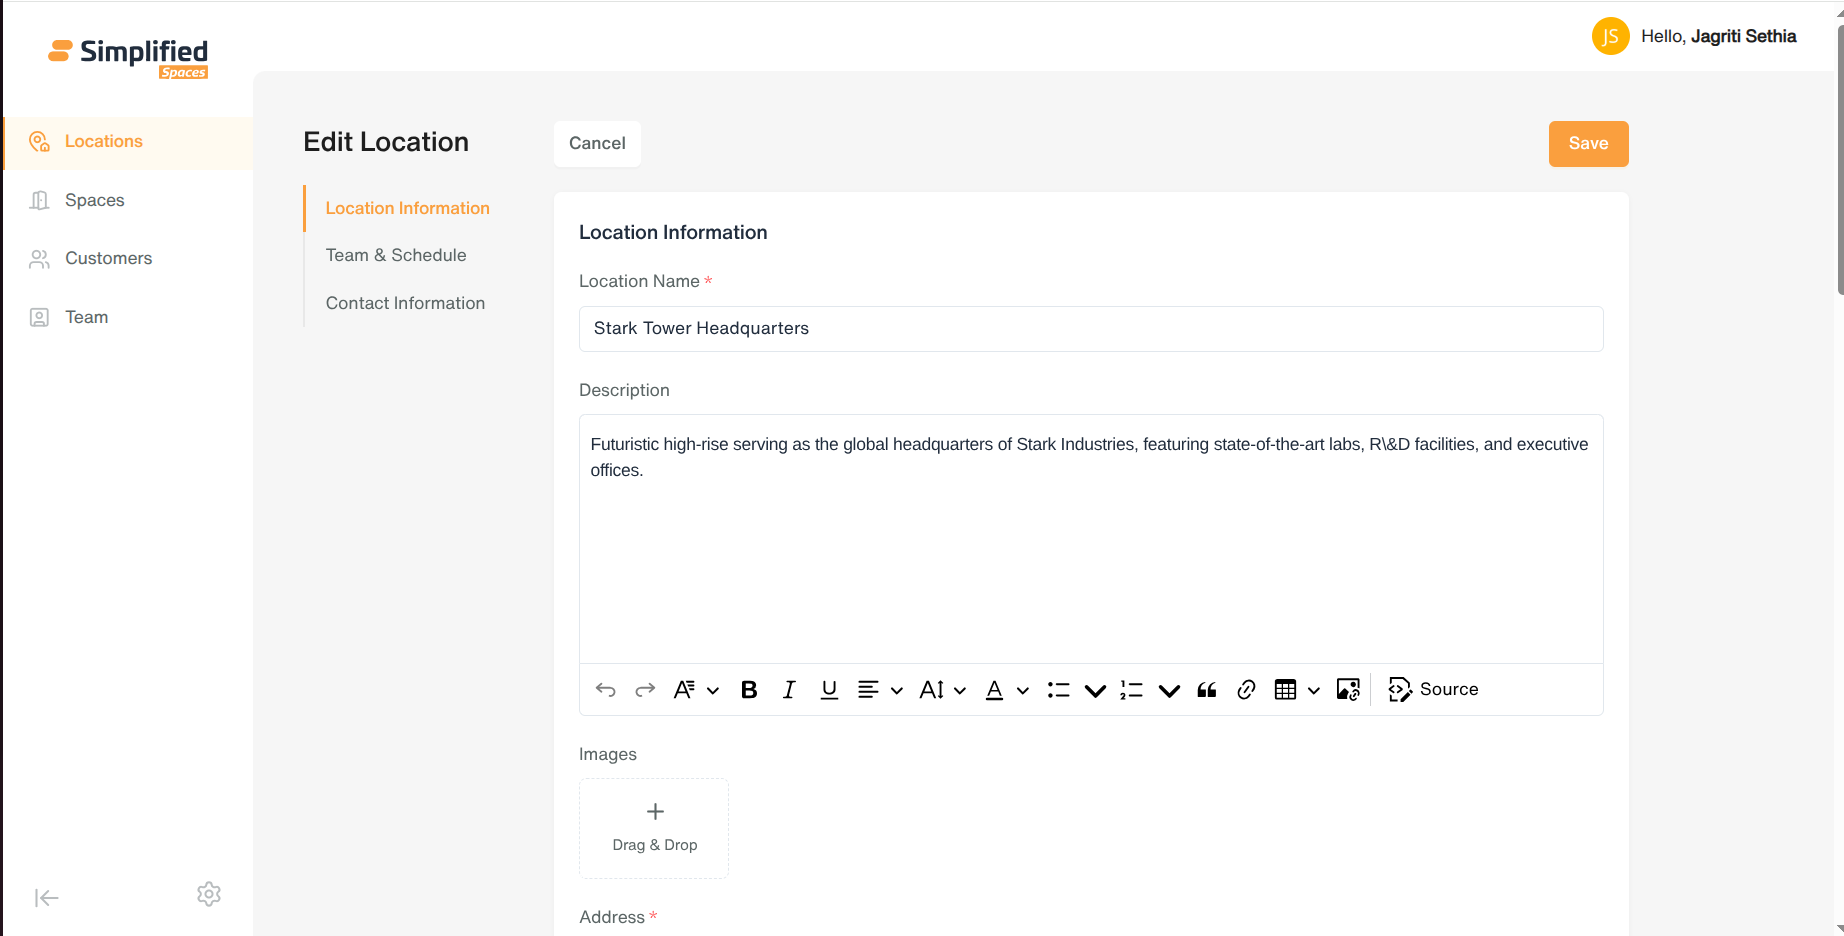
- Find the location on the Locations page and click its Edit icon.
-
The form opens pre-filled with everything you entered before.
-
Make your changes to any of the details, team, schedule, or contact information.
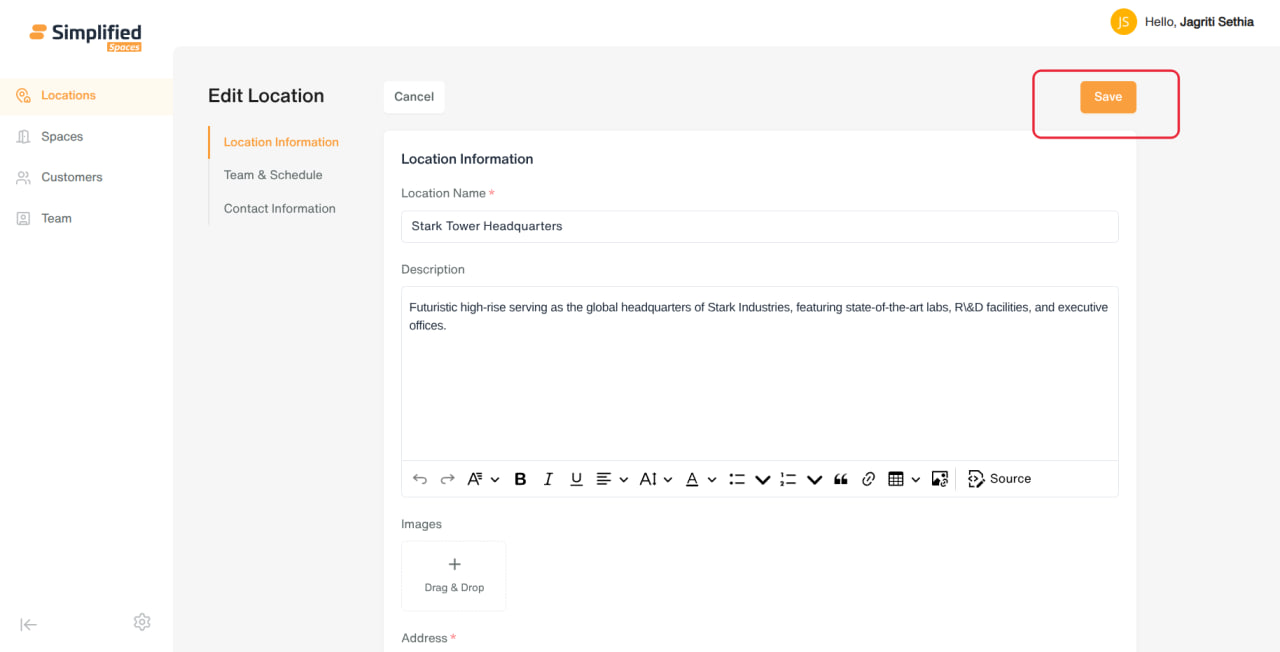
- Click Save to apply your changes.
Note:
only team members who are currently active in your organization will show up on the edit screen — anyone deactivated, removed, or still pending an invite won't appear.
Activate or Deactivate a Location
-
On the location's card, click the ⋮ menu.
-
Choose Deactivate to temporarily take the location offline, or Activate to bring it back.
A deactivated location stays visible on your Locations page (shown faded out) but is treated as not currently operating.
Delete a Location
-
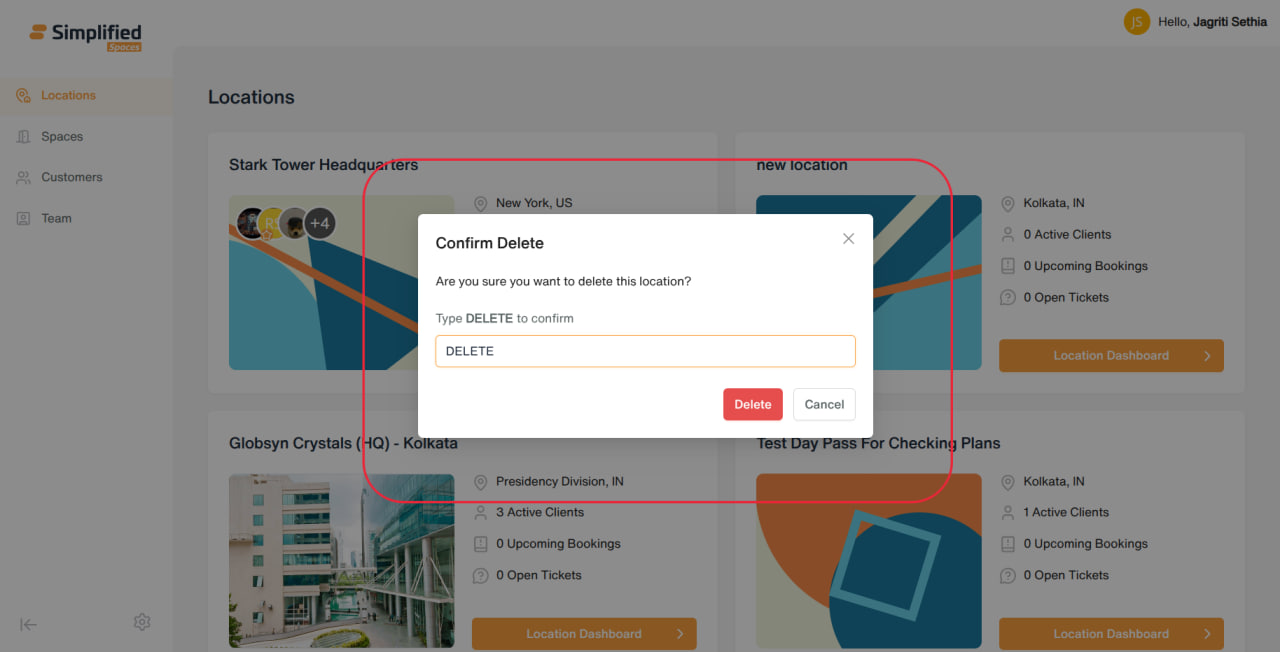
On the location's card, click the ⋮ menu and choose Delete.
-
A confirmation box will ask you to type DELETE to confirm — this is to prevent accidental deletions.
-
Once confirmed, the location is removed from your active list.
Open a Location's Dashboard
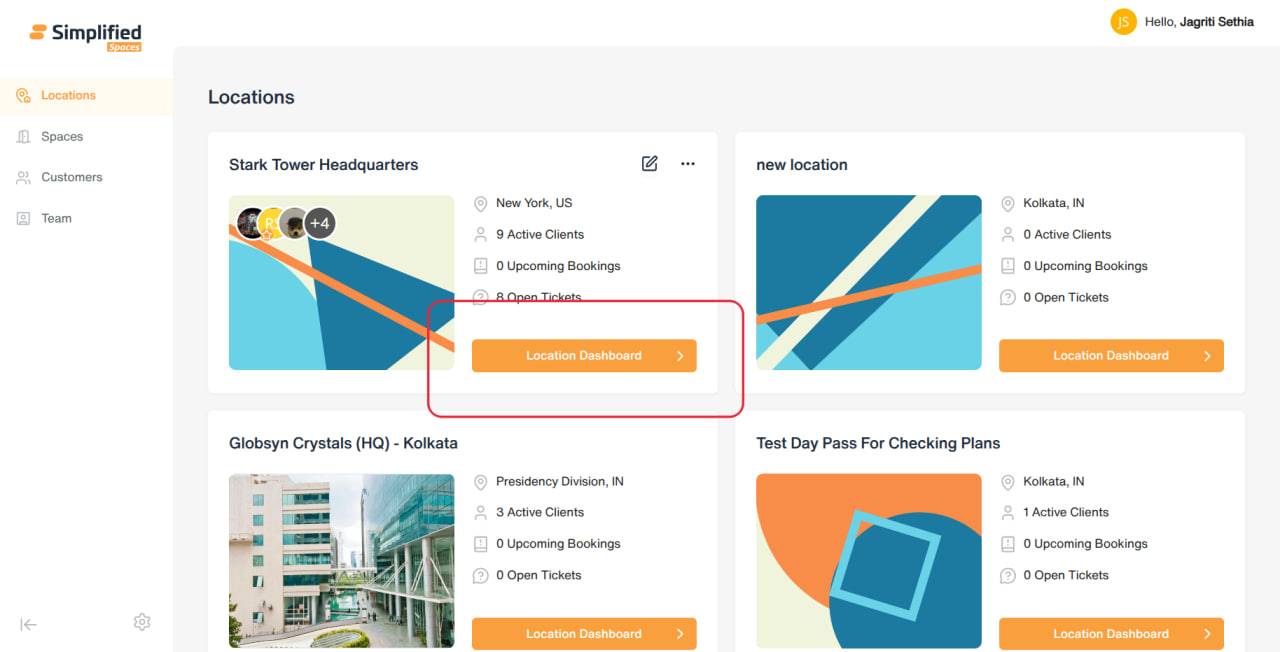
Click Location Dashboard on any location card to manage that location's day-to-day activity: Bookings, Clients, Spaces, Tickets, and Visitors — all scoped to that one location.
Things to Know
-
You need the right permissions to add, edit, activate/deactivate, delete, or view locations — if an action is missing or blocked, check with your system administrator about your assigned role.
-
You can only manage locations that belong to your own organization.
-
The Locations page currently shows all locations at once — there's no search or filter yet if your organization has many locations.
-
GST Rate and HSN/SAC code are collected on the form, but may not yet be saved correctly on the backend — verify with your finance/admin team before relying on these values.