Overview
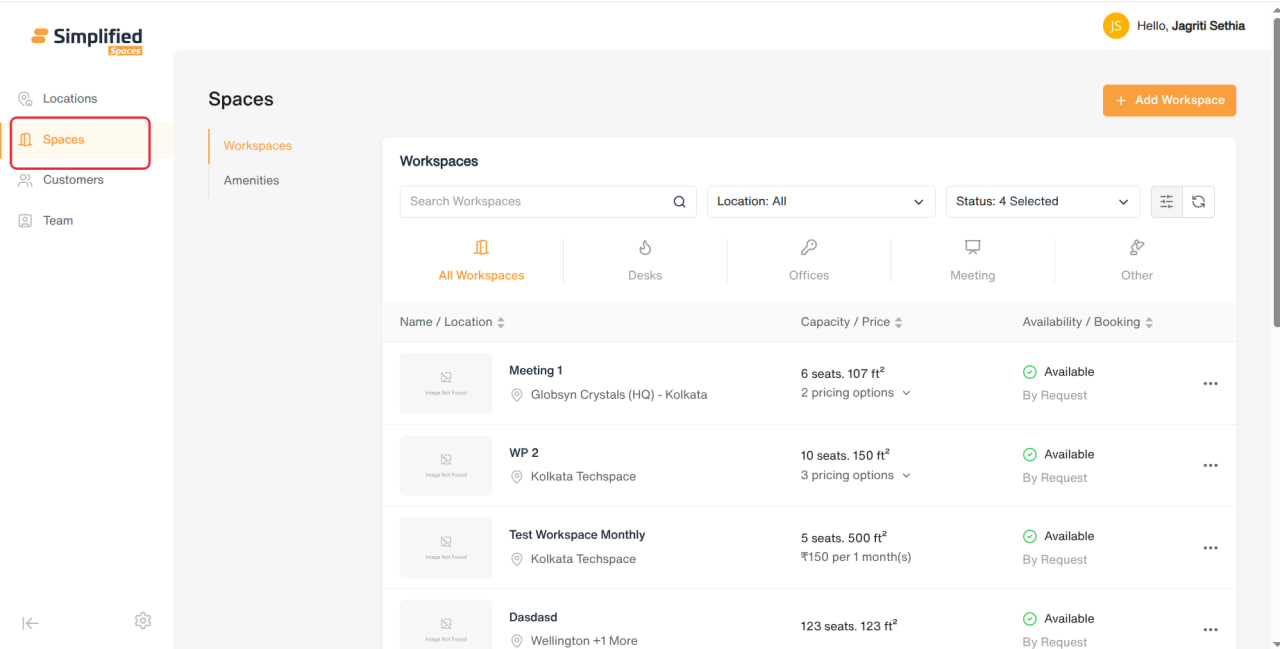
The Spaces section is where admins manage every bookable workspace across all locations, plus the amenities that can be tagged onto them.
-
Entry point: Main menu → Spaces.
-
Sub-sections: Workspaces, Amenities. (A third item, “Floor Plans”, exists in the code but is currently turned off / not visible in the menu — see note at the end.)
-
Workspaces = the actual bookable units (desks, offices, meeting rooms, etc.) across all locations, with pricing, availability, and booking rules.
-
Amenities = the reusable feature tags (e.g. Wi-Fi, Whiteboard, Coffee) admins can attach to workspaces.
1. Workspaces
Viewing the list
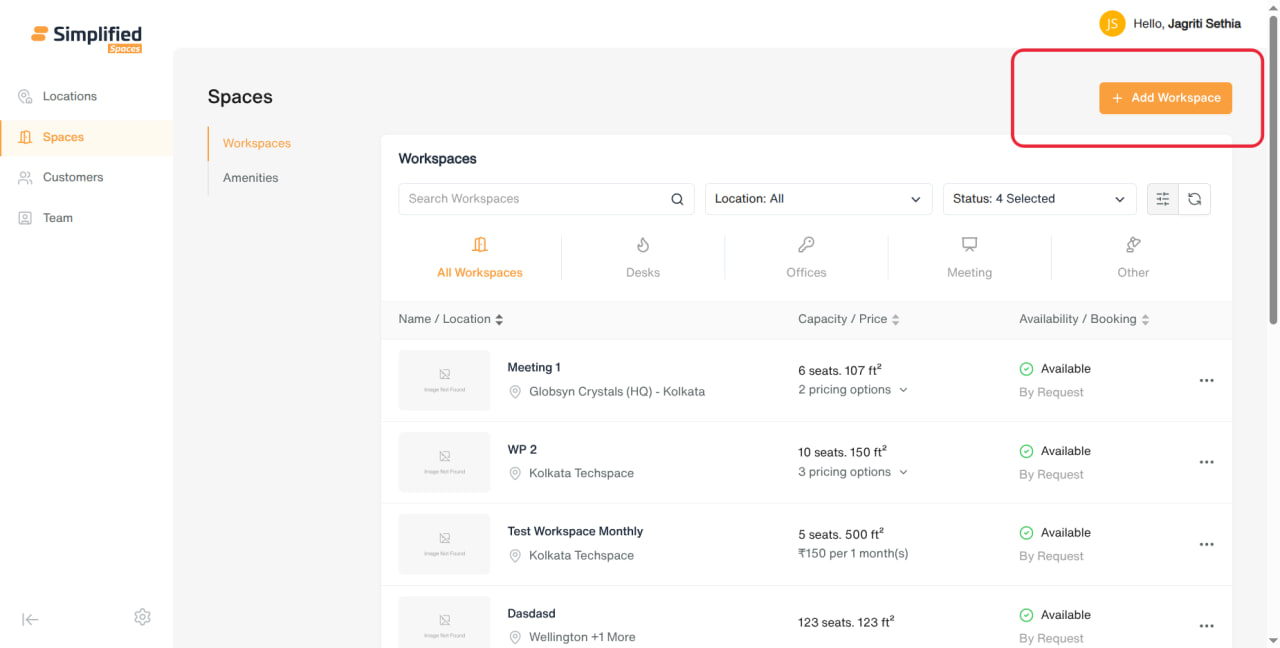
- Page title: Workspaces, with an Add Workspace button top right.
-
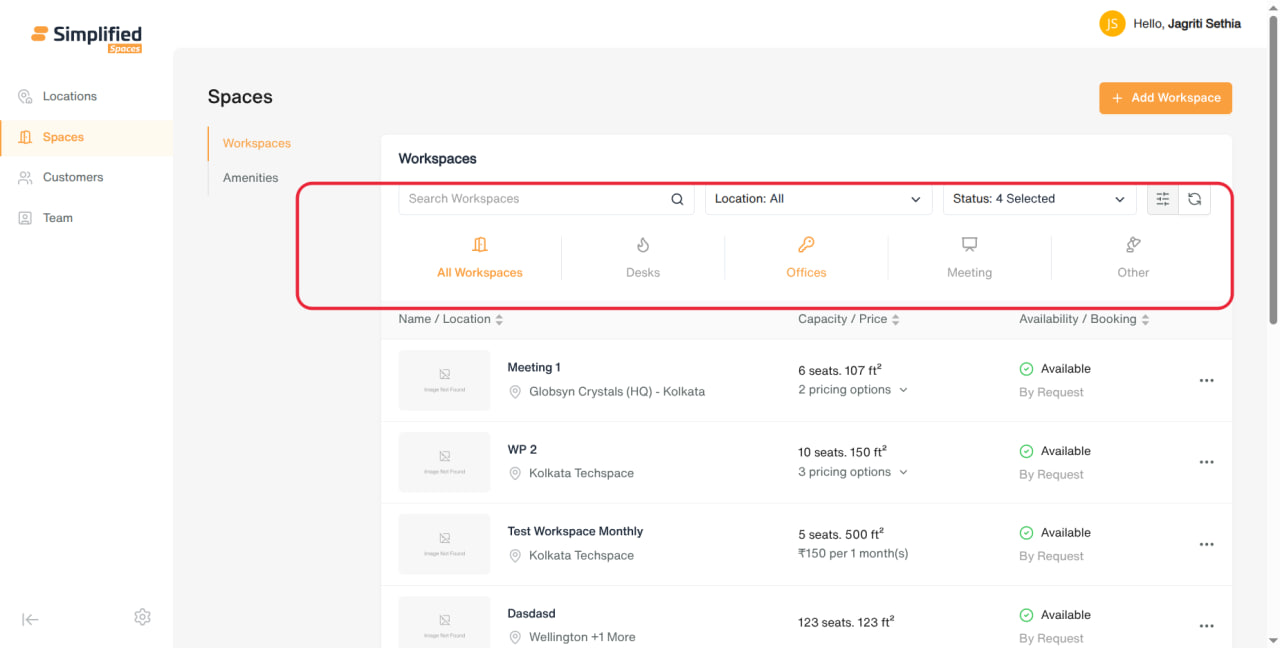
Quick-filter tabs across the top (pick one at a time): All Workspaces, Desks, Offices, Meeting, Other.
-
Search box to search workspaces by name.
-
Location filter — multi-select checklist, filter to one or more locations.
-
Status filter — multi-select checklist: Available, Booked, No Available, Leased, Deactivated (Available/Booked/No Available/Leased are shown by default; Deactivated is hidden unless selected).
-
A Custom Filters button exists for more advanced filtering (date added, seat count, floor area, visibility, availability, permission, and more, with the ability to save filter presets) — currently greyed out/not clickable in this build.
-
Clear Filters button resets everything back to default.
-
Table columns:
-
Name / Location — thumbnail image, workspace name, primary location (plus “+N More” if assigned to multiple locations)
-
Capacity / Price — seat count, floor area, and price (or a dropdown if multiple pricing options exist)
-
Availability / Booking — status (green = Available, red = anything else) and booking type
-
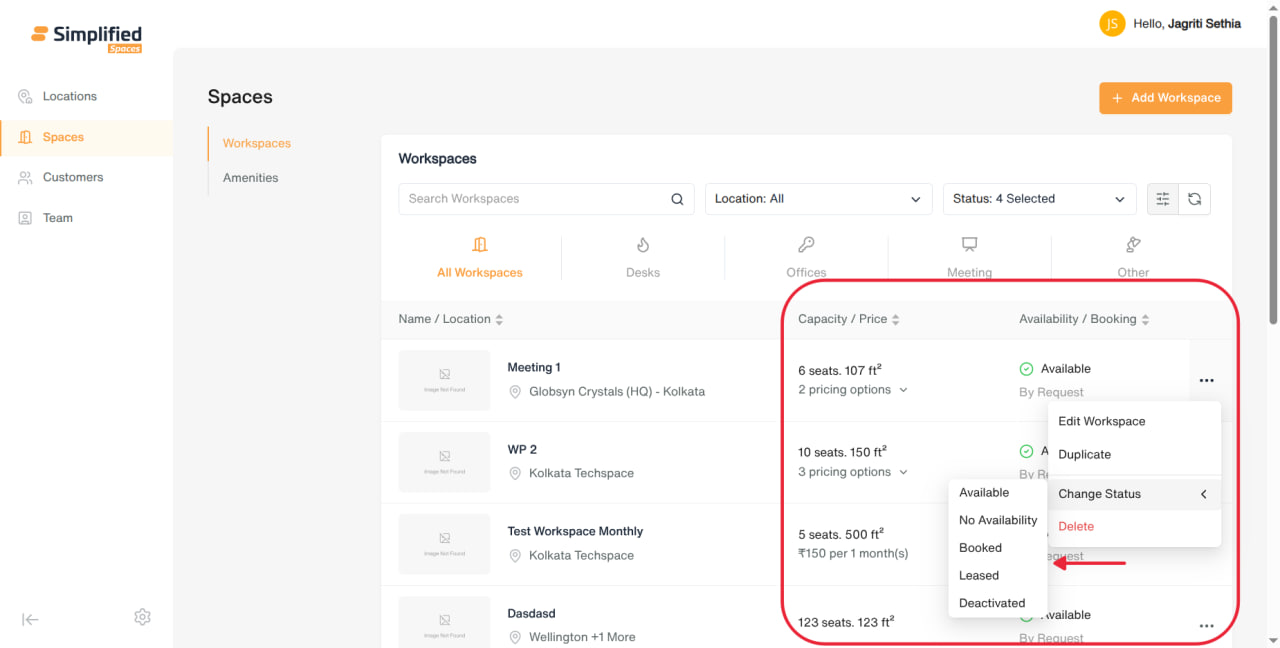
Row menu (⋮) actions: Edit Workspace, Duplicate, Change Status (submenu with all status options), Delete.
-
No select-all/bulk actions — every action is done one row at a time.
Adding / Editing a Workspace
Opens a full-page form titled Add Workspace (or Edit Workspace), with Cancel and Save buttons top and bottom. The form is organized into three sections:
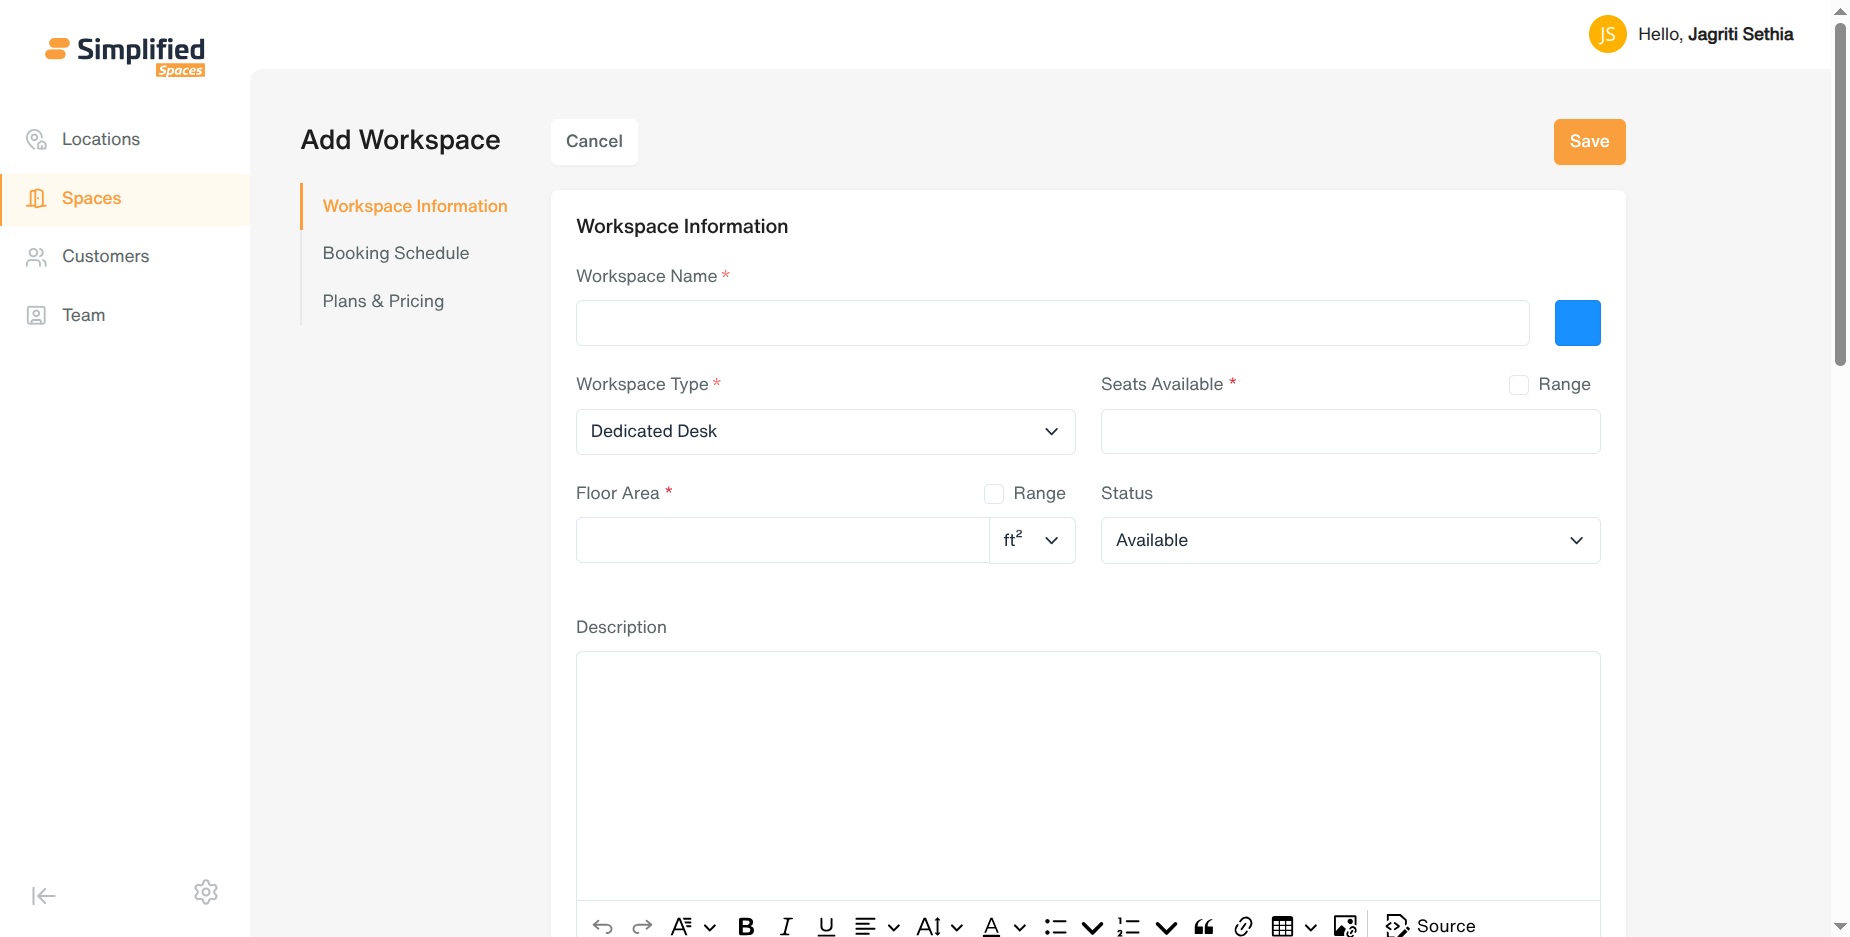
A. Workspace Information
-
Workspace Name (required)
-
Color tag (optional, pick a color to label this workspace)
-
Workspace Type (required): Dedicated Desk, Hot Desk, Meeting Room, Private Office, Other
-
Seats Available (required) — enter a single number, or toggle Range for a From/To range
-
Floor Area (required) — enter a value + unit (ft² or m²), or toggle Range for a From/To range
-
Status (required, defaults to Available): Available, No Availability, Booked, Leased, Deactivate
-
Description (optional, rich text)
-
Images (optional) — upload multiple images and mark one as the feature/thumbnail image
-
Location (required) — search and select one or more locations this workspace belongs to
-
Visibility (required, defaults to Public): Public, Members Only, Admin Only — each option has a tooltip explaining who can see it
-
Availability (required, defaults to Open Booking): Open Booking, Plan Required — tooltip explains each
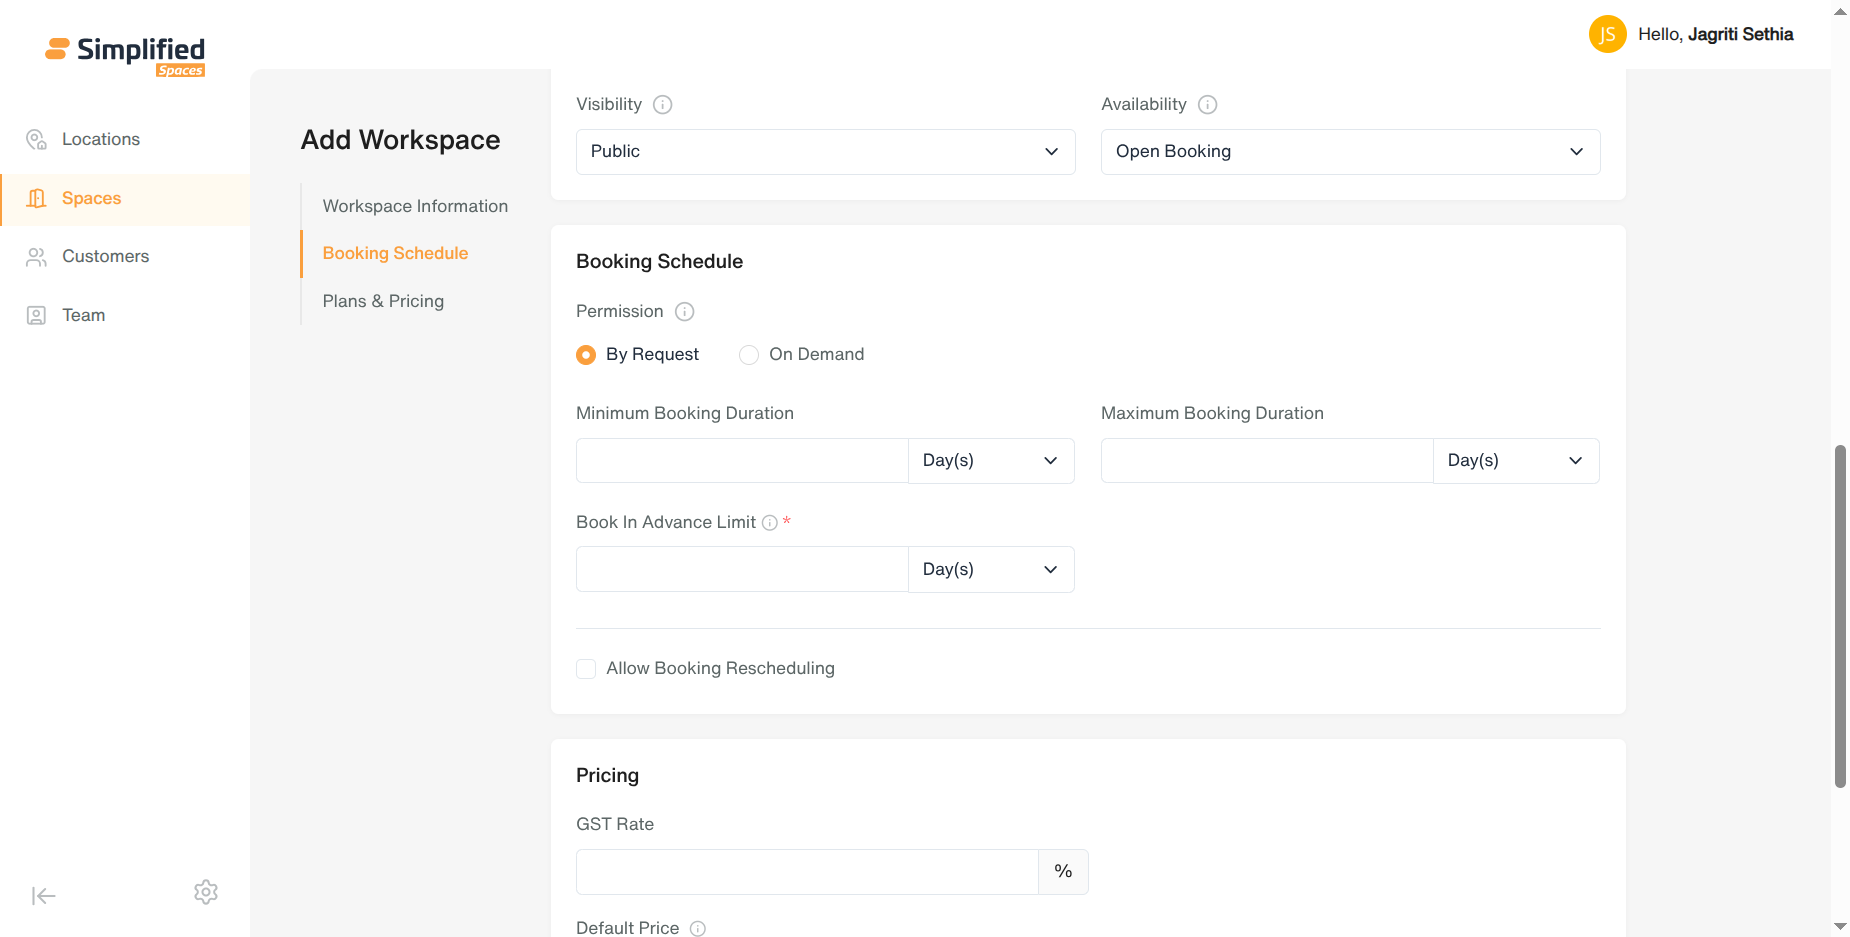
B. Booking Schedule
-
Permission (required, defaults to By Request): By Request or On Demand
-
Bookable Hours (only appears if Permission = On Demand, required): All Day, Facility Hours, or Custom Schedule (opens a popup to set open/closed hours per day of the week)
-
Minimum Booking Duration — a number + a time unit (for Meeting Rooms: Minute/Hour/Day/Week/Month/Year; for all other types: Day/Week/Month/Year)
-
Maximum Booking Duration — same format as above
-
Duration Increments (only for Meeting Rooms, required) — e.g. every 5/10/15/20/30 minutes, or 1 Hour/Day/Week/Month/Year
-
Booking Buffer (only for Meeting Rooms, required) — gap time required between bookings
-
Book In Advance Limit (required for all types except Private Office) — how far ahead a booking can be made
-
Allow Booking Rescheduling — on/off toggle
-
Grace Period Before rescheduling (only shown if rescheduling is allowed) — how much notice is needed
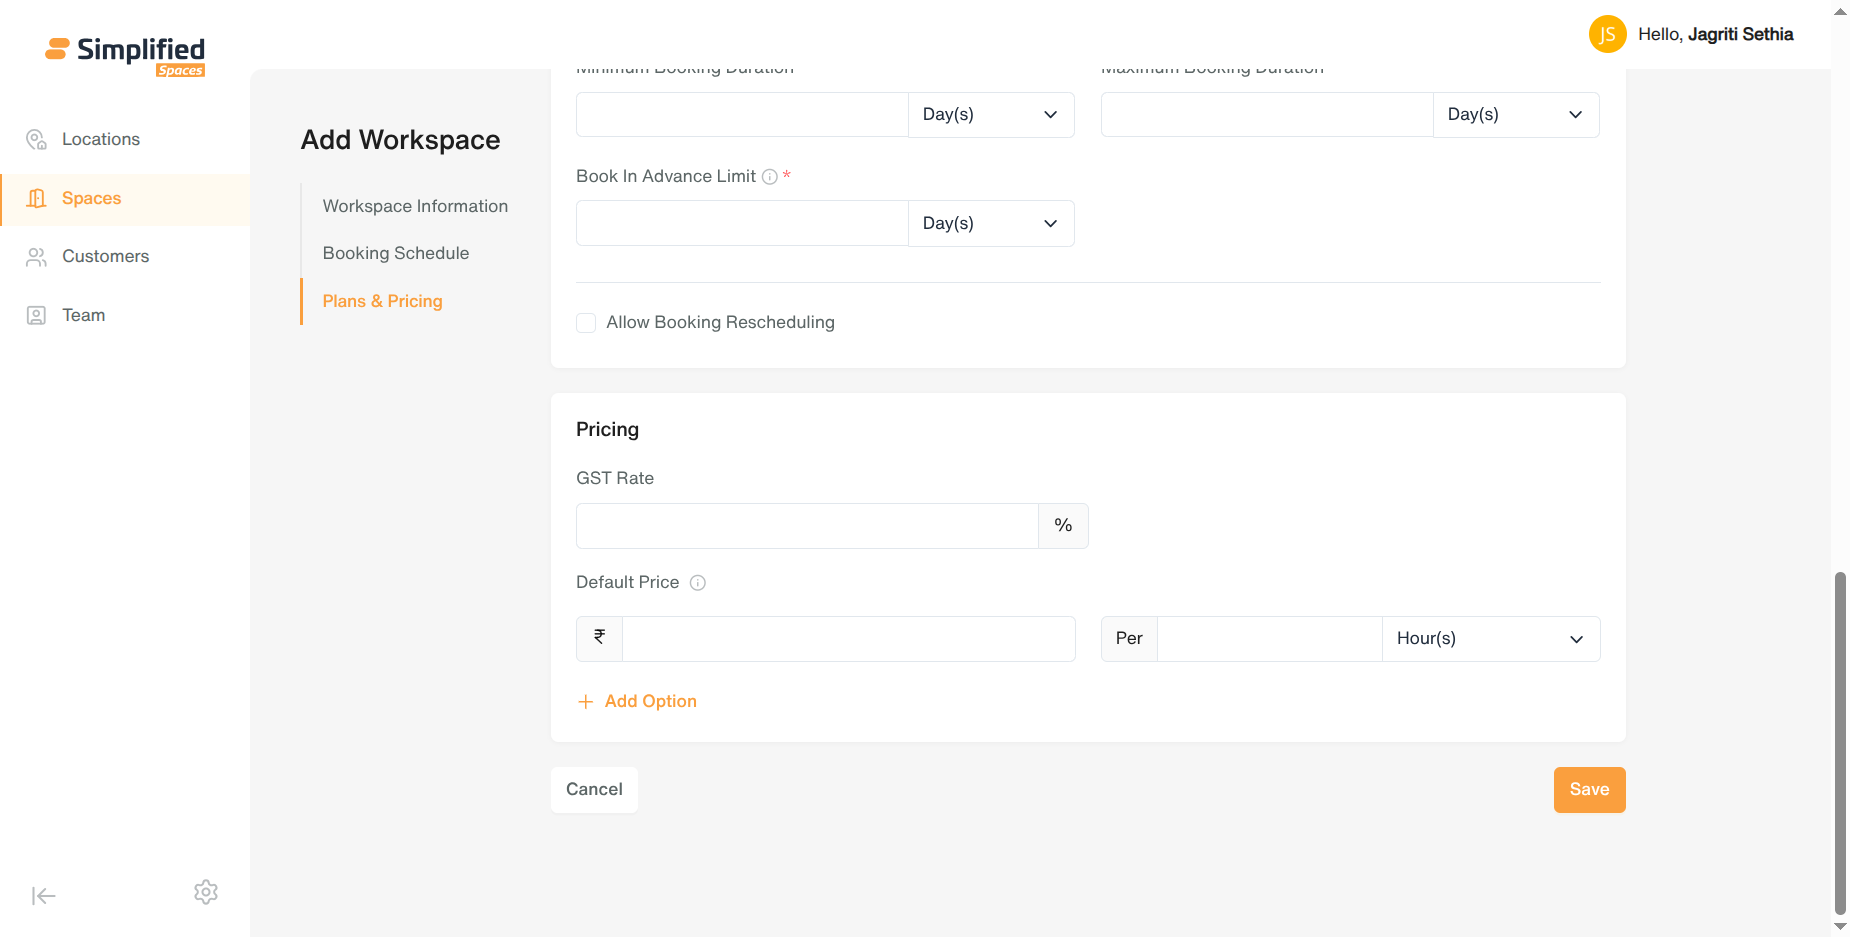
C. Pricing
-
GST Rate (optional, %)
-
Default Price — the price shown to clients booking this space on its own (a tooltip notes this can be overridden if the space is added to a Plan)
-
One or more pricing rows (at least one required) — each row is an amount (currency automatically matches the selected location) and a billing interval (“Per Hour”, “Per Day”, etc. — choose from Minute(s)/Hour(s)/Day(s)/Week(s)/Month(s)/Year(s)). Use Add Option to add more pricing tiers, or the trash icon to remove one.
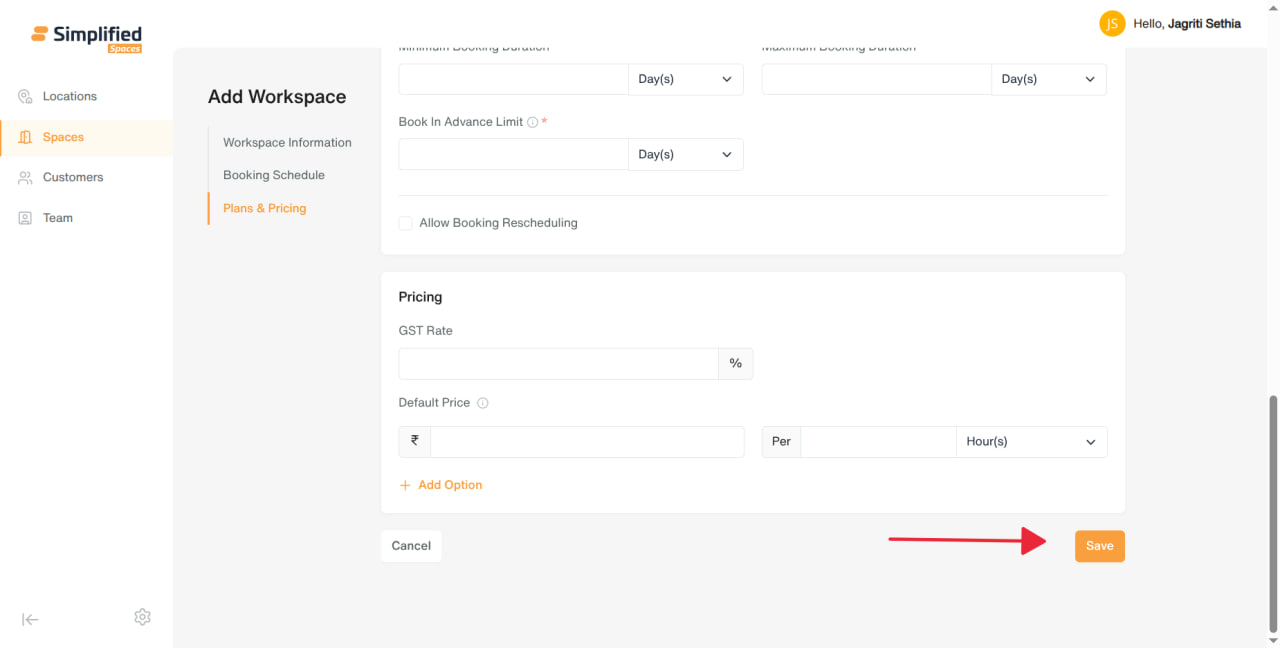
Clicking Save uploads any images, saves the workspace, shows a confirmation, and returns to the Workspaces list.
Row actions — Duplicate, Change Status, Delete
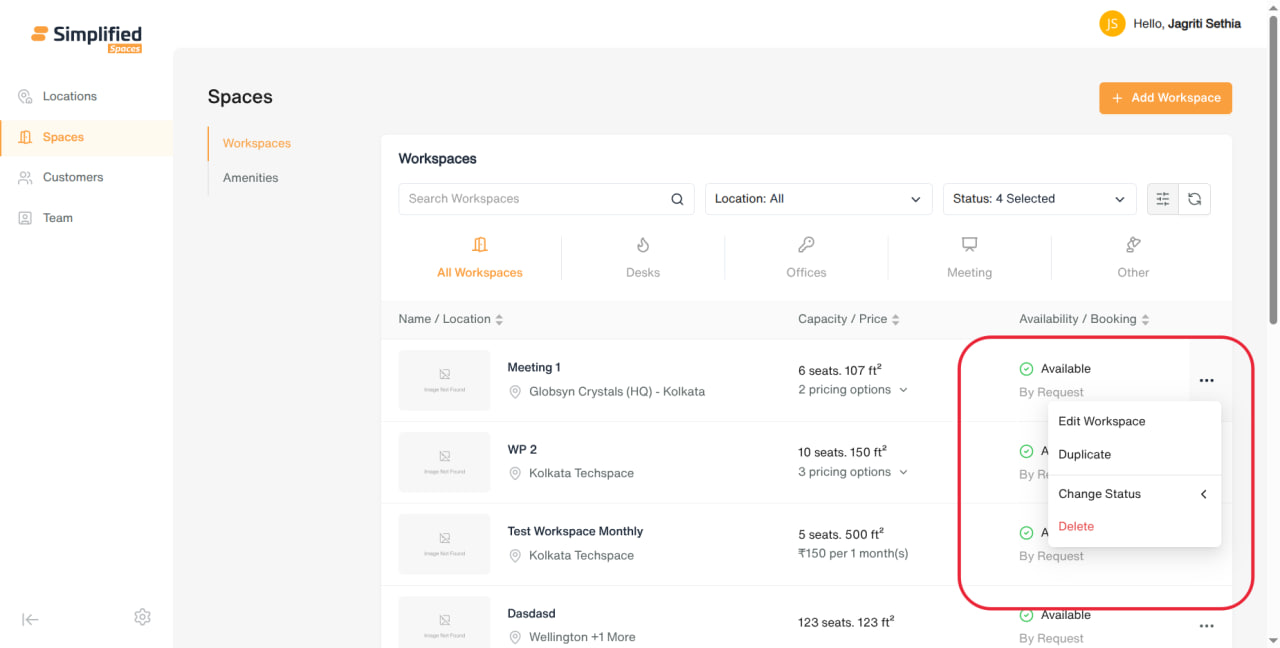
Each workspace row has a ⋮ menu with these actions:
- Duplicate — creates an exact copy of the workspace (same info, schedule, and pricing settings) as a new entry in the list, so an admin can quickly set up a similar space without re-entering everything. The copy needs its own name/tweaks afterward if it shouldn’t be identical.
-
Change Status — opens a submenu to switch the workspace’s status directly from the list, without opening the full edit form. Options: Available, No Availability, Booked, Leased, Deactivated.
-
Available / No Availability / Booked / Leased — reflect current booking/availability state.
-
Deactivated — hides the workspace from active booking use (kept in records, not offered to clients).
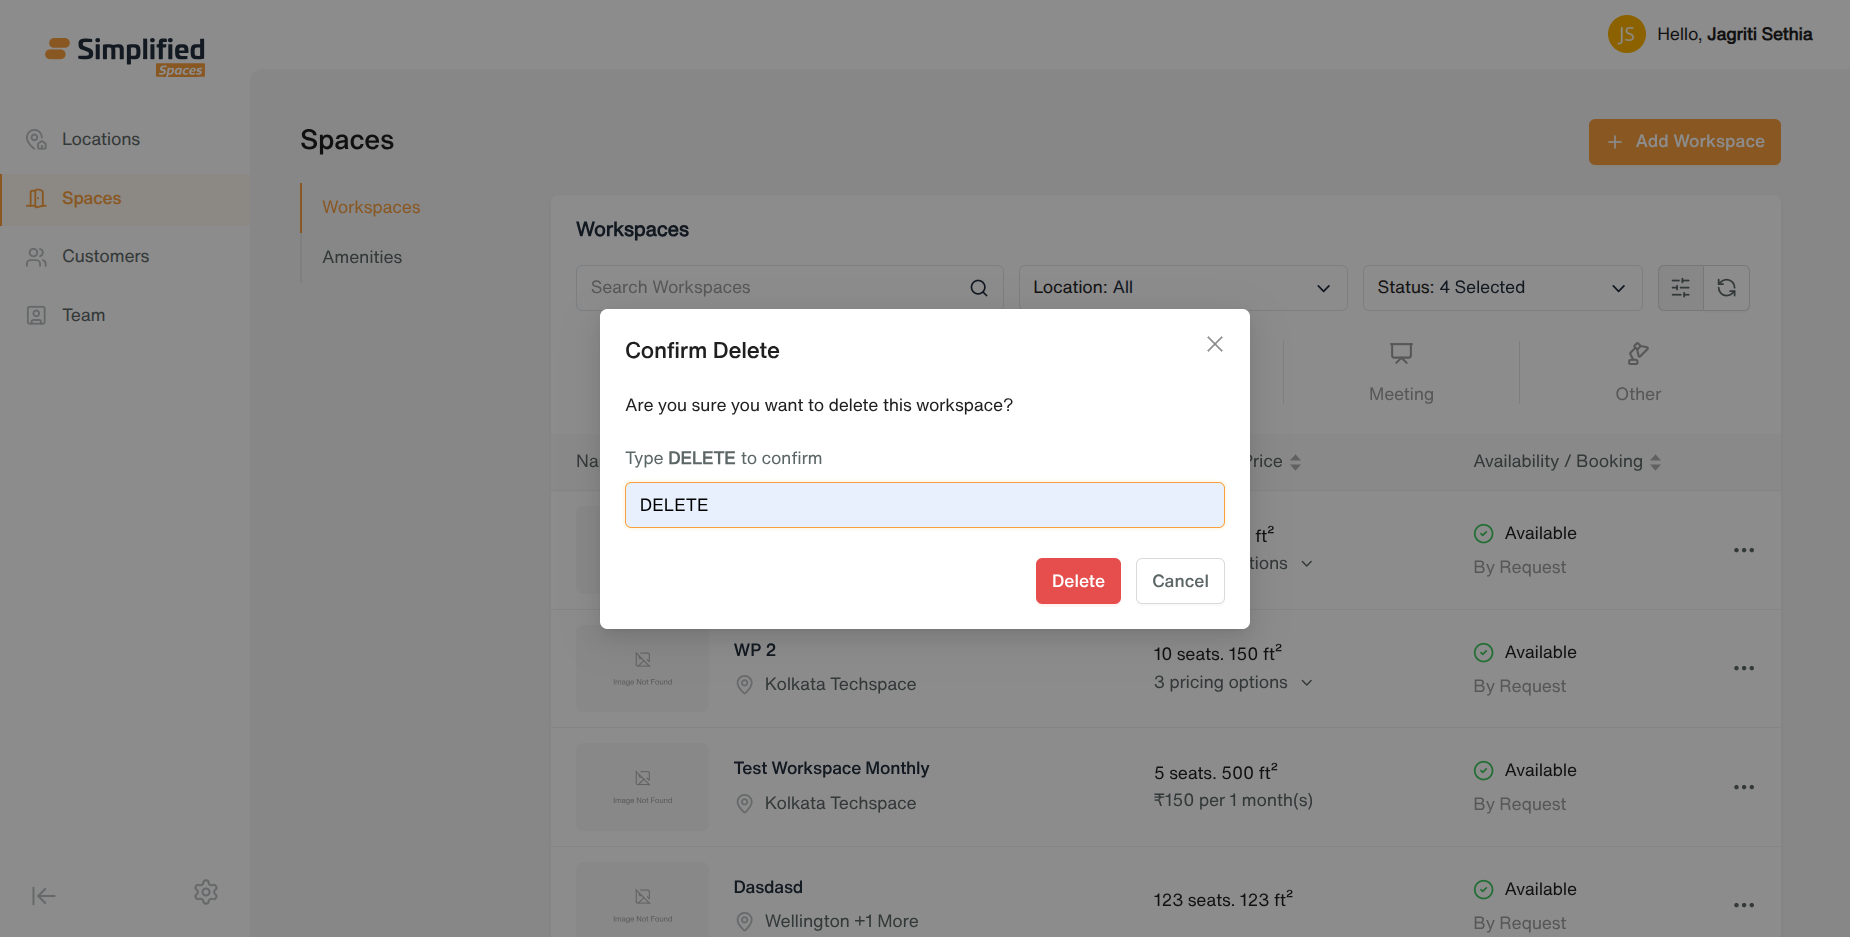
- Delete — permanently removes the workspace. A confirmation popup appears first; the admin must confirm before it’s removed. This cannot be undone.
2. Amenities
Viewing the list
-
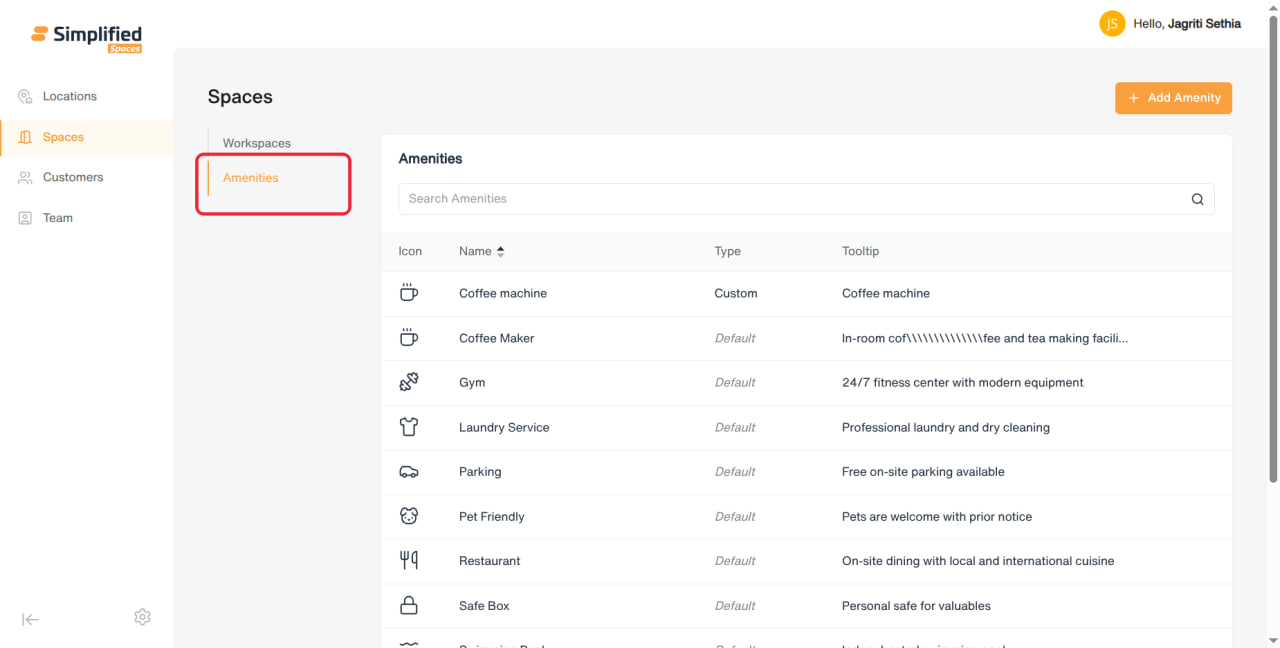
Page title: Amenities, with an Add Amenity button top right.
-
Search box to search amenities by name.
-
Table columns: Icon, Name, Type (Default = built-in system amenity, Custom = admin-created), Tooltip (description).
-
Hovering a row reveals Edit and Delete icons.
-
Delete asks for confirmation before removing.
-
No bulk actions, no active/inactive toggle, no duplicate option.
Adding / Editing an Amenity
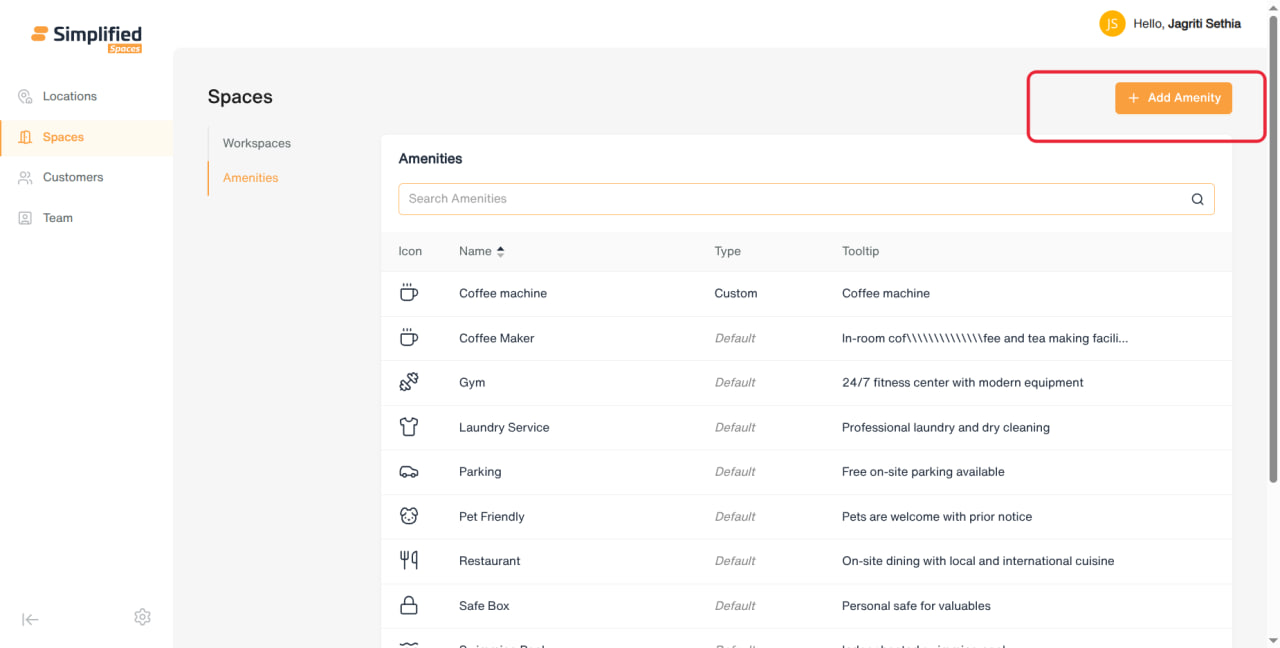
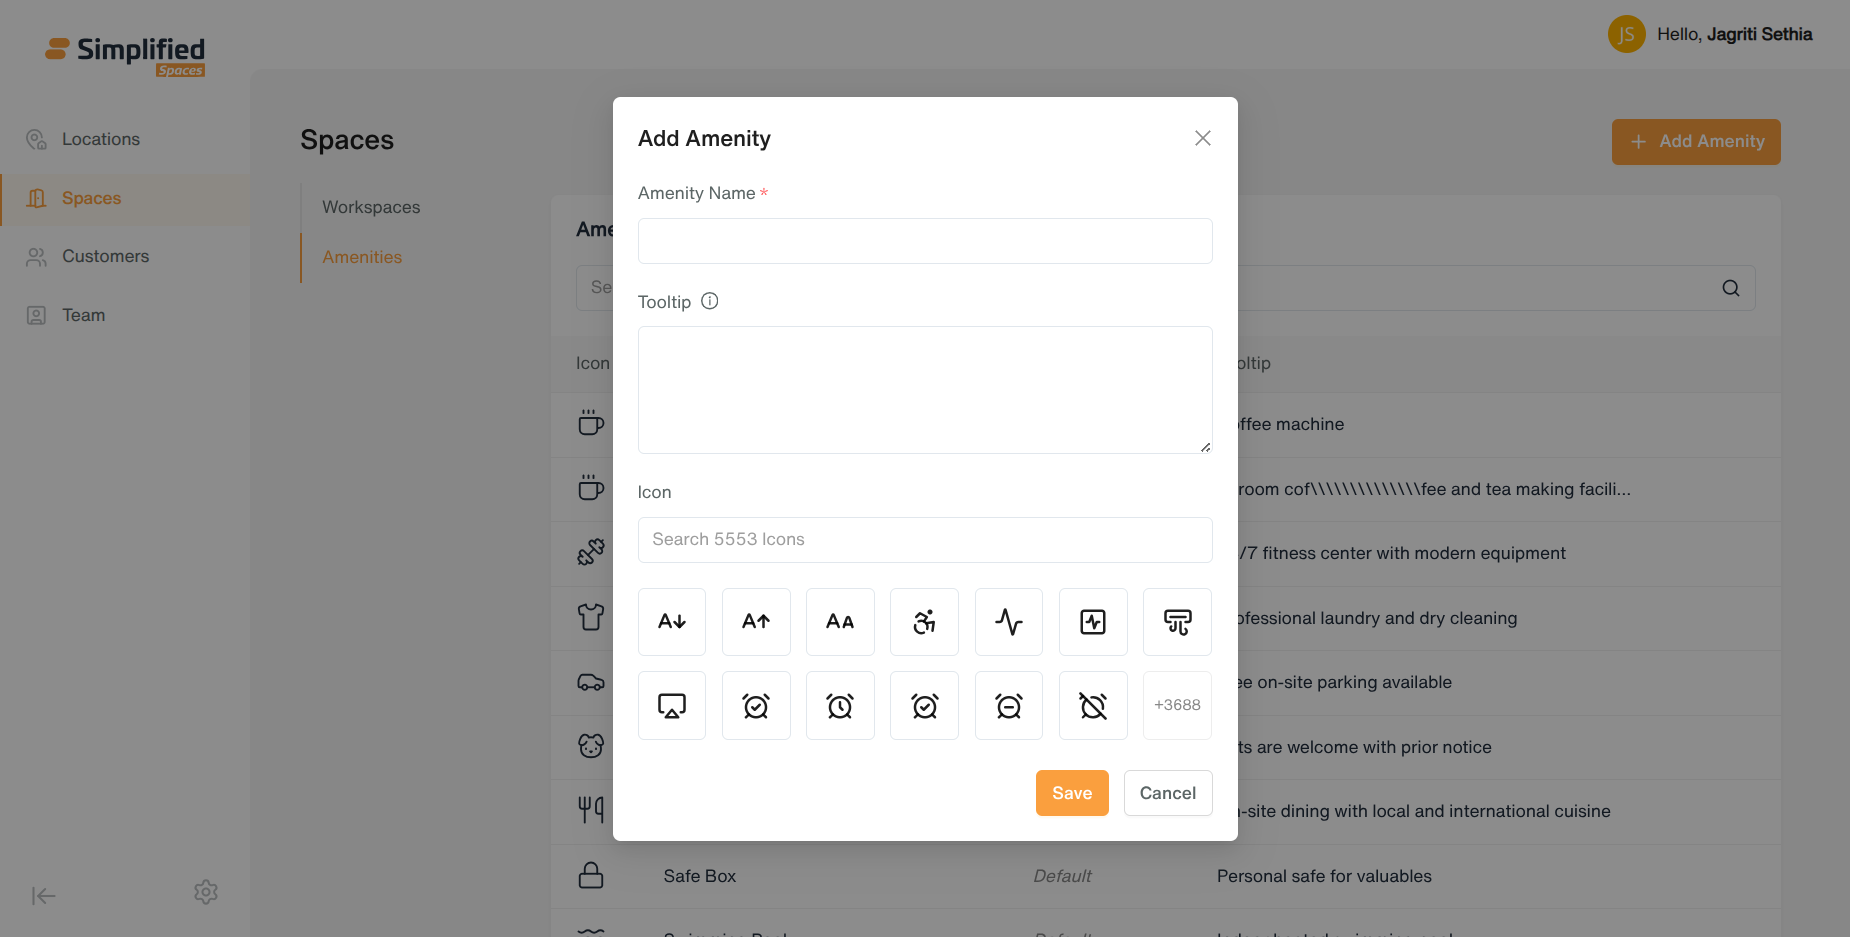
Opens a small popup titled Add Amenity / Edit Amenity:
General Notes
-
Workspaces are always tied to one or more Locations, and their pricing currency follows the selected location’s currency.
-
Every Delete action requires confirmation before it takes effect.
-
What an individual admin can see or do here may still be limited by their assigned role/permissions.